
Feather Stitch is also known as
Punto de pluma [ES], Point d’ épine [FR], Federstich [DE], Punto corallo [IT], Ponto pena simples [PT], kråkspark [SV].
How to do the Feather Stitch
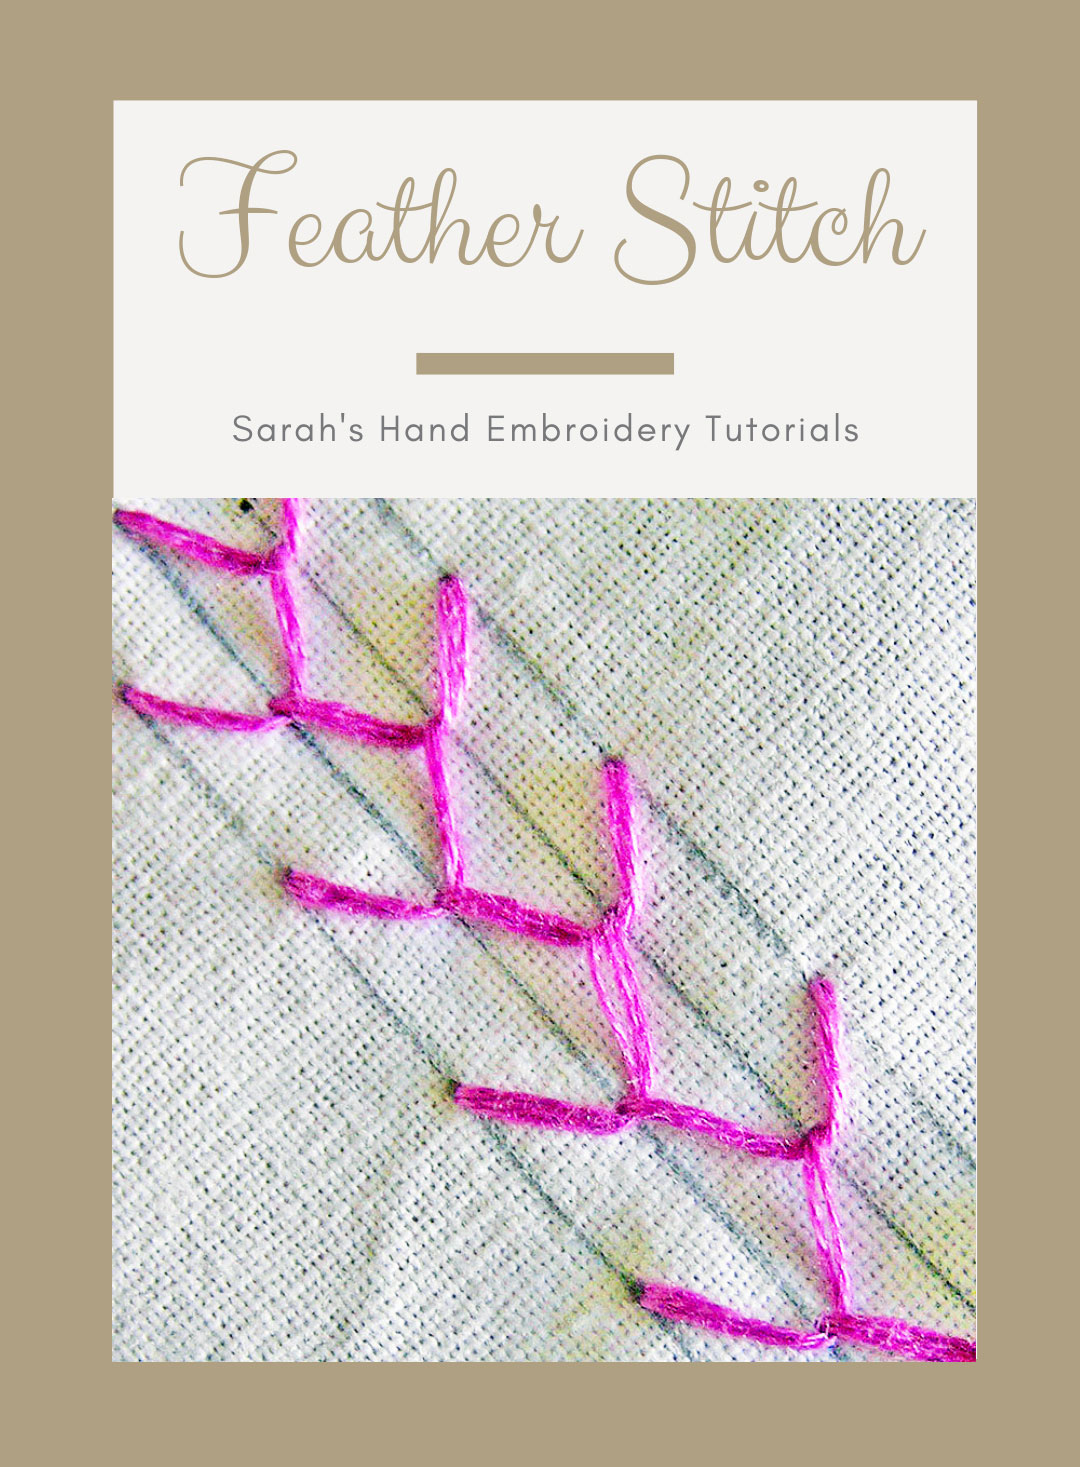
Feather Stitch is a decorative stitch, usually, used to accompany it with embellishments or other forms of stitches like the French knot. This stitch can be used liberally to make beautiful borders, horizontal or vertical fillings, or even designs with curves. It looks like a series of interconnected ‘V’s.
It is always advised to make stitch lines to avoid any asymmetry. I have made four parallel stitch lines, A, B, C, D. The stitches will fall between these lines and the needle will pass through these lines.
 | 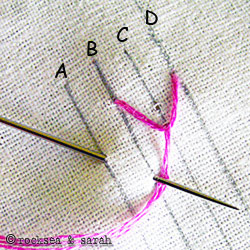 |
| Fig 1: Begin by bringing up the needle from B. Now, put the needle in through D and bring it out from C. Note that the points on B and D falls on a straight line, and C lies diagonally to both B and D. Pull the needle out with the thread under it, as shown. We would form our first ‘V’. | Fig 2: We now move to make our next ‘V’. Continue to put the needle in through A and bring it out through B. Pull the needle out with the thread under it as shown, to make the next ‘V’. |
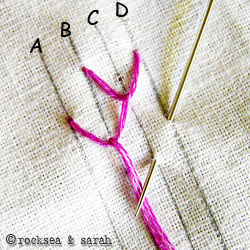 | 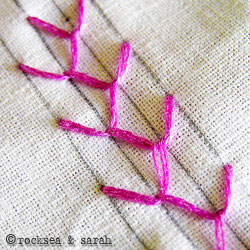 |
| Fig 3: Now, continue the procedure by putting the needle in through the outer stitch line and bringing it out from the inner stitch line. We keep alternating between the left and right side to make the ‘V’s- putting in the needle through A and bringing it out from B; putting the needle in through D and bringing it out from C. | Fig 4: Once a small portion of the Feather Stitch is done, this is how it would look like. |


Thank you Sarah! Excellent visual tutorial.
Awesome! Thank you, Daria!
Very explicit instructions…thanks Sarah..am doing a it of embroidery using feather stitch..

Wow, this is great, Sahana! Thank you for sharing this beautiful work! Love it! 🙂
whenever I want to learn stitches, I search this website so I can learn more. Thanks for making this blog!!!
Happy to know and really appreciate it! 🙂
Hello I am so grateful I found your weblog, I really found you by accident, while I was browsing on Digg for something else, Nonetheless I am here now and would just like to say thanks for a marvelous post and a all round interesting blog (I also love the theme/design), I don’t have time to browse it all at the minute but I have book-marked it and also added your RSS feeds, so when I have time I will be back to read a great deal more, Please do keep up the awesome work.
Finally.. your instructions were so clear that I at last stitched two short rows. and could give up the pictures… and feeling smugly proud of myself. Thanks .
just love your web site! I plan to retire from my teaching job at the end of the year and will certainly look at your website!
Sarah!!!! Ur tutorial is really awesome…….. It helps a lot for the beginners… I love the how way ur tutorial is…. Its jus amazing… Thanks for sharing ur knowledge n making us learn as well… Hats off to u…….
I enjoy your examples, they along with your instructors make learning a new skill fun.I learn and relearn lol thanks again for sharing your knowledge.
Idiot Sarah
ummmmm
Ooooh, I just noticed this. Somebody clearly was not having a good day. 😀 😀
Hii Sarah,
I’ve got some shots of d embroideries im learning from u… gonna keep uploadin dem under each name.. chk dem out..!! 😀 😀 nd most of all tnx fo d greaaat work..!!
this website is the most amazing website I’ve come across!!!!!!!!! HATS OFF TO YOU!!!!!!!!1
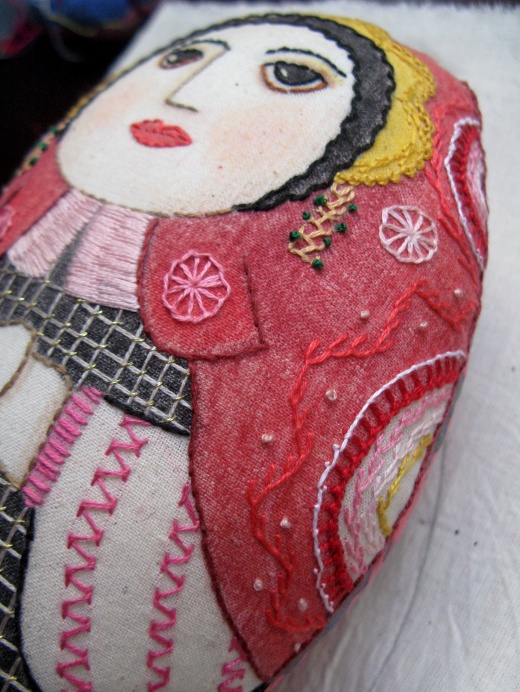
Brilliant. I love all the stitches you put up here. Very lovely. (And thank you to! I had to find 30 different hand stitches for my project Home Economics!) 🙂
Thanks for spelling this out in a manner that is understandable. I’ve been checking other tutorials & simply could not get it right. The lines make all of the difference.
Thanks!!!
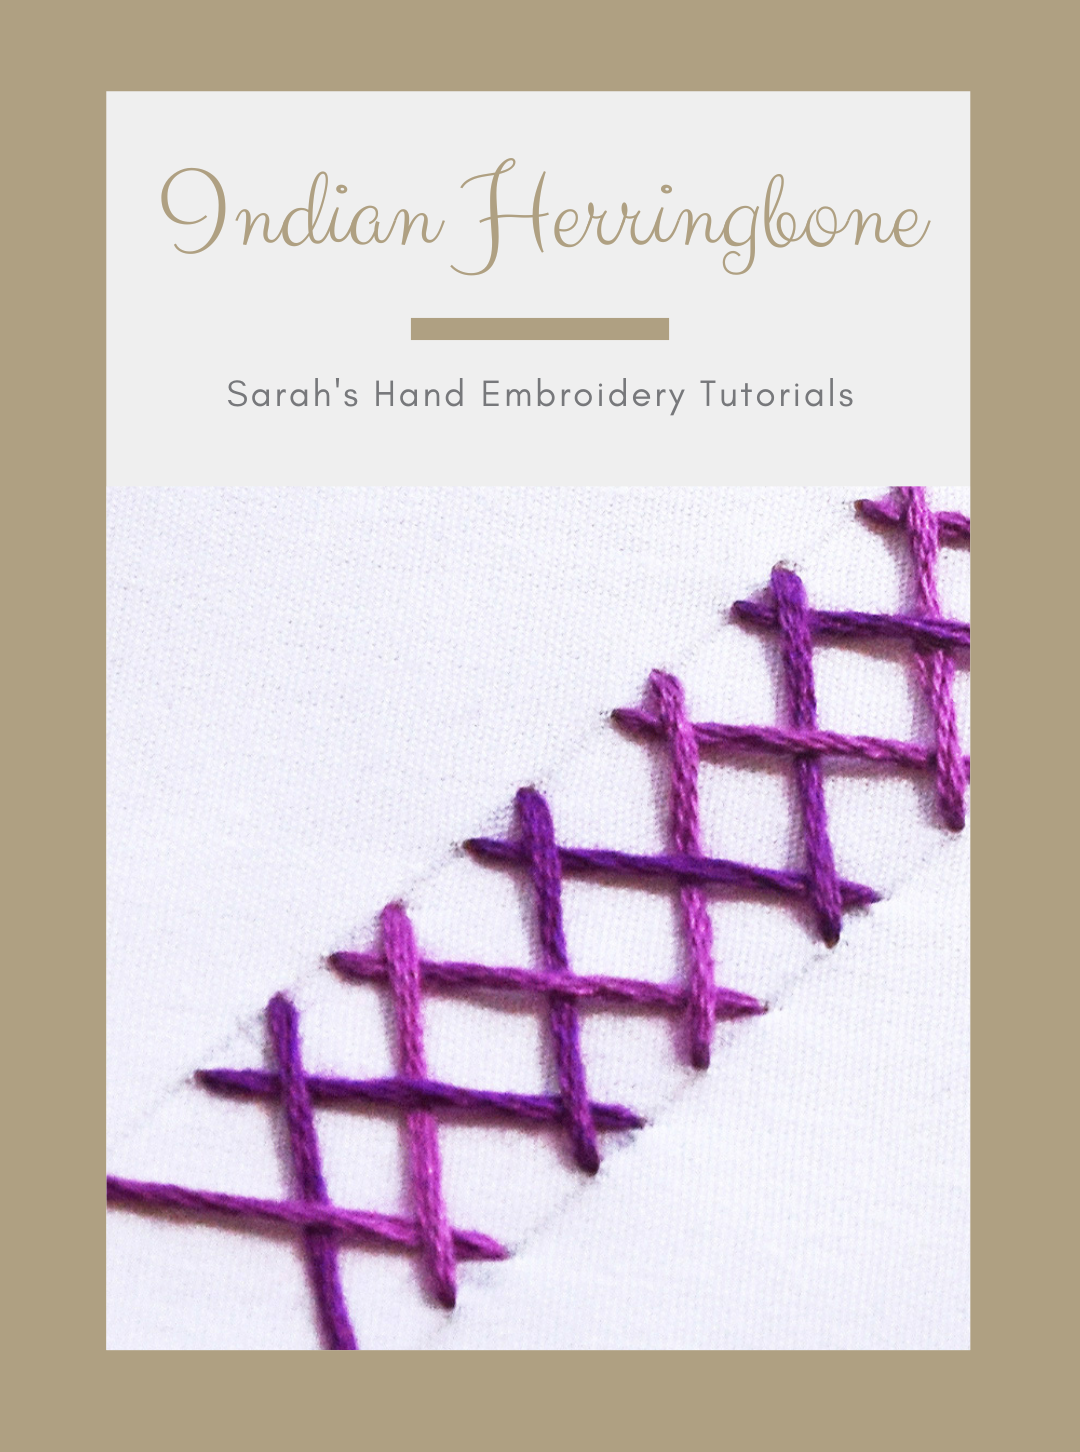
My husband’s grandmother made a quilt with old corduroy squares. She had a decorative stitch on them similar to the feather stitch, but in a straight line not the zig-zag that the feather stitch does. It (to my very novice eye) looks almost like a cross between the feather and herringbone. Is that even possible? If so, how would you do it? I have had to take apart the quilt because many of the squares became threadbare with age (the quilt was over 30 years old) and the batting had all lumped together. I’ve made new squares and am working on putting it back together, but would like to be able to add the decorative stitching back as well.
Thanks for your help.
Hey! I loved this technique, it’s a lot easier than it looks (i’m a beginner) and i found it really effective and it looks really pretty!
Keep it up!
Thanks for making this website, you illustrate all of it so clearly!
xx
I understand your featherstitch but I have a project of joining two wool hexagon shapes with a feather stitch. How do I join them? Do I lay them flat against each other?
C
Dear Carolyn, I not too sure how do you want the hexagon shapes joined…i mean, do you want them joined one over the other or side by side?
Hi, I’m new to embroidery and have found your website to have perfect and easy to understand instructions. I am wondering how you are able to get such even stitching for the diagonal (the V) stitches
Hi Crystal,
If you draw stitch lines, like in the illustrations, and keep each diagonal stitch parallel to the previous one, you can get a fairly even stitch. 🙂
I was wondering what you do about the pencil marks after you’ve completed your embroidery. I have just gotten into the embroidery and haven’t done any designs that have empty space yet because of the fear of pencil showing through. Tips?
Dear Nikki,
Light pencil marks are very often washable. So you don’t have to worry about it leaving marks. If you want to embroider on a fabric that will never be washed, try using a tailor’s chalk which gets erased easily.
Did it help?
u r really talented person.
Thank you Mili. 🙂
i STRONGLY AGREE WITH YOU
Awesome! Very nice.
🙂
Awesome! Very nice and descriptive..had a good time looking at the lovely pictures and reading the details of each type of stitch!
keep up the good work 🙂
Thanks Aparna. 🙂