
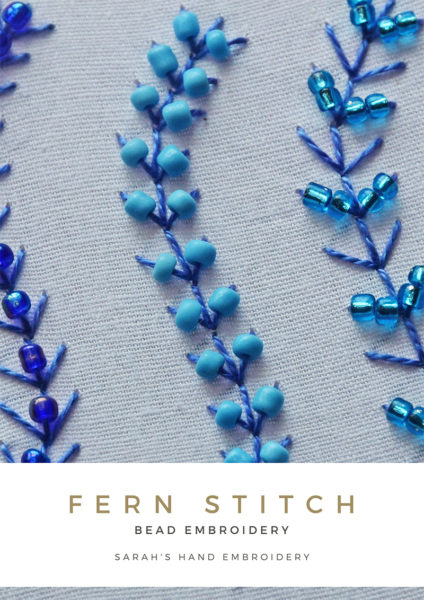
How to do Bead Embroidery with the Fern Stitch
The Fern Stitch offers a whole lot of beautiful ways to add beads and sequins. When added with beads, the Fern Stitch can make stunning borders and attractive decorations. Crazy Quilters will love working with this stitch. I show three ways one can apply beads using the Fern Stitch. Since Fern Stitch is made of a sequence of three stitches placed together, you can choose to play around with each sequence differently. Play around with different colors and choices of beads to create an attractive pattern each time. If you want to know how to work the Fern Stitch, please check the Fern Stitch tutorial page.
Sample 1: Beads on the rib of the Fern Stitch
 |
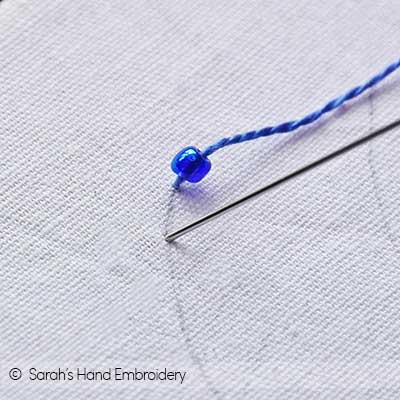 |
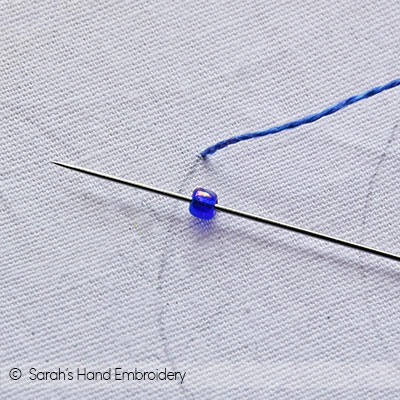
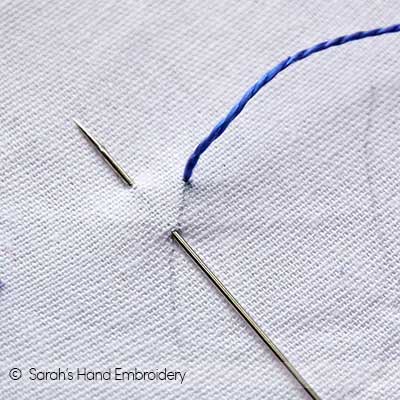
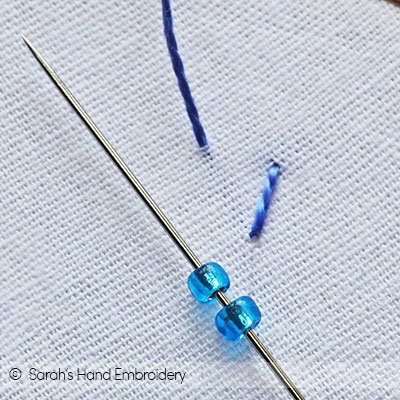
| Fig 1: Come out with your needle on the stitch line. This is the first step to make the Fern Stitch. Slip the bead in the needle. | Fig 2: Next, pass the needle through the stitch line to create the first vertical stitch. This secures the bead on that stitch. |
 |
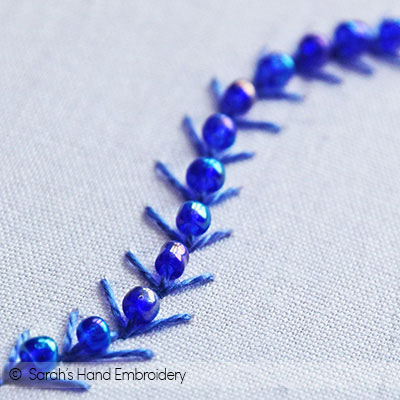 |
| Fig 3: Make the stitches on the sides to finish the first sequence in the Fern Stitch. Then, get ready for the next vertical stitch. Continue the process. Slip in the bead on every vertical stitch. | Fig 4: This is a portion of the Fern Stitch with the beads only on its vertical stitches. |
Sample 2: Beads on the leaves of the Fern Stitch
 |
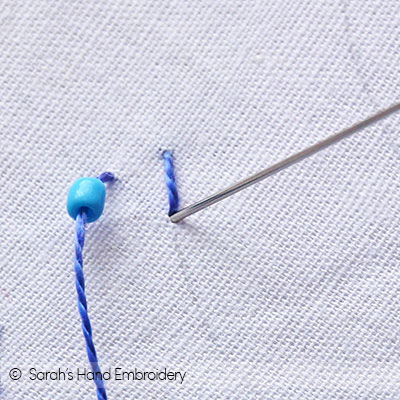 |
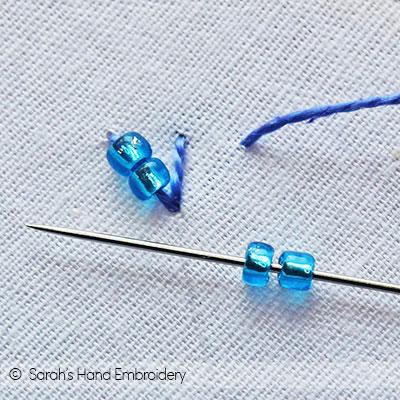
| Fig 1: Start by making the first vertical stitch of the Fern Stitch. Next, proceed to make the stitch on the left side. | Fig 2: Slip in the bead and take the needle through the fabric. This secures the bead on the left ‘leaf’ of the Fern Stitch. |
 |
 |
| Fig 3: Work the same way on the right ‘leaf’ of the Fern Stitch. Continue the Fern Stitch sequence. Add the beads only when stitching the side stitches. | Fig 4: A portion of this sample will look like this. You can try different lengths for each stitch, or even different colors of beads. |
Sample 3: Beads on the alternate pairs of the Fern Stitch
 |
 |
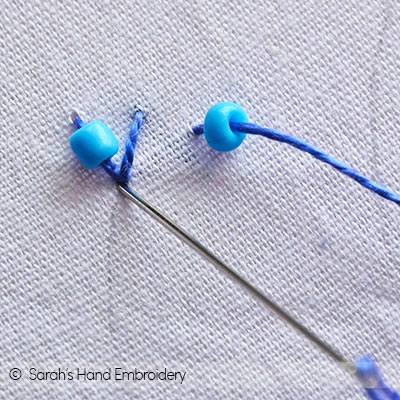
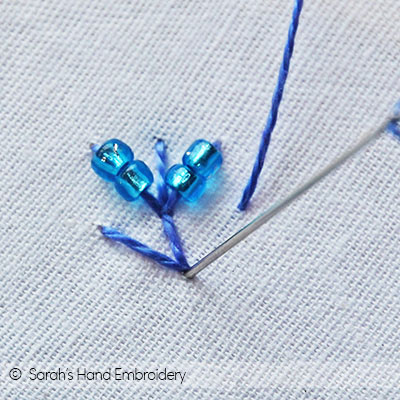
| Fig 1: Start by making the first stitch of the Fern Stitch. Add the beads while making the left ‘leaf’. I am trying two beads for fun. | Fig 2: Add two beads on the other side too. |
 |
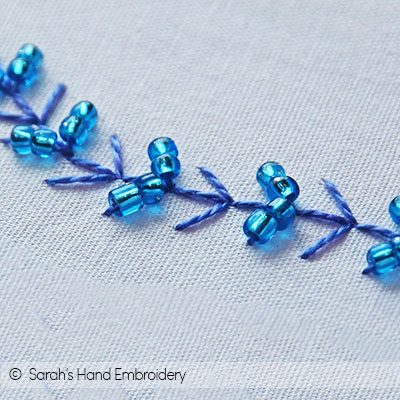 |
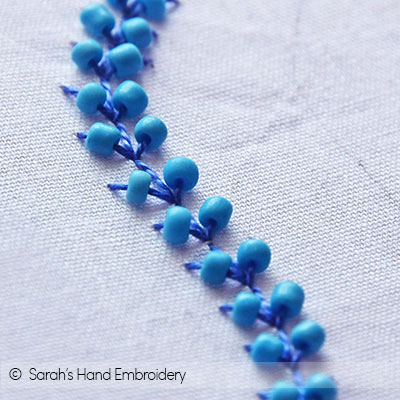
| Fig 3: I leave the next sequence empty. I add beads only in alternate sequences of the Fern Stitch. | Fig 4: The result is beautiful. Using the right kind of beads and the right color can give you a stunning result each time. |
Stitch used in this project

 Sarah has been researching and sharing hand embroidery lessons for over 18 years, making it accessible to everyone around the globe.


Pretty stitches, May I know the type of the thread used here.
Hi. Thank you! I am using Perle Cotton to work the beads in this stitch.
Where do you get the beads? My seed beads require a super thin needle and I have a devil of a time trying to use embroidery floss.
Dear Margie,
I got a stash of beads from Michael’s. Try 3mm or 4mm beads. Use 2 strands of embroidery floss. I hope this helps.
Thank you!
Your stitches are beautiful n I want to learn to do this
Thank you, Linda. I hope you enjoy learning from this page.
DIVINO
Thank you, Rosa.
Beautiful, can’t wait to try it!
Thanks, Linda. 🙂
Thank you. Love this stitch with the beads.
Wonderful! Happy that you liked it. 🙂