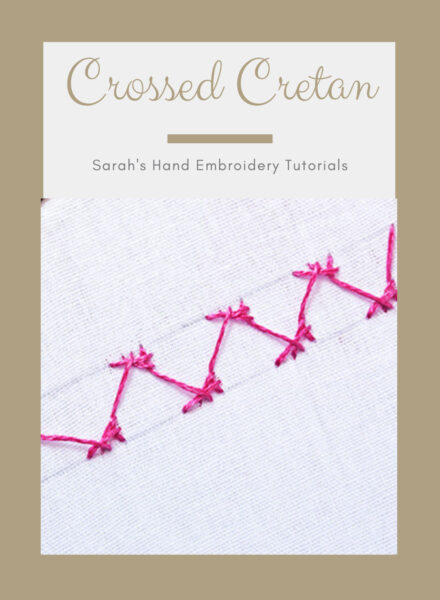
About the Crossed Cretan Stitch
The Crossed Cretan Stitch is a slightly complicated stitch with a spidery-like appearance on the sides. It involves adding a little cross at each corner as you stitch. Pay attention to the placing of the needle when making the cross. When the stitches are placed close to each other with minimum spacing, it can look beautiful.
How to do the Crossed Cretan Stitch
 |
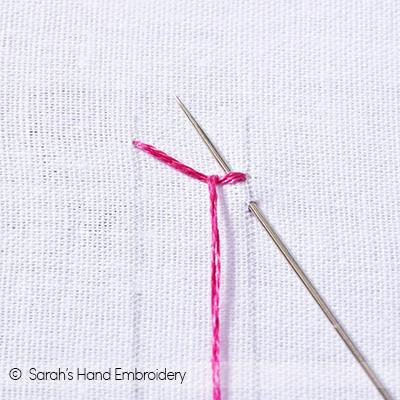 |
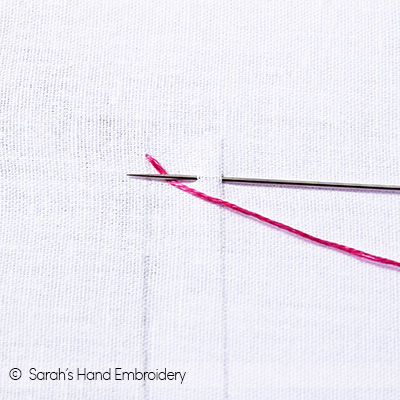
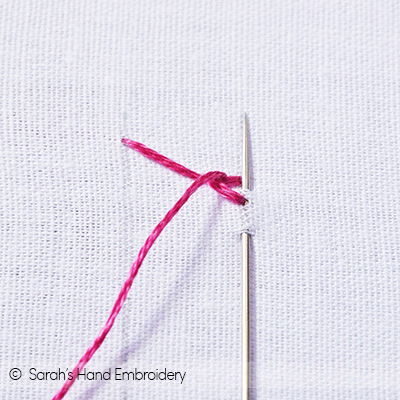
| Fig 1: Start working on the first Cretan Stitch, as shown. | Fig 2: Before heading for the next stitch, take the needle in and out of the fabric, as shown. |
 |
 |
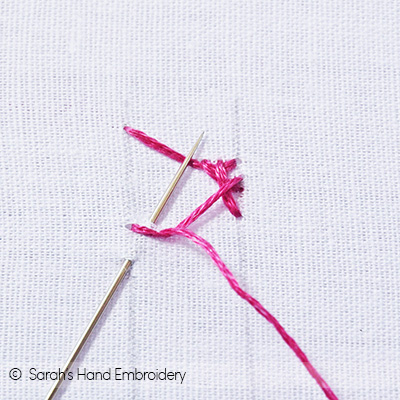
| Fig 3: Now, make a short stitch on the stitch line, as shown to complete the cross. Ensure to keep the working thread out of the way. | Fig 4: Next, make the Cretan Stitch on the other side. |
 |
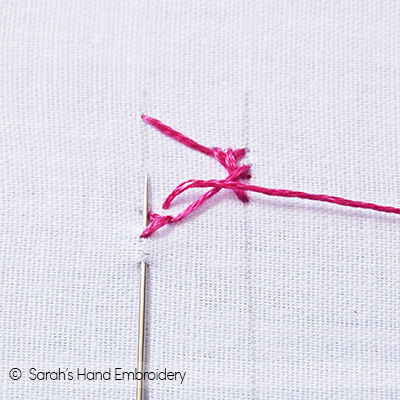 |
| Fig 5: Again, make a slightly slanting stitch for the first arm of the cross. |
Fig 6: Finish the cross by making a small vertical stitch on the stitch line. Continue with this process. |
 |
|
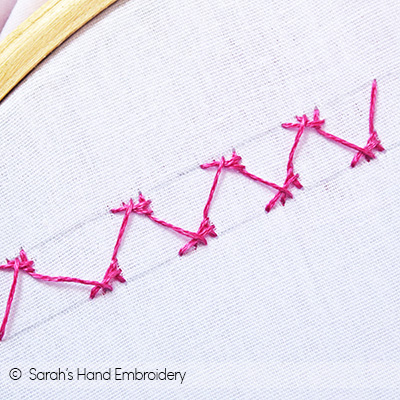
| Fig 7: A portion of the stitch would like this. In this illustration, I have placed the stitches slightly apart. |
Learn this Stitch along with 305 other stitches from our 600-page eBook.

 Sarah has been researching and sharing hand embroidery lessons for over 18 years, making it accessible to everyone around the globe.