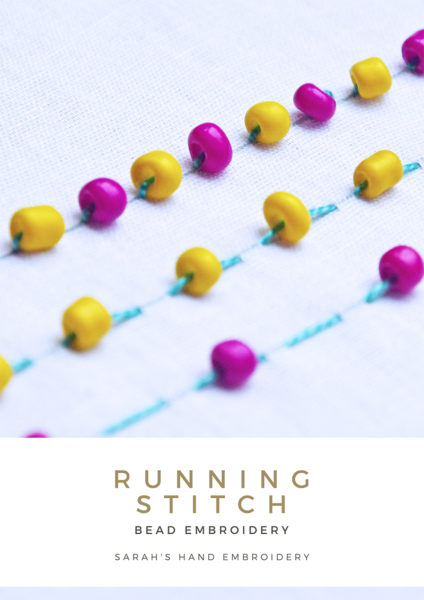
How to do Bead Embroidery with the Running Stitch
This page will show how you can use the most basic and easiest of all stitches to simply secure a bead in place. If you are absolutely new to using beads in hand embroidery, this will be a good place to start. Experiment with various kinds of beads- big, small, long, short, round, chiseled, shells, natural stones, etc… This will give you a feel of how they look when they are secured to the fabric. Go ahead and make a small sampler where all different kinds of beads are attached using the Straight Stitch. Then, make a sampler with the Running Stitch in different variations. I will show you a couple of ways this stitch can secure the beads.
Sample 1: Short Running Stitches
In this sample, I have tried to keep the stitch as short as possible to not show on the sides of the bead. If you want to add an isolated bead to your project, like using it for an eye, just do one single Straight Stitch. When continued as a Running Stitch, it can make beautiful outlines and embellishments for borders. Adjust the space between the stitches to create different visual effects.
 |
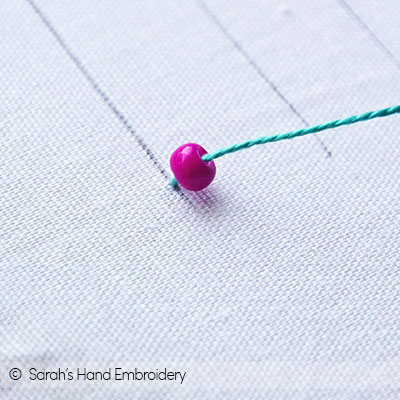 |
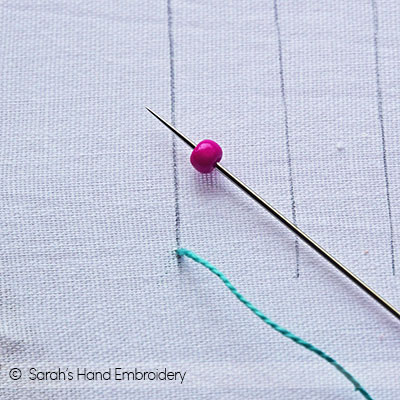
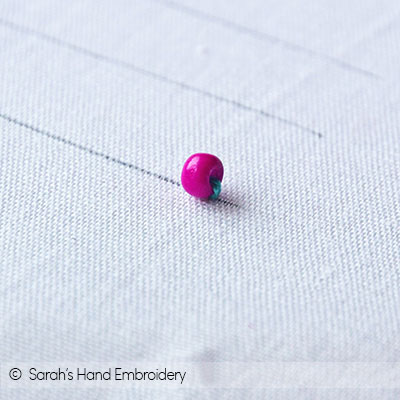
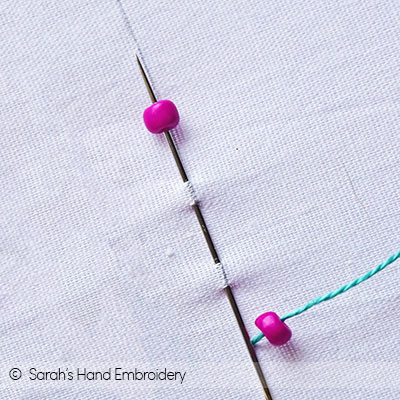
| Fig 1: Come out with your needle at a point in your fabric, and slip in your bead in the needle. If your bead is small to hold in your fingers, then just pick it up with the tip of your needle. | Fig 2: Slip down the bead all the way down to the base. This will help you gauge the size of your bead to pass your needle as close as possible to it. |
 |
 |
| Fig 3: Pass your needle back in through the fabric with a small Straight Stitch. | Fig 4: That secures your bead in place without showing the thread much. |
 |
 |
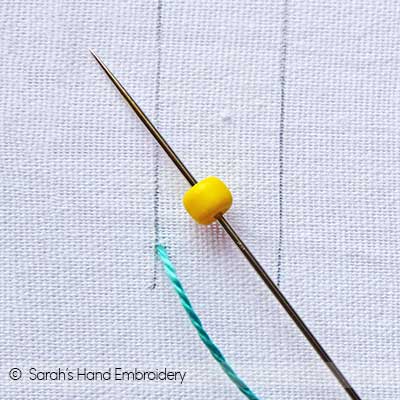
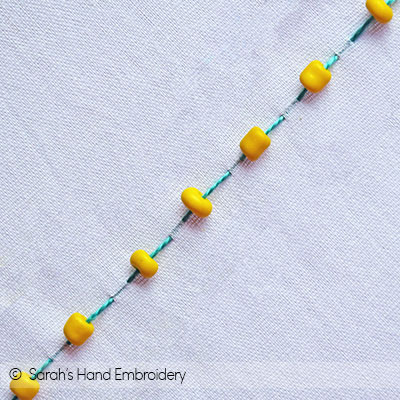
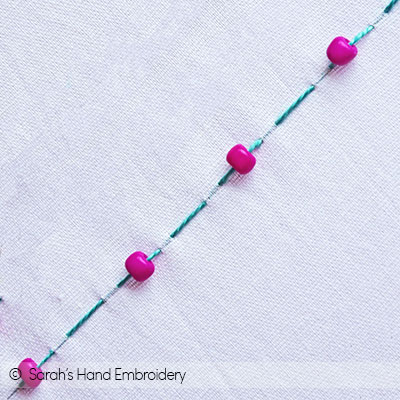
| Fig 5: Continue with the process for the Running Stitch. Slip a bead in each stitch. I am using two colors. | Fig 6: A finished line of the Running Stitch beaded embroidery will look like this. |
Sample 2: Long Running Stitches
Here, I show you how you can add a bead using a long stitch. This allows the bead to move and run through the stitch.
 |
 |
| Fig 1: You begin the same way by coming out from the fabric. Slip in your bead. | Fig 2: Here, it is the length of the stitch is the priority, so take the stitch in through the fabric regardless of the bead size. My stitches are long and show on either side of the bead. |
 |
|
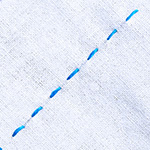
| Fig 3: A row of this Running Stitch variation looks like this. The bead has enough space to move within each stitch. |
Sample 3: Alternated beading
This is a variation created by missing to bead every alternate stitch. It is a fun variation that can inspire you to think about more kinds of variations.
 |
 |
| Fig 1: Start as usual by slipping in a bead in the first stitch. Then, make a stitch without a bead. Next, add a bead. Keep doing that. I am using the sewing method to work this variation. | Fig 2: The finished line looks like this. You can also alternate the lengths of the stitches for a different kind of look, or even use beads of different colors. |
Stitch used in this project
 Sarah has been researching and sharing hand embroidery lessons for over 18 years, making it accessible to everyone around the globe.