
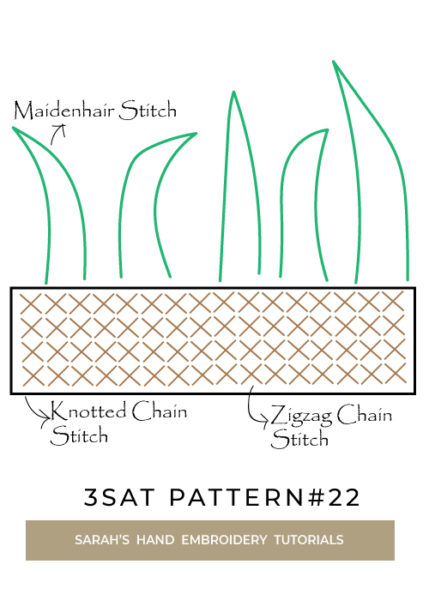
Embroidery Pattern: Maidenhair Ferns.
You will learn 3 Stitches At a Time – Maidenhair Stitch, Knotted Chain Stitch, Zigzag Chain Stitch.
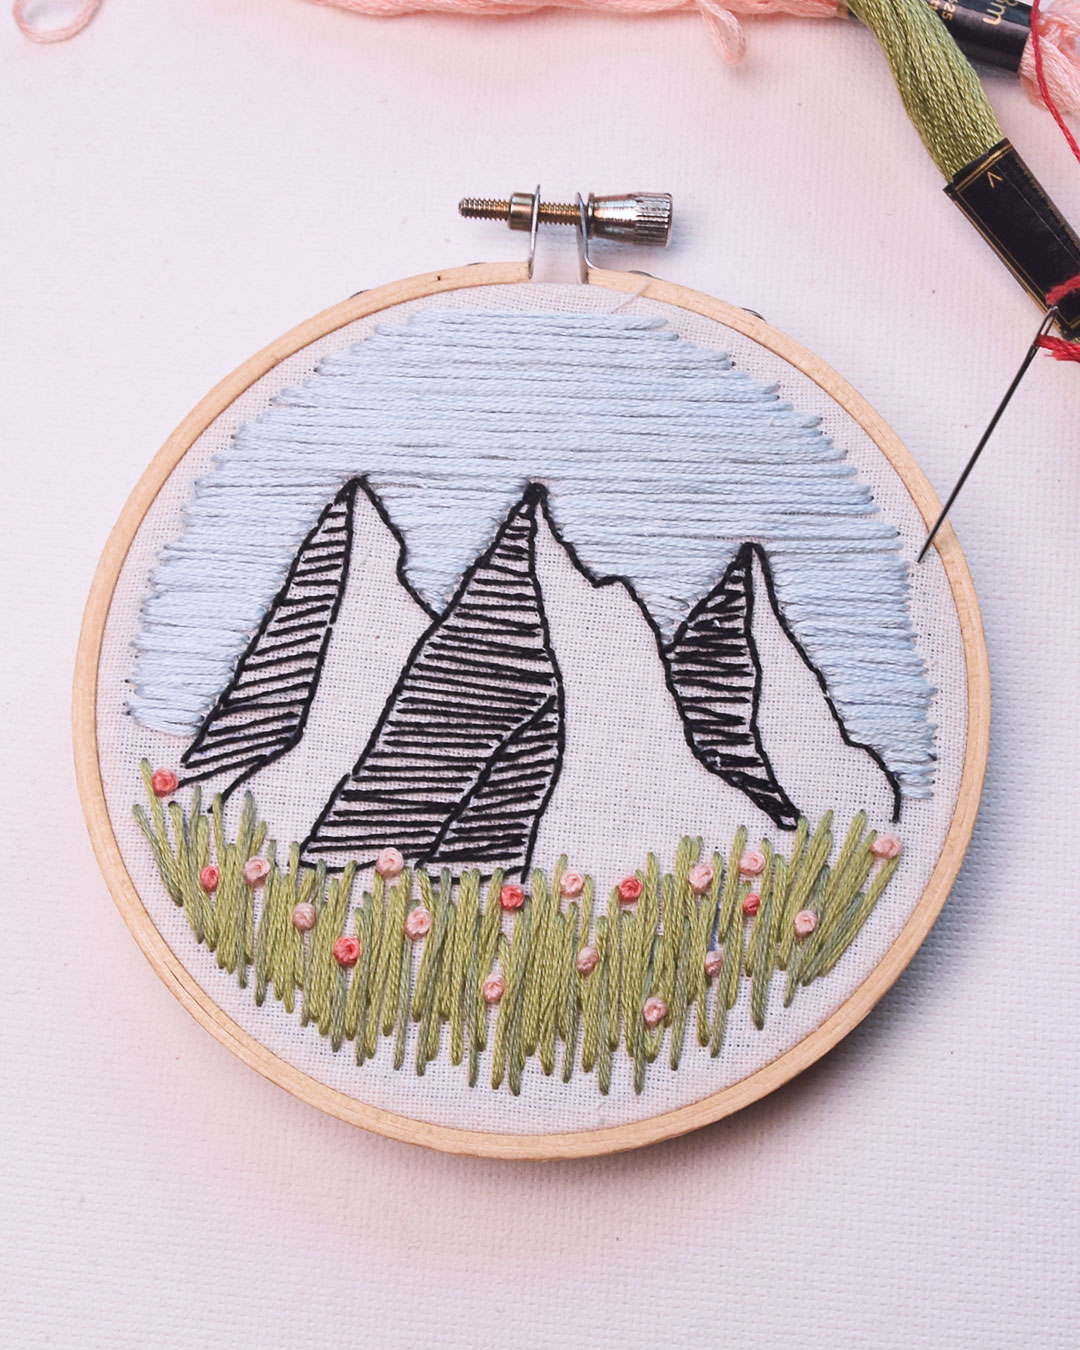
Ferns make our garden look splendid effortlessly. The maidenhair fern is beautiful and gorgeous. It is taken from the shape of the leaves of this fern. the stitch does not replicate it exactly, but I thought it will be great to apply it in stitching some leaves using it. As you see, you will be filling in the leaf with this stitch and taper it as you go up. Don’t forget to upload your finished work here!
|
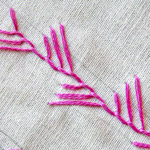
Maidenhair Stitch
|
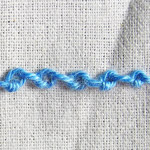
Knotted Chain
|
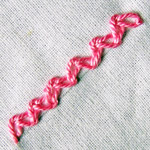
Zigzag Chain
|
The 3SAT Embroidery Project uses patterns and designs that will help you to learn the embroidery stitches quickly and easily. While most of us can learn the stitches, it is difficult to get a pattern where we can apply those stitches while learning. Also, not all of us are comfortable creating patterns to stitch. The 3SAT Project patterns are so easy that you can draw them just by looking at them. Or, just print them out and transfer them to your fabric. Each pattern uses only three stitches, making it super fun and easy to do! You can also use your own imagination and stitches to work over these patterns!
Find more 3SAT Patterns here: 3SAT Project – Three Stitches At a Time Project
 Sarah has been researching and sharing hand embroidery lessons for over 18 years, making it accessible to everyone around the globe.


Thank you for the easy to follow explanation.
Awesome. ☺️
Is there a sample of a stitched version of this pattern? I’m having trouble visualizing how to apply the maidenhair stitch to the shape of the leaves in the pattern. Do you suggest filling in the space with one set of stitches, or following the outline? Or lots of sets of stitches filling the inside of each shape? Thanks!
Hi Carrie,
Each leaf will be filled with a vertical row of the maiden hair stitch. So, you will make 5 rows of the maidenhair stitch, one to fill each of the 5 leaves.
An easy way would be draw a line in the middle of each leaf. This will guide you with the midrib of the stitch. Then, start stitching from the top. Your stitches will be small as the leaves are narrow on the top. In fact, you will have to adjust the number of loops on the sides as the space cannot accommodate many of them. Start with 1 loop on each side. As you work down, the number of loops can increase. As you reach the base, you should be able to add 3 or 4 loops on each side.
Don’t hesitate to adjust the lengths on the sides to work between the outlines of the leaves. ☺️
I hope this gives an idea. I will get the photo of the sample as early as I can.