

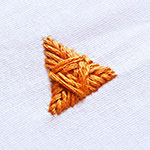
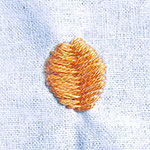
About Open Fishbone Stitch
This stitch is visually similar to the opened fishbone stitch but differs technically. This kind of stitch takes more thread than the opened fishbone stitch.
How to do Open Fishbone Stitch
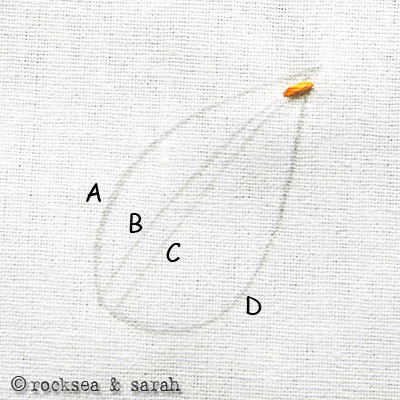
I will work on a leaf design to help illustrate this stitch better. I have divided the leaf into two, technically, three. I have named the stitch lines A, B, C, and D. We shall be working between these lines. This stitch is worked from top to bottom.
 |
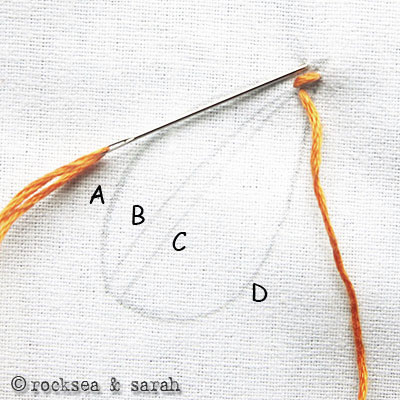 |
| Fig 1: We will begin by bringing out the thread from D and taking it in through B. Make sure it is angled diagonally as shown in the picture. | Fig 2: Now, bring the needle out through C. Take the needle through A. |
 |
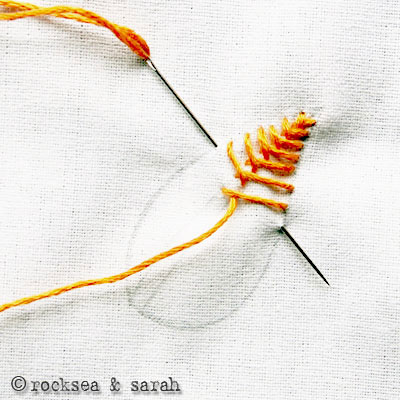 |
| Fig 3: You get a stitched ‘crossed’ at the bottom. Now, continue the process by bringing the needle out through D and taking it in through B. Then, bringing it through C and taking it in through A. | Fig 4: Half way through, the leaf looks like this. We keep working outside in for one half and inside out for the other half. |
 |
|
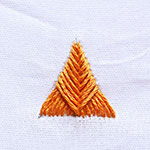
| Fig 5: Our finished leaf would look like this. The stitches seen here are not diagonal enough though. |
Learn this stitch along with 305 other stitches from our 600-page eBook.

Fishbone Stitch Family


 Sarah has been researching and sharing hand embroidery lessons for over 18 years, making it accessible to everyone around the globe.


Amei, tudo perfeito.
Abraços,
Liziana
Thank you for all your tutorials. I cannot imagine how much work these must have been for you!! Embroidery is new to me but have learned sooooo much with your help!
I am quite hopeless with such stuff but I do like to see what magic other can weave!