
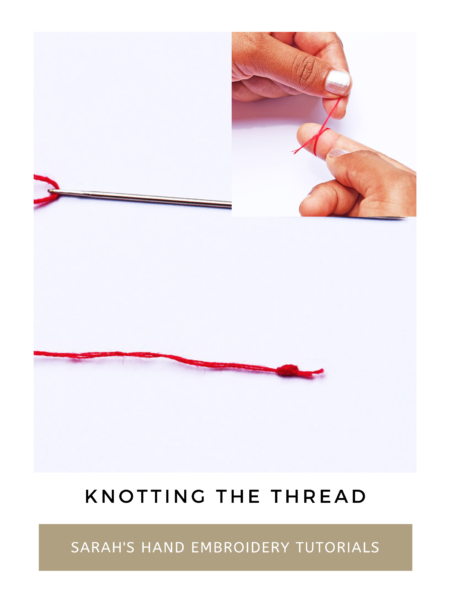
How to Knot the Ends of a Thread
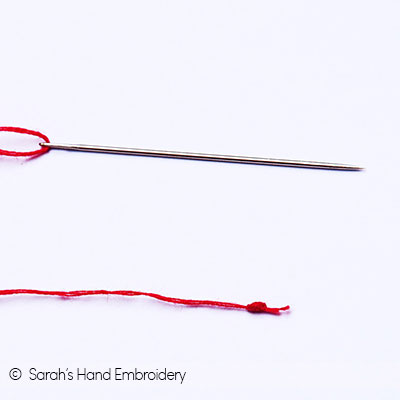
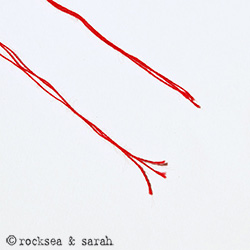
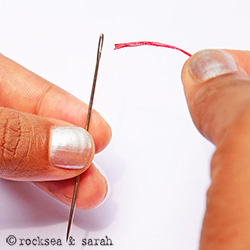
Like there are many ways to thread a needle, there are different ways to knot the thread. You just need to find what works best for you. The easiest way to knot would be just to take the end of your thread and tie a knot as you would while tying your shoelace, also called The Overhand Method. Do a double knot to make it bigger. I have shown this in the video. This has been my preferred method for quite some time. I will show you two other methods here. Make sure you are not doubling the thread while knotting it—you will end up with six thickness strands. So, whatever method you follow, knot only one end of the thread, and leave the other end open.
The Finger Wrap method (variation 1)
 |
 |
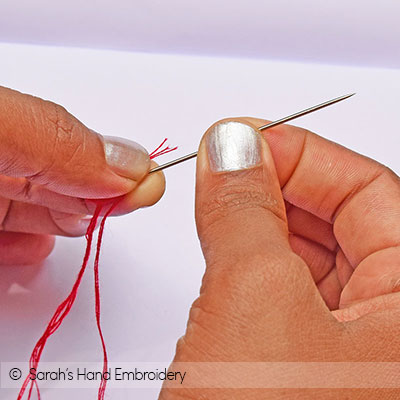
| Fig 1: Once the needle is threaded, take one end of the thread and pinch it between your right-hand fingers. Hold a part of the thread with your right hand. | Fig 2: Now, twist the thread around your right-hand index finger, as shown, and continue pinching. |
 |
 |
| Fig 3: Now, roll your thumb over the index finger while still in the pinching mode. This will cause the wound thread around the index finger to also roll. | Fig 4: Once the thread rolls and falls out of the index finger, pinch the rolled part of the thread and softly pull it down towards the tip. |
 |
|
| Fig 5: What you get is a knot at the tip of the thread. Leave the other end of the thread open. Do not knot using both the ends of the thread, as it will make the thread six strands thick! This method of knotting is what I follow. |
The Finger Wrap method (variation 2)
If the above method did not work for you, here is another similar approach, but with a teeny change. In method 1, the chances are that maneuvering your fingers to keep the clumped thread in place is difficult. This method will show a minor tweak that will help you with it.
 |
 |
| Fig 1: Wind one end of the thread around your index finger. | Fig 2: Now, roll the thumb over the wound thread and index finger. Roll it till the thread falls out of the index finger. |
 |
 |
| Fig 3: While still holding the rolled and fallen-out thread between your index finger and thumb, use your middle finger and thumb to pinch the thread softly just above the index finger. | Fig 4: Now, take out your index finger to clear the coast and pull down the pinched thumb and middle finger. |
 |
|
| Fig 5: The result is a similar knot. If that was too much of a stunt, try the following method, which might work better for some. |
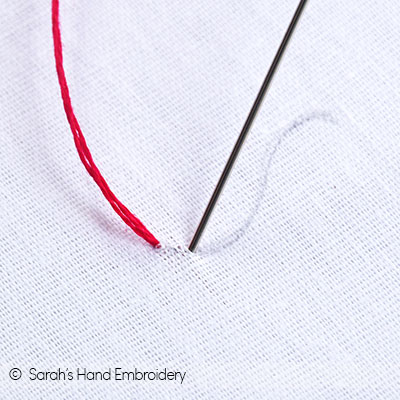
The Needle Wrap Method / The Quilter’s Knot
This is another method. You can try it if the above two methods do seem not to work. It is a pretty different method that does not involve rolling the thread between your fingers.
 |
 |
| Fig 1: Place the needle and longer end of the thread together. | Fig 2: Pinch them between your thumb and index finger. |
 |
 |
| Fig 3: Take the thread (NOT the one closer to the needle), and wind it twice or thrice around it. | Fig 4: Clump it down to the bottom by pulling the thread downwards. |
 |
 |
| Fig 5: Now, gently pinching the needle, the end of the thread, and the clumped thread between the fingers, slowly pull out the needle. | Fig 6: The wound and clumped thread form a knot at the end of the thread as you finish pulling out the needle completely. |
Learn three ways to knot your thread- The Overhand, The Finger Wrap, and The Quilter’s Knot.
Related posts about handling embroidery threads

Learn more about Hand Embroidery along with 306 stitches from our 600-page eBook!

 Sarah has been researching and sharing hand embroidery lessons for over 18 years, making it accessible to everyone around the globe.


Even more people don’t know that floss has a smooth and rough direction.
When doing embroidery and/or counted cross, etc. always pull the floss in the same direction.
This is why I never cut more than what I will be using immediately.
I knew about the different ways to make knots.
That’s great knowledge! Thank you for sharing it, Marny. I can add this information when I start the section on Needlepoint!
You’re welcome 🙂
I was so excited to learn the method I’ve been spreading the word hahaha I just find it hard to believe that such a simple method has taken half a century to learn 😉
True! 😄
Good morning, with method three I take the end of the thread to the pointed end of the needle, wind the end of the thread around the needle and pull through as in Fig 5 – After 50 years of stitching I only recently found this method which was referred to as a ‘Tailors knot’ and I have been using it ever since.
Oh, I just tried it, and it worked too! Thank you for letting me know the name of this method. 🙂