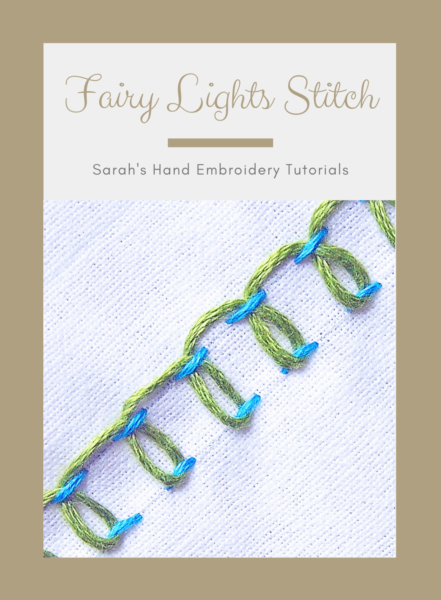
About the Fairy Lights Stitch
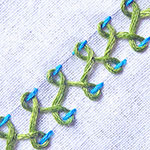
The Fairy Lights Stitch can add a beautiful charm to edgings and borders. While working on my Hand Embroidery eBook, I realized that this stitch needs a name and cannot be pushed away as a mere variation. The loops reminded me of the fairy lights of sorts and prompted me to name it the Fairy Lights Stitch!
How to do the Fairy Lights Stitch
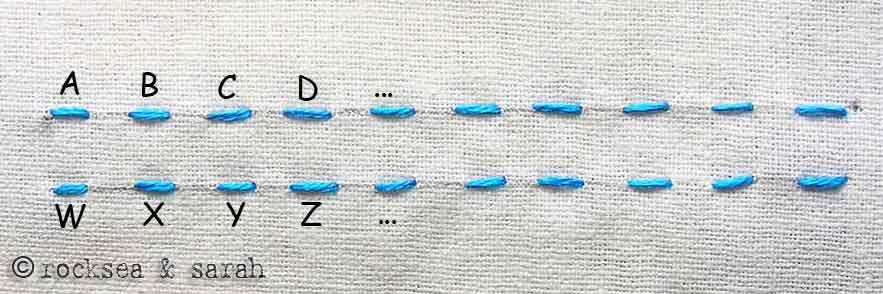
You need to know how to create a foundation using the Parallel Running Stitch.
 |
||
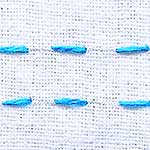
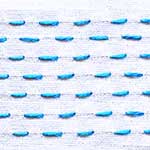
| Fig 1: Lay the foundation by doing the Parallel Running Stitch, as illustrated. | ||
 |
||
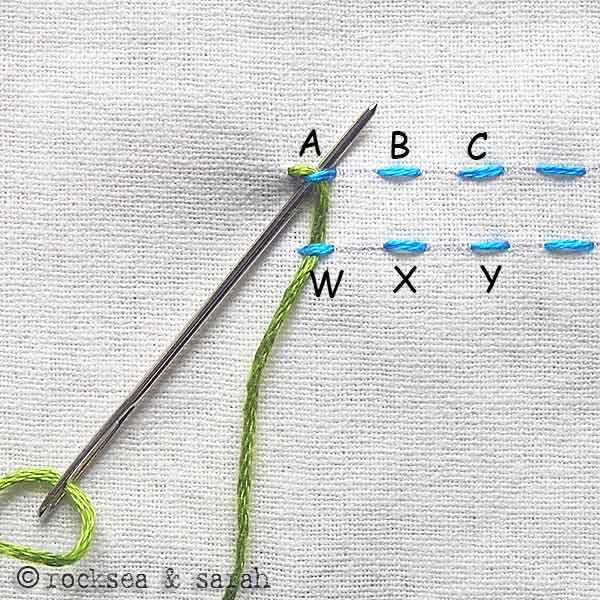
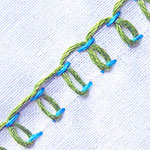
| Fig 2: Take another thread and bring it out from near A. Take the needle under the stitches A and W, as shown. Turn around the needle and take it from under A again. Continue this action by taking the needle under B and X, C and Y, and so forth. Make sure not to pluck the fabric while doing this. |
||
 |
||
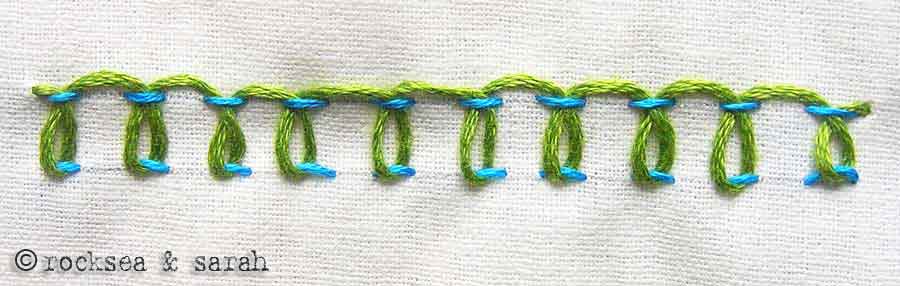
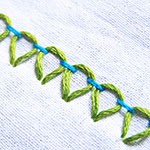
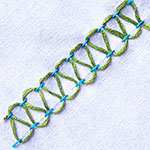
| Fig 3: A finished line of this variety would look like this. The serpentine visual makes it suitable for edging and boundary designs.
Learn to do Fairy Lights Stitch in 2 minutes! Learn the Fairy Lights Stitch along with 305 other stitches from our 600-page eBook. |
||

Running Stitch Family
|
Parallel Running
|
||


 Sarah has been researching and sharing hand embroidery lessons for over 18 years, making it accessible to everyone around the globe.