

About the Crossed Feather Stitch
The Crossed Feather Stitch is a ‘double’ Straight-Sided Feather Stitch. We start by making a single row the Straight-Sided Feather Stitch and fill in the gaps using another row. This gives the stitch a more filled effect and quite appeasing to create beautifully decorated bands for borders and thick outlines.
How to do the Crossed Feather Stitch
 |
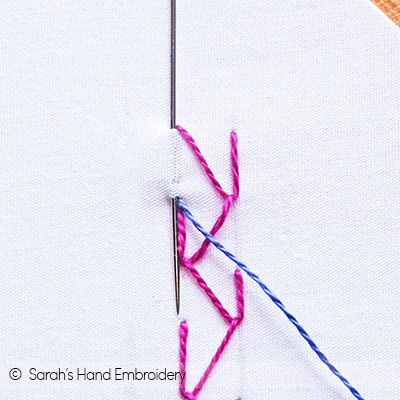 |
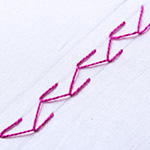
| Fig 1: Start by working a row of the Straight-Sided Feather Stitch. Next, bring out a fresh thread from the bottom of the first ‘gap’ in the row. |
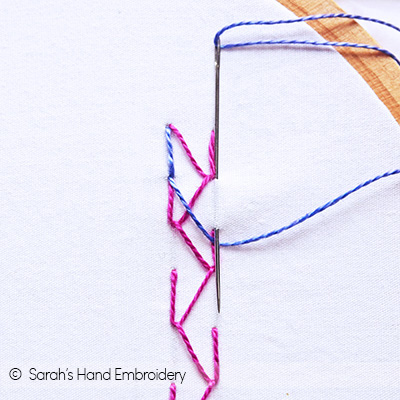
Fig 2: Cover the ‘gap’ by taking your needle in and out of the stitch points, as shown. |
 |
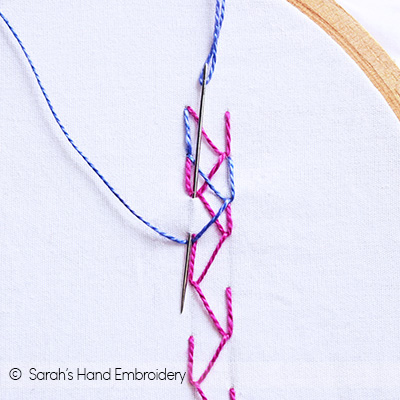 |
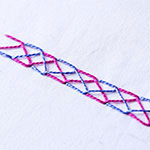
| Fig 3: Now, you are ready to start working on another row of the Straight-Sided Feather Stitch, using or covering the ‘gaps’ in the earlier row. | Fig 4: As you do this, the stitches will criss-cross each other, creating a beautiful ‘netted’ effect. |
 |
|
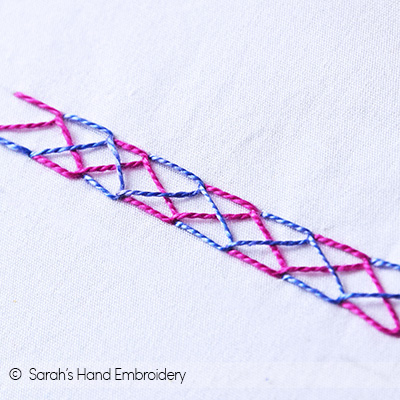
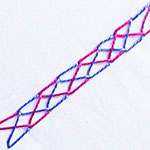
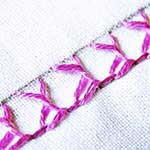
| Fig 5: A row of the Crossed Feather Stitch will look like this. |
Other Stitches from the Feather Stitch Family


Learn this stitch and 300 more from our 600-page eBook.

 Sarah has been researching and sharing hand embroidery lessons for over 18 years, making it accessible to everyone around the globe.


