
String Art Embroidery on Paper
Hand Embroidery is possible on anything that you can get your needle to go through. One good medium is paper. Here is a quick tutorial on how to stitch over the paper using hand embroidery stitches and a combination of String Art Embroidery. This project will take about just an hour to make with minimum tools and resources!
|
|
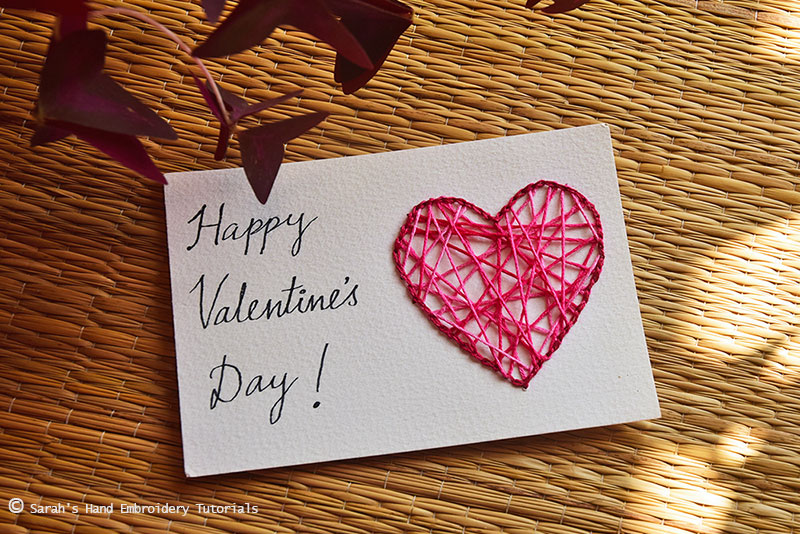
This project is perfect for the Valentine season. It is simple and quick to make inspiring you to make other seasonal patterns. I will be using the Chain Stitch for the outline to make the base strong. Also, the Chain Stitch leaves a trail of Back Stitches behind the paper, keeping it neat for a postcard. You can try this on any normal card too. I hope you enjoy doing this! Let us know how you found this project!
 |
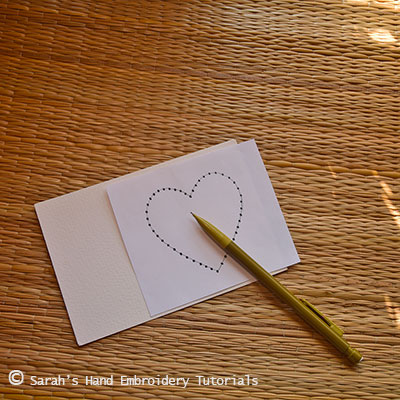 |
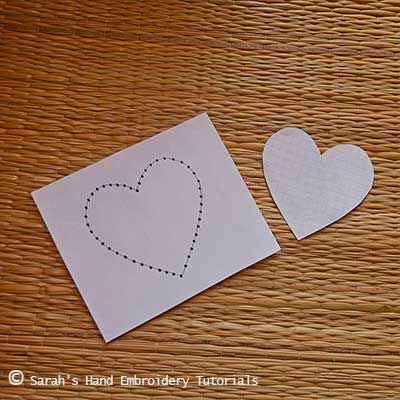
| Fig 1: Get the stencil or pattern of a heart that fits your postcard. I made a stencil (right) and a pattern with the stitch points marked (left). Marking the stitch points makes it easier to stitch on the paper later. | Fig 2: Trace the heart onto your postcard or card paper. If you are transferring the pattern, you just need to transfer the stitch points. Else, just draw the heart using the stencil and mark the points directly over the postcard. |
 |
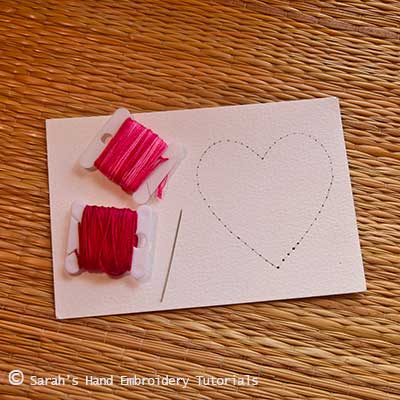 |
| Fig 3: Now, use a sharp needle to pierce through the stitch points. This will make stitching easier as we will be using the ‘stab’ method and need to locate the points exactly. | Fig 4: Get your threads ready. I have used a hot pink thread for the outline of the heart and a variegated pink thread to fill it in with. |
 |
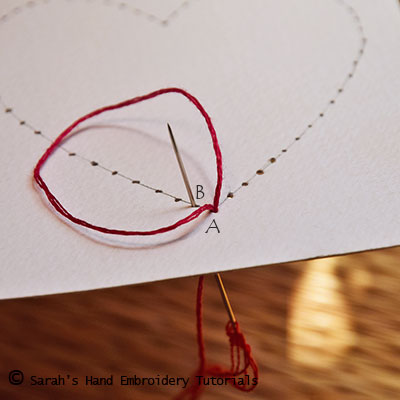 |
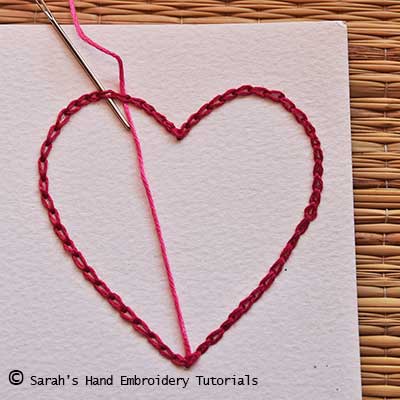
| Fig 5: Let’s first do the outline using the Chain Stitch. Start from the bottom tip, which is marked as point ‘A’. When you use the ‘stab’ method, you will be going in or coming out through a stitch point one at a time. Come out through point ‘A’ completely. | Fig 6: Then, go in through the same point ‘A’ but, before pulling it down completely, come out through ‘B’ and loop the thread around the needle as shown. |
 |
 |
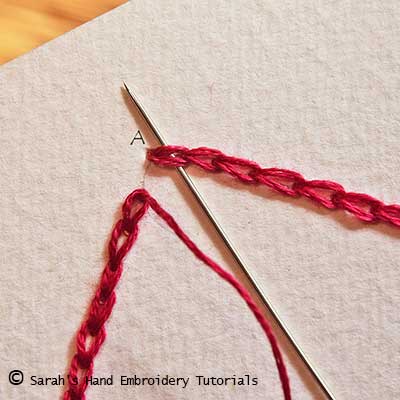
| Fig 7: Now, pull out the needle completely to form the first chain. Since the stitch points are already marked, you cannot try to poke into the other parts of the paper. If you do so, you will run the risk of getting the paper torn and damaging the postcard. | Fig 8: Again, go in through ‘B’ and come out through ‘C’ and loop the thread around the needle as shown. Make sure you pull out the thread gently to avoid any accidental knots that could form in the thread while stitching. |
 |
 |
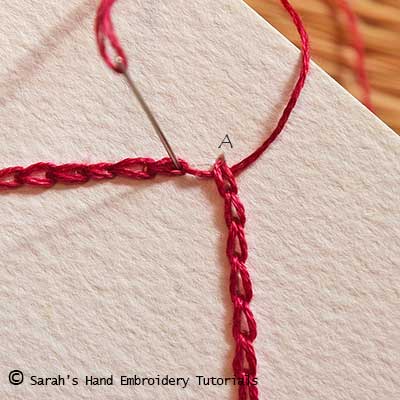
| Fig 9: We have stitched two chains! This is how you would make all the other subsequent chains. | Fig 10: When you have stitched all around the outline and are left with the last chain to complete, instead of doing the regular Chain Stitch, use the Reverse Chain Stitch method. Pass the needle under the very first chain that you had made, as shown. |
 |
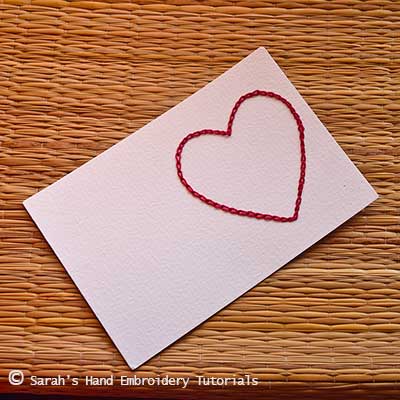 |
| Fig 11: Then, take the needle in through the last stitch point as shown. This makes the Chain Stitch outline seamless! | Fig 12: The outline is done! Now, we can get out thread ready for the string weaving. |
 |
 |
| Fig 13: Bring out the needle from one of the stitch points. It will be best to do it through the bottom tip of the heart. Make sure the needle is inside the heart. If not, pass it under the closest stitch to get it inside. | Fig 14: Take the string to any point across the heart and pass the needle under the chain stitch. Then turn it around and pass it under the very next chain stitch, as shown. |
 |
 |
| Fig 15: Again, pass it under a chain stitch which lies across and turn around, as shown. Keep up with this process. Try to cover as much ground as possible. | Fig 16: Using a Tapestry Needle will help in the string weaving. Try to pass under each chain stitch at least once. I have used all the 6 strands of the floss here, but the thickness is your choice. |
 |
 |
| Fig 17: You can, of course, decide to stop the weaving whenever you feel satisfied with the coverage. When you want to end the weaving, just take the needle through the nearest stitch point and finish it off with a knot on the other side of the postcard. | Fig 18: The finished heart looks like this. I did not pass under every single chain stitch. Six strands of thread filled the heart for me satisfactorily by this stage. |
|
|
| Fig 19: Add the wordings to your postcard and it is ready! The back of the postcard looks neat with a heart made in Back Stitch left by the making of the Chain Stitch outline. |

Related projects
|
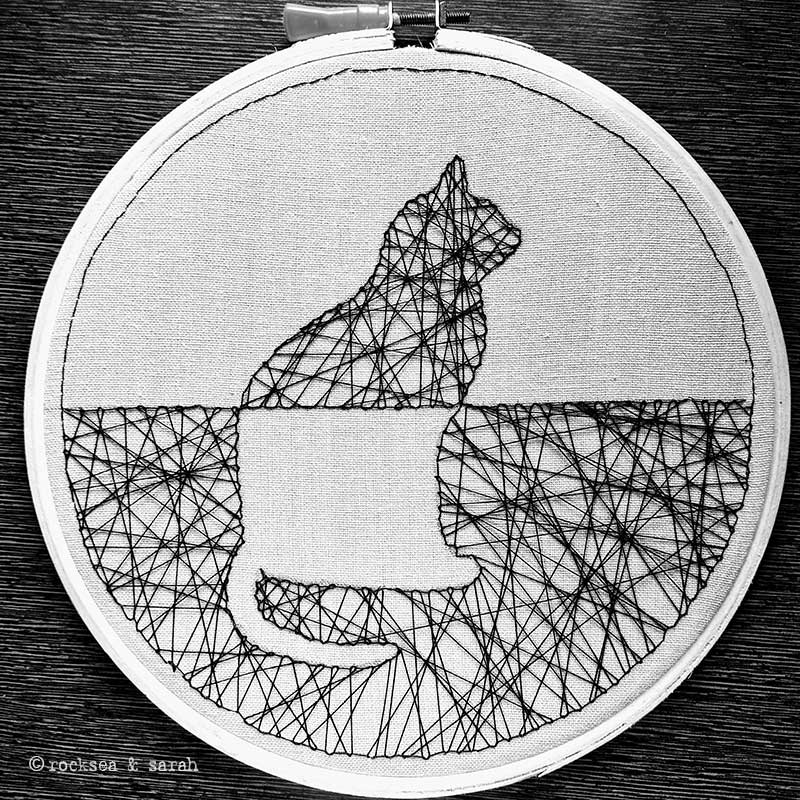
String Art on fabric
|
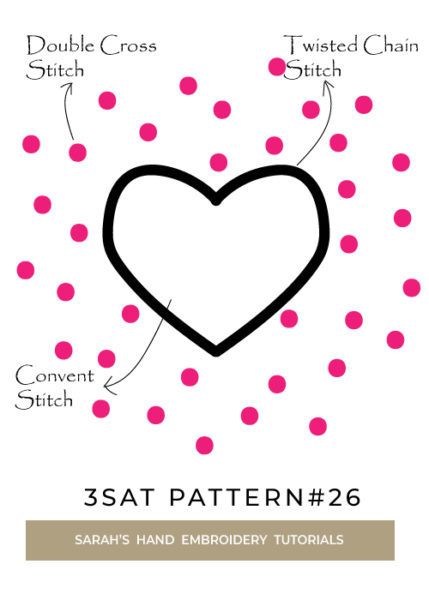
3SAT pattern
|
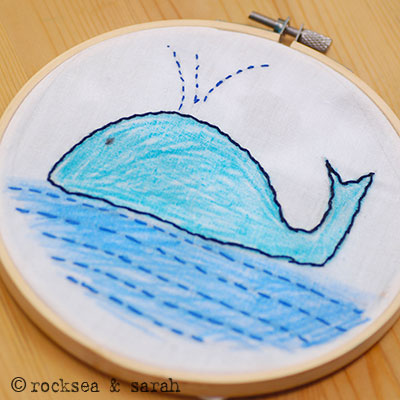
crayons and stitching
|
 Sarah has been researching and sharing hand embroidery lessons for over 18 years, making it accessible to everyone around the globe.


everything looks so darling….I intend to try these for my cards this year. Thanks for the ideas!
That is great, Patricia. Please share a few with us if you can. I would love to see them! Thank you.
While browsing Pinterest I came across a Pin I am actually happy to have decided to read😏 thank you for giving me a new creative avenue to explore, I needed this😊
Glad you are here!
Sarah gracias por esta idea. Mi sobrina de 7 años le hizo a la mama una casita, montaña y un sol con esta tecnica.
Que pena pero perdi la foto.
Gracias
Hi Sue,
I am so thrilled to know that your niece made beautiful scenery using this technique. Sorry that you lot the photo. If you ever get a chance to get another photo taken, do share it with everyone here. It would have been so lovely to see it. My best wishes to your niece. 🙂
Warm regards,
sarah
Hi Sarah, Here are samples of of the heart string art the kids stitched last night. The kids range in age from 7-11, both boys and girls. They really enjoyed the project. Thank you! ❤ xxoo, Daria.


Wow, Daria!! 😍😍 How beautiful! They all are great! I also love the idea of using shimmery shiny paper as the base.
Please give the kids our appreciation. ❤️ Thank you for sharing their work here. It means a lot to us and it will inspire many others.
Much love,
Sarah
Sarah, What a super project. I work with kids living in a shelter ranging in age from 2 to teen. I am always looking for projects that can be modified as needed and be done by all the kids, (even if the little ones need help). Thank you!
Hi Daria,
It is great to know that you work with kids! I am so happy that you found this project useful. I hope you are able to do this project successfully. If you ever do, I invite you to share some of their works here in this comment section. We will be happy to see some of it and it will also inspire many others who are involved with working with children!
Much Love,
Sarah
Love this project! This will be a card for my nephew with a valentine’s birthday.

Awesome, Laura! Thank you for trying it. I wish your nephew a wonderful birthday! ❤️😊
I love she used two different fibers!
🩷
Hi Sarah,
I am an arts based therapist from Bangalore India. I am working with a 10 year old visually impaired girl and I did this with her yesterday. It worked beautifully, she found the perforated holes on the paper easy to embroider on, and she was so happy. I love your tutorials 🙂

Thank you
Love
Hi Vasundhara,
What a heartwarming comment! To know that this project brought happiness to a child is one of the most rewarding feelings! Thank you for using this idea for her to work on.
❤️ Sarah
nice idea
Thank you, Madhumita!
Thank you for the idea 🙂 I would try with a flower 🙂
Hi Patty,
Have fun stitching the flower! If you’d like please upload your project here. We would love to see it and am sure it will inspire others.😊
I love sewing on paper! Thank you for this very clear lesson on chain stitch 🙂
Awesome! 😊
Great instructions. Beautiful and fun result. Thank you for the inspiration.
Thank you, Sonja! I hope you have fun trying it. 😊