
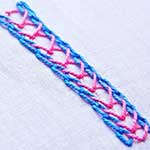
About the Braid Stitch
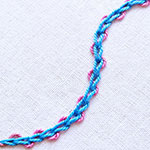
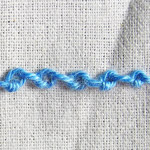
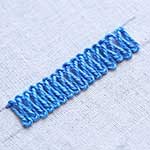
The Braid Stitch is made with a combination of the Twisted Chain Stitch and the French Knot (?). It is worked from right to left by a right-handed person. It can also be worked from top to bottom if stitched sideways. The Braid Stitch is rich and can create beautiful outlines and thick borders. Work between two parallel stitch lines.
How to do the Braid Stitch
 |
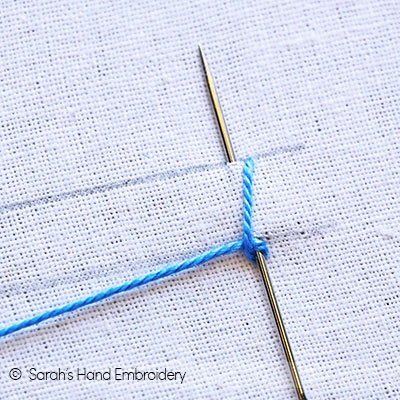 |
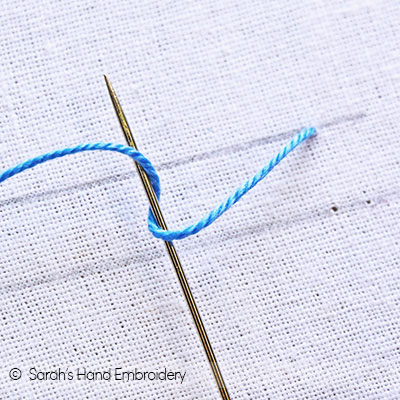
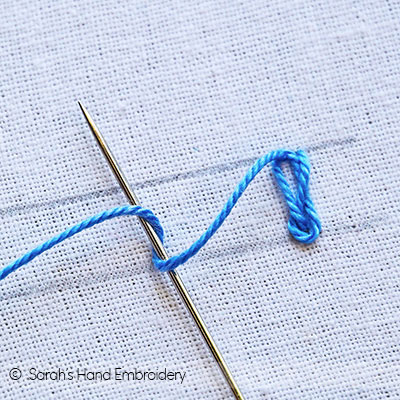
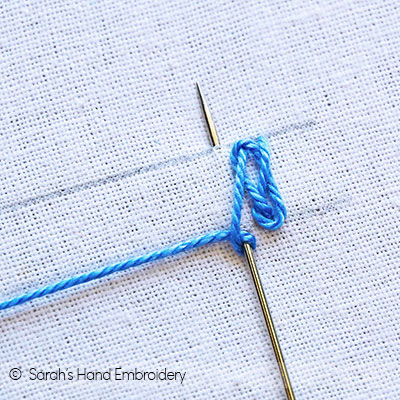
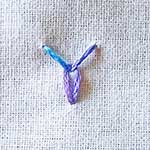
| Fig 1: Start by coming out from the top stitch line. Then, using your other hand, wrap the thread around the needle from right to left, twice, as shown. | Fig 2: Tighten the wrap and take pass the needle in through the bottom stitch line, and come out from the top one, as shown. |
 |
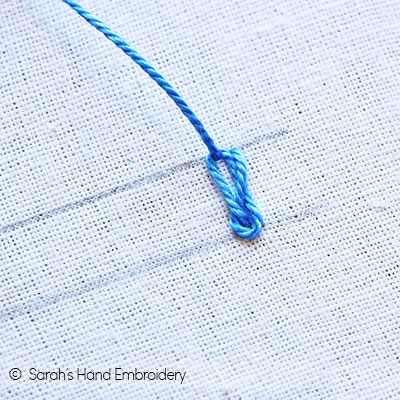 |
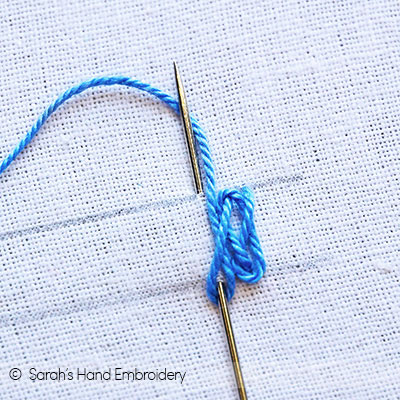
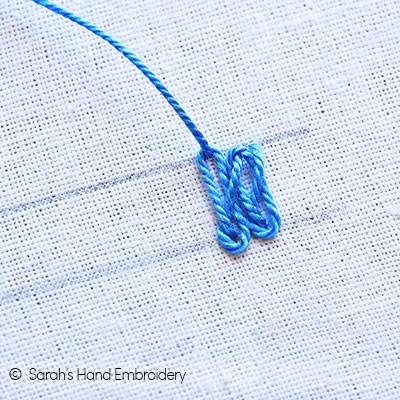
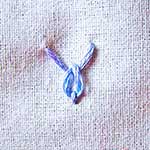
| Fig 3: Next, loop the thread under the needle as shown. Mind the directions, as it will make a big difference. | Fig 4: Pull out the needle completely. What you see is a bean-like shape |
 |
 |
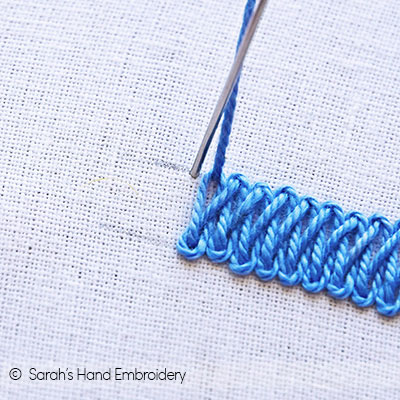
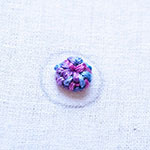
| Fig 5: Next, wrap the thread around the needle, as shown. | Fig 6: Pass the needle through the bottom stitch line and come out from the top one. |
 |
 |
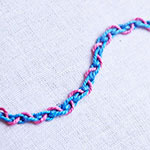
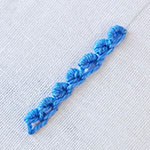
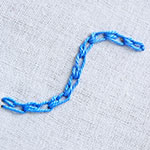
| Fig 7: Loop the thread under the needle and pull out the needle. Continue doing this for the entire row. | Fig 8: Your Braided Stitch will start to emerge. |
 |
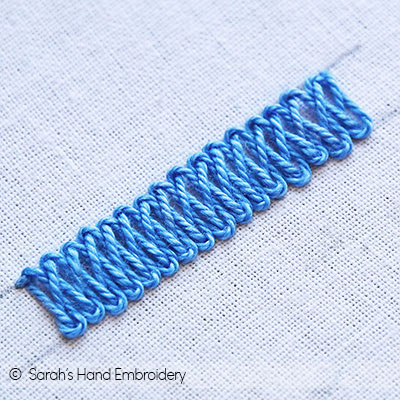 |
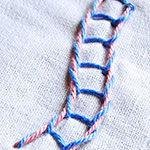
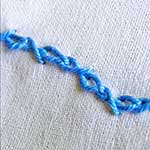
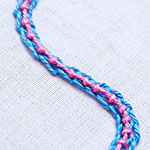
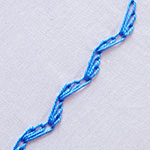
| Fig 9: Finish up by anchoring the last stitch down as shown. | Fig 10: A finished Braid Stitch will look like this. |
Learn to do Braid Stitch in 2 minutes!
Learn this stitch and 305 more in our 600-page eBook!

Other related stitches from the Chain Stitch Family
|
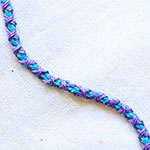
Partial Whipped Ch
|
||
|
Raised Cup Stitch
|
||
|
Triple Chain Stitch
|
Sailor Stitch
|
|
|
Overlayed Laced Ch
|
||
|
Zigzag Twisted Ch.
|
||
|
Tied Chain Stitch
|
||
|
Shell Stitch
|
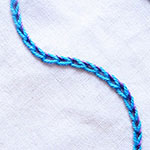
Waved Chain
|
|
|
Braid Stitch
|


 Sarah has been researching and sharing hand embroidery lessons for over 18 years, making it accessible to everyone around the globe.


Thanks for your reply! Keeping the width of the stitch under 1/4 inch helped stability, as well as thicker threads. After I sent you my question, I saw a Russian lady demonstrate this stitch worked quite wide and in a closed circle. She then poked the side loops in order to disarrange the stitch! After working several rows of circles, one inside the other, and poking the stitches she created a beautiful Chrysanthemums (mums) style flower. Just amazing!
Hi Candida,
I can imagine how the Russian lady must have used this stitch innovatively. I am going to try it too! Thank you.
Hi Sarah, I have a love/hate feeling for this stitch. It comes out beautiful, when well-made obviously, but no matter the thickness of the thread or the width of the stitch it is easily disarranged when manipulated. Those loops at the sides aren’t secured enough and can lift easily, even with a pass of fingers. It is purely a decorative stitch to look and not handle, frame and hang up. Do you know any trick to make this stitch more stable? Thanks
Hi Candida,
I agree that this stitch is not always a ‘stable’ one. The bigger the stitch, or the distance between the lines, the looser the stitch will be. The smaller the stitch, the more stable it will be, and it is acceptable to use on projects going into washing. I have uploaded the video tutorial of this stitch. This was done on a pattern that I intended to patch up on another fabric and would go into washing.