
In this tutorial, the step by step process on how I went about finishing this design is mentioned. You may click on the stitch name to go to the lessons of those stitches. I have used Anchor thread number 47.
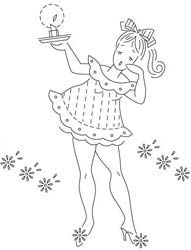 | 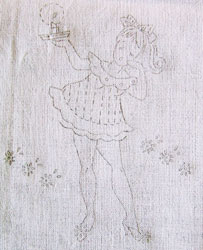 |
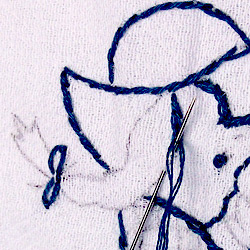
I have traced the design to a white cotton fabric using carbon paper.
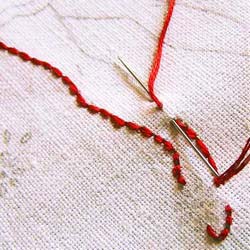 | Back Stitch: I began to start the embroidery with back stitch. Personally, I felt it will be good to make the girl’s legs, hands and face using this stitch. |
 | Outline Stitch: The outline stitch was used for the frock as it would give a thicker straight looking flow stitch. |
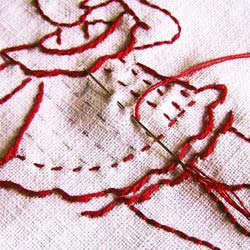 | Running Stitch: The design on the girl’s frock was apt for a running stitch. Usually, running stitch is good for making strawberry seeds. I used this stitch to even do the glow around the candle light. |
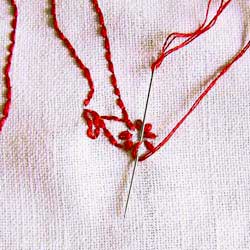 | Lazy Daisy: All the flower pattern in this design is done in lazy daisy. The girl’s yawning mouth is also done using a single lazy daisy. |
 | Stem Stitch: Just to demonstrate the stitch, I decided to incorporate this into the candle stand. |
 | Split Stitch: I felt the split stitch was apt for the hair as it would give a thicker fuller stitch. I took two strands of the red floss and doubled it, so that the ‘splitting’ is easy. |
 | French Knot: The best way to fill in dots or small circles is using French Knots, which I did on the frock and at the center of each flower pattern. |
 | Straight stitch: Finally, I gave the finishing touch to the girl by making single straight stitches (single running stitch). I made its eyebrows, eyes, knees, and inside of ribbon using single straight stitches. |
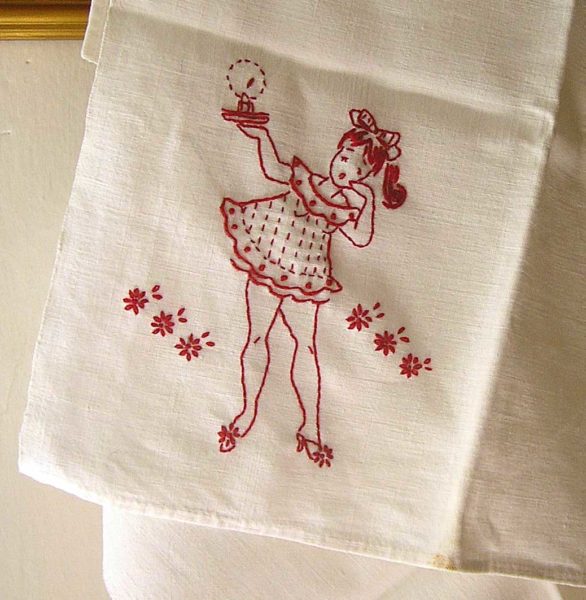
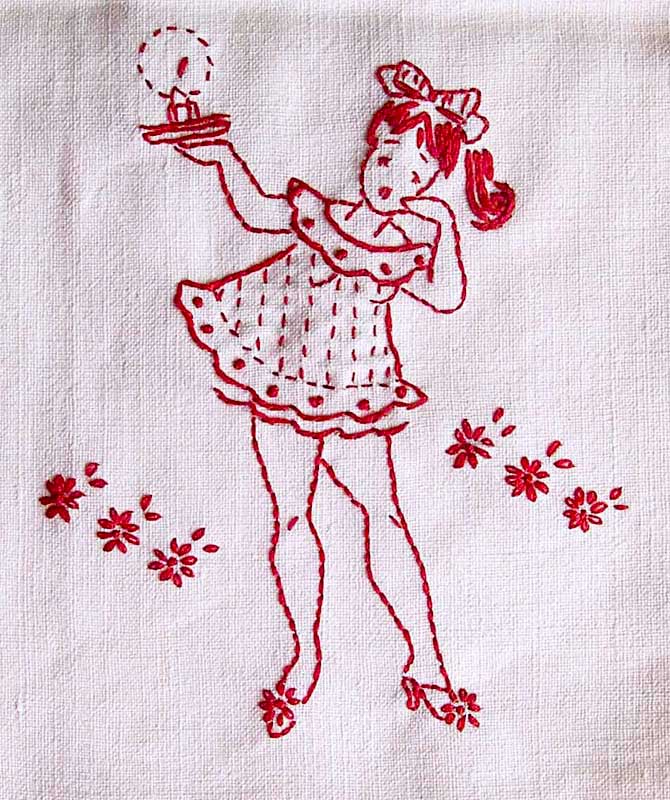 | Our finished ‘sleepytime girl’ looks like this. :)Click on the image for a bigger version. |
Note: This design helped me to incorporate all the stitches traditionally used in Redwork and Bluework helping me to explain this lesson to you. Contemporarily, different kinds of straight stitches can be used to work these embroideries. This free design called ‘sleepy-time girls’ has been borrowed from needlecrafter.com.
Learn about Redwork or go to Bluework lessons:


One of the first projects ever we worked on in our class. After a long finally got time to post it here. Thanks, Sarah for allowing me to find the hidden talents in me.
Sujatha, I have no words to explain how beautiful your redwork has come out. I am happy you are enjoying the hand embroidery lessons with me, and it is a delight to always see what you have stitched!
Sarah,
Uploading our first hand embroidery class work.
It was a great learning experience for me.
Amazing how simple work brings out such beautiful output.
Wow, thank you for uploading, Swathy. Beautifully worked!
Dear Sarah, do you teach online (Zoom or Meet). I live in Chile. How could I have information about your lessons? 😊
Dear Sarah, do you teach online? (Zoom or Meet). I live in Chile. How could I have information about your lessons? 😊
Hi Maria,
Thank you for enquiring. Yes, I do teach online. I am in the course of preparing to start a batch on Tuesdays 9-11AM EST. So, that will be 11AM to 1PM Chile time. It will be zoom classes. I love taking live online classes as there is a lot of interaction and exchanging of ideas between students. I can give you more details and fee information via email. Can I use the email id you have provided?
Sarah
Some of my redworks done after being inspired by your tutorials. Done few years back for my kids quilt .It’s done in 2012.


Wow, Anju! Thank you for sharing these! They are beautiful, especially the second one! 🙂
Thankyou
I need to know how to stitch a circle, esp. a small one. I have trouble spacing the stitches.
Hi Melissa,
You can use Satin Stitch if the circle is really small. It will fill it in though. If using straight-line stitches on a small circle, the easy way out would be to use small Back Stitches and avoid stitches like the Stem Stitch or Outline Stitch. You can also try the Eyelet Stitch ( https://www.embroidery.rocksea.org/stitch/straight-stitch/eyelet-stitch/ ) if it suits the patterns.
Let me know if it helped.
Love all of this .
Thank you, Shirley!
hi Sarah,
i am learning embroidery too but i need to know on what fabric do i do my projects? i want to know the name of the fabric and it’s thickness pl.
thanks
Sarah, I love your work, you make it look so easy. I’m going to share your page on my facebook quilting page.
Wow! This is adorable…I want to learn. Thank you for inspiring me.
Can you please post some more designs of this type?
Hi,
I just now saw this. It’s too good. I’ll try this on my daughter’s dress and then will send you that picture.
Hi Sarah,
I just found your site and I love it! This is my first try at hand embroidery…..
I am a lefty and I believe that I figured out how to reverse your instructions but one thing I can’t find. How do you handle curves and circles? Right now I am working on an outline stitch. Also, how long are your stitches?
Thank you for your help
Liz
hi mam, i’m very interested in embroidrry can u please send me some easy designs
Hi Sarah,
its beautiful and very much informative for mi as a beginner in embroidery.i heard about red work and now i know how to work with it.thanks
i have abook is name (danish cross stitch) you know this book
waaaaaaaaaaaaaaaaaaw
<3
realy i love it
<3
Hi Sarah,your lessons are really very interesting and helpful for a beginner like me.could you please tell me how can I transfer patterns to the fabric.
Dear Elizabeth,
I usually transfer from paper to fabric using a simple carbon paper, which is available in any stationery store. It is washable. If you want to free draw, you can use pencil.
Very nice sarah
Very useful too.
Hi Sarah,
I have thoroughly enjoyed looking over your site. I really like this sleepy time girls lesson. Your a very good teacher!
Hi-I love your site! The picture dictionary has been especially useful! I have a general sort of question-Is there a difference between Redwork and Blackwork besides the colors? I mean, do they both use the same 7 stitches that you’ve listed?
Thanks!
Dear Leslie,
Redwork and Blackwork and totally different forms of embroidery. Blackwork uses Holbein stitch (see straight stitch family).
Hello…I can’t seem to find the pattern for Sleepytime Girls like you suggested. Please Help!! Love this pattern and you work!!
Please respond and thank you very much!
Dear Bernice,
Try checking the website ‘needlecrafter’ and look for ‘people’ under free designs.
Thank you so much Sarah…I checked today and Yes I found it. Thanks Again!!
I just love this redwor! a couple of years ago, I saw a quilt made of ABC squares. I have searched for a pattern for this to no avail. would you have any suggestions? it was 26 squares, either toys, or Christmas ….thanks…
this is realy beautiful. keep it up