
![]()
Blanket Stitch is also known as
Festón Abierto [ES], Point de Grébiche [FR], Langettenstich [DE], Punto Festone [IT], Ponto de Recorte / Ponto de Caseado [PT], Langettstygn [SV].
About the Blanket Stitch
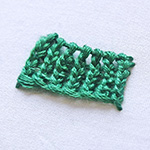
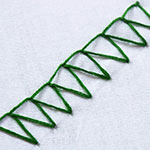
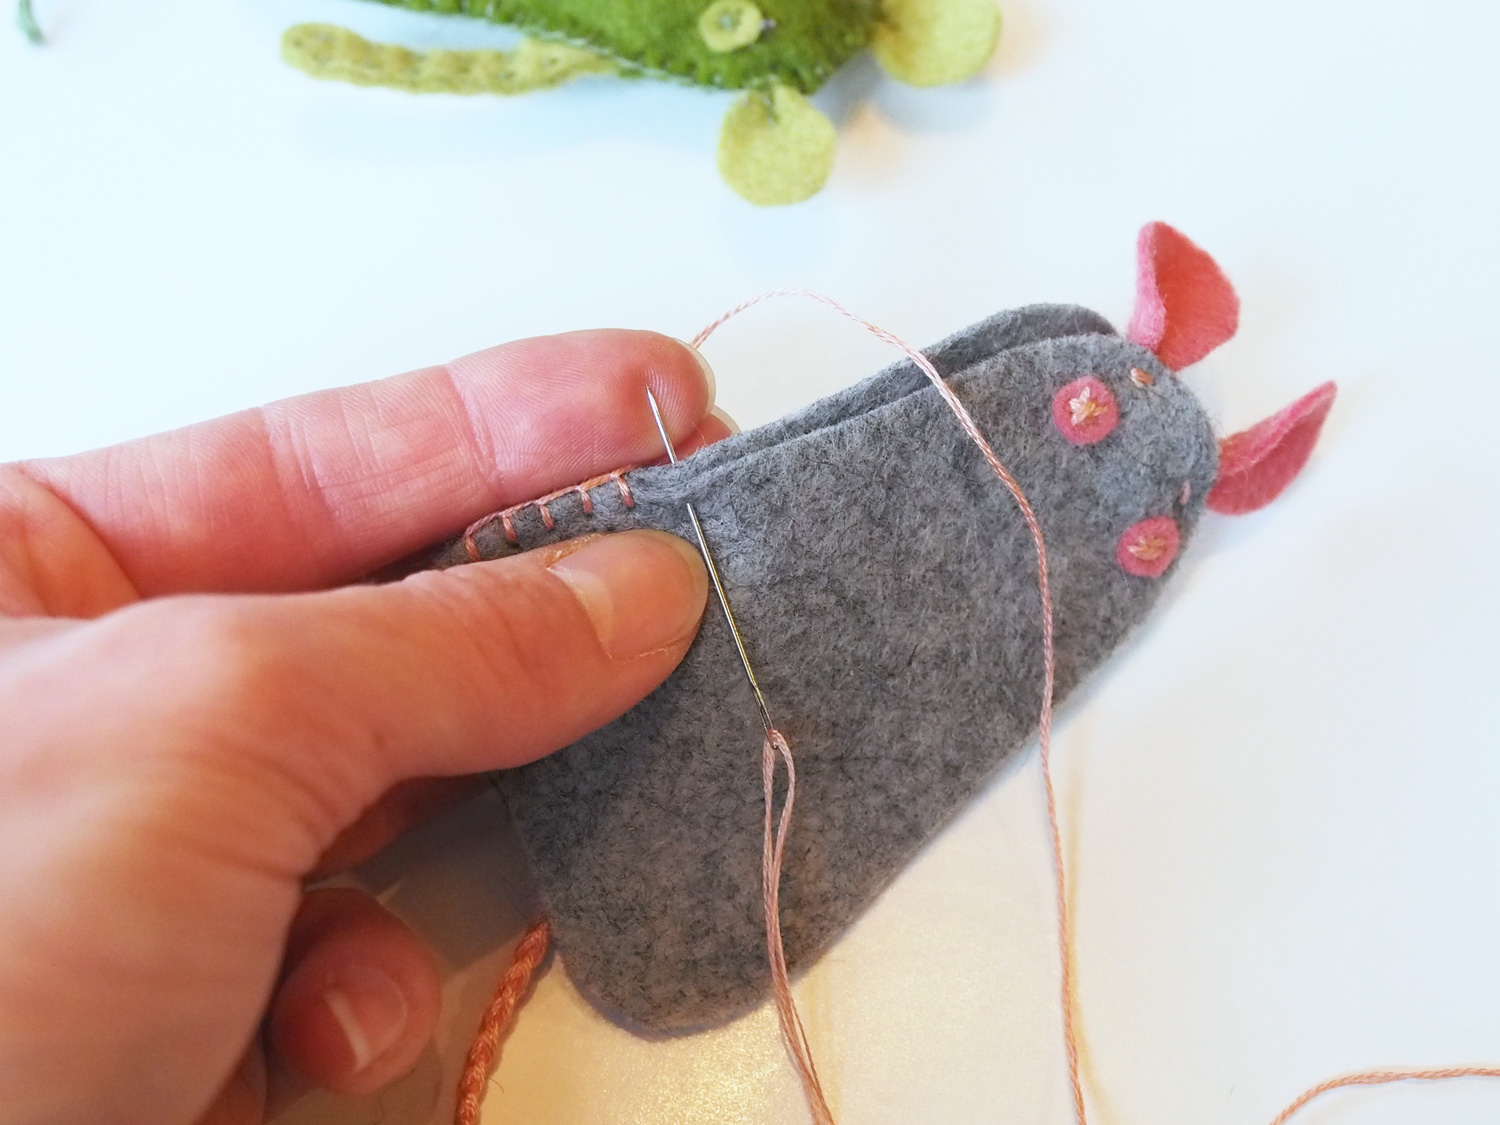
The Blanket Stitch is simple, easy and beautiful. It is called Blanket Stitch, as traditionally, it is used to stitch the edges of blankets. It not only gives the blanket edges a nice look but also secures them. This stitch is now used in many other crafting projects, making it one of the most sought-after stitches.
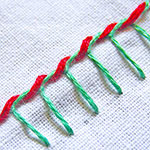
The Blanket Stitch is often confused with the Buttonhole Stitch. Instead, it should be said that Blanket Stitch and Buttonhole Stitch are often considered the same. While some extensive research would logically explain that they are not. While both stitches are used to secure edges, a Buttonhole Stitch is a sturdier one. So, traditionally, tailors would hand sew the Buttonhole Stitch to the edges of buttonholes.
How to do the Blanket Stitch
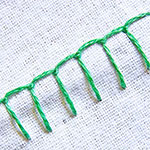
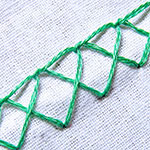
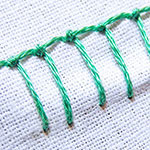
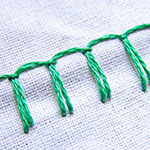
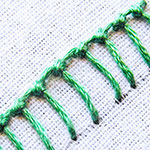
Blanket Stitch can be sewn from left to right or right to left. I prefer the left-to-right direction. I have illustrated this stitch between two horizontally parallel stitch lines.
| Fig 1: Bring the needle out through A. Take the needle in through B. Take it out through C, a point in the same stitch line as A. Loop the thread under the needle as shown. | Fig 2: Pull out the needle. Continue with this process until the end of the line. |
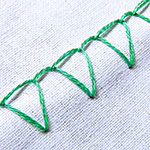
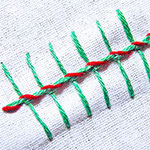
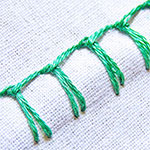
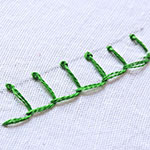
| Fig 3: A portion of the finished blanket stitch would reveal like this. | Fig 4: The blanket stitch can be given an interesting look by just altering the length of the vertical stitch as shown. |
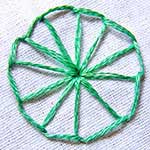
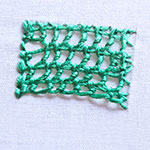
Tips for working the Blanket Stitch on circles
Making seamless circles is challenging in stitches worked between two parallel lines. Follow the tip below to help you achieve it easily.
| Fig 1: Start by partitioning the circle into 4 equal parts. Then, further, divide each part into an equal number of sections. I have made 3 sections in each part. Use them as stitch lines to work your Blanket Stitch. | Fig 2: The last stitch will share the stitch point with the very first one, as shown. |
| Fig 3: Anchor down the last Blanket Stitch, as shown, and finish the circle pattern. | Fig 4: You have a seamless circle. |
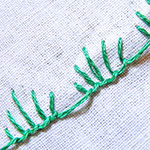
Tips for working the Blanket Stitch on corners
Sharp corners can be tricky in stitches worked between two parallel lines. Follow the tip below to help you achieve it easily.
| Fig 1: Work the Blanket Stitch till you approach the corner. | Fig 2: For a sharp corner, make one of the stitches to pass through the corner points as shown. |
| Fig 3: Then, turn and work the rest of the way normally. If your corner seems to slip off (which can happen in big Blanket Stitches), just anchor down the corner with a small stitch. |
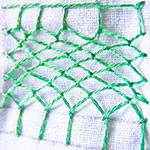
Tips for working the Blanket Stitch on curves
Curves need attention when working with stitches between two parallel lines. Follow the tip below to help you do it easily.
| Fig 1: Start by marking the center of the curves. I have done it a bit darker for the illustration. Then, make the rest of the line to divide the curve into smaller sections. | Fig 2: Start stitching over the pattern. I have used the lines are guides to do the stitching. It is much easier this way and I would recommend it to you also do the same. |
| Fig 3: You will see that the sharper curve have stitches closer to each other for a smooth look. So, the sharper the curve, the smaller the length of the horizontal stitch must be. |
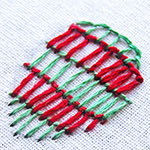
Tips for joining the Blanket Stitches
Stitches can be joint seamlessly without much hassle by following the tip below.
| Fig 1: Chances are that you might have to join stitches seamlessly when you want to change colors or threads. Let us try an extension on this row of the Blanket Stitch. | Fig 2: Bring out the needle with the fresh thread inside the previous Blanket Stitch, as shown. Continue the row as usual. |
| Fig 3: A finished joined row of Blanket Stitch will look like this. |
Learn to do Blanket Stitch in 2 minutes!
Related Projects
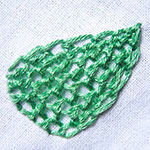
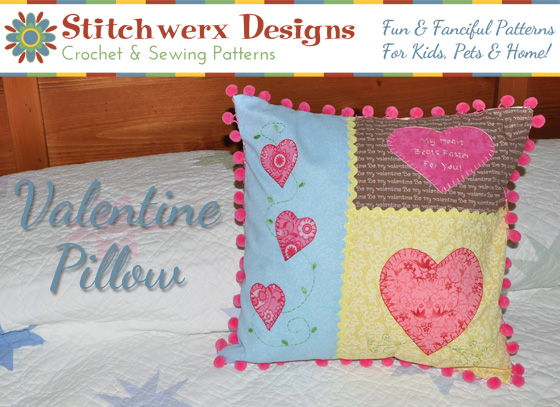
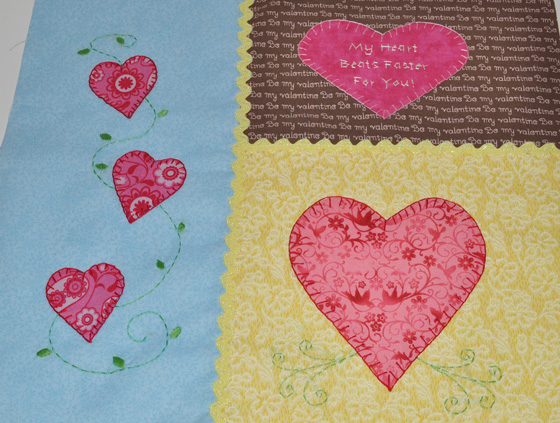
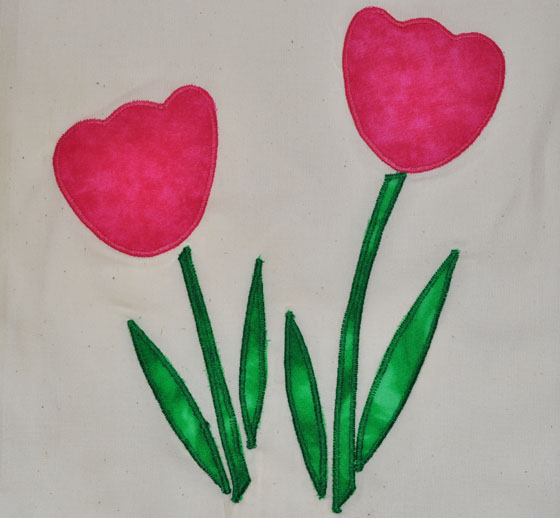
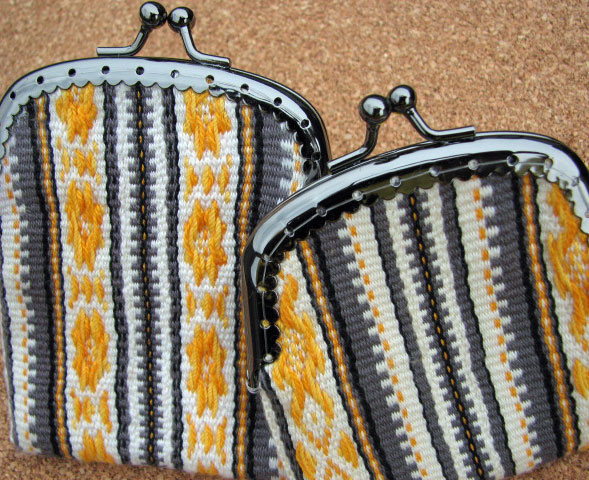
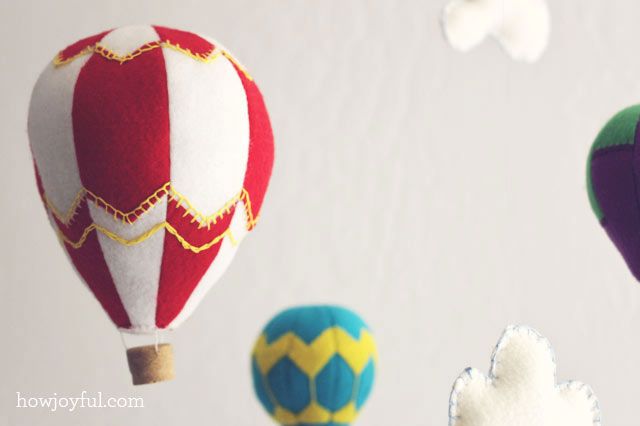
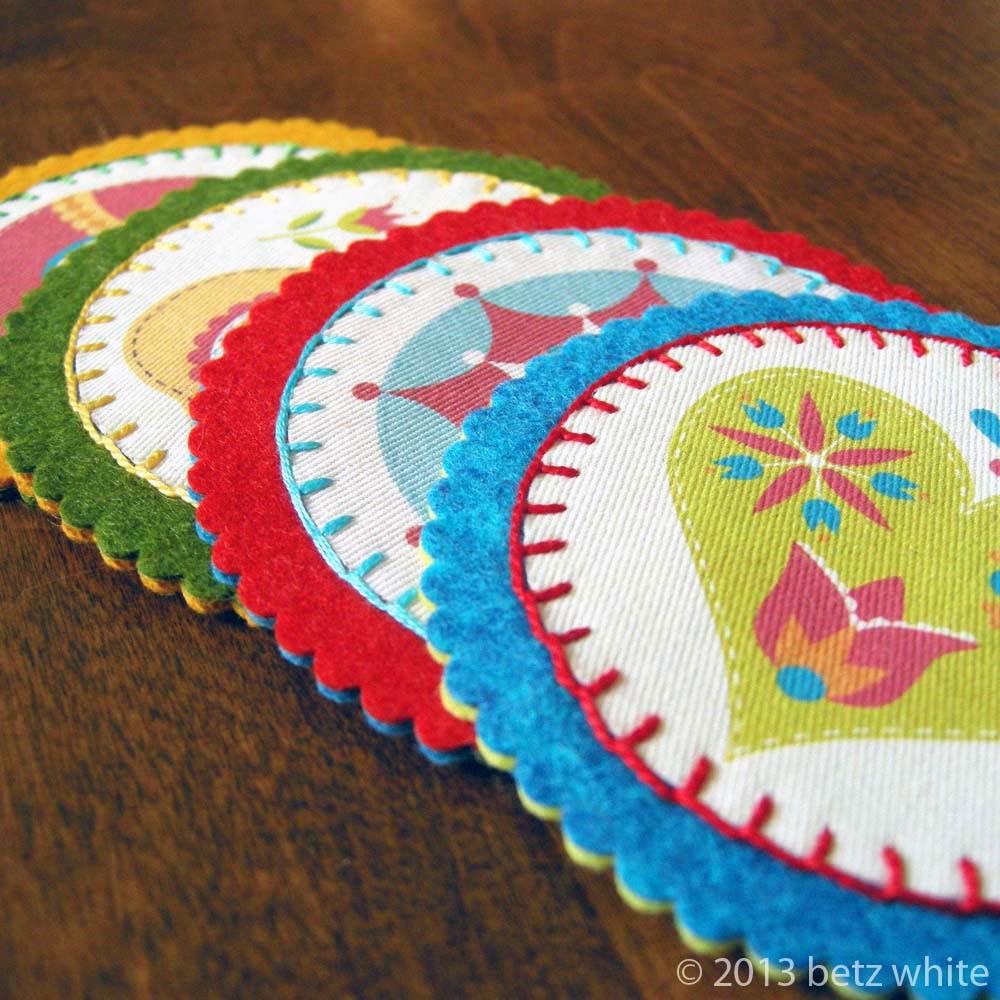
Do you want to know where and how to use this stitch? Check out the projects below and learn more. Make something beautiful!
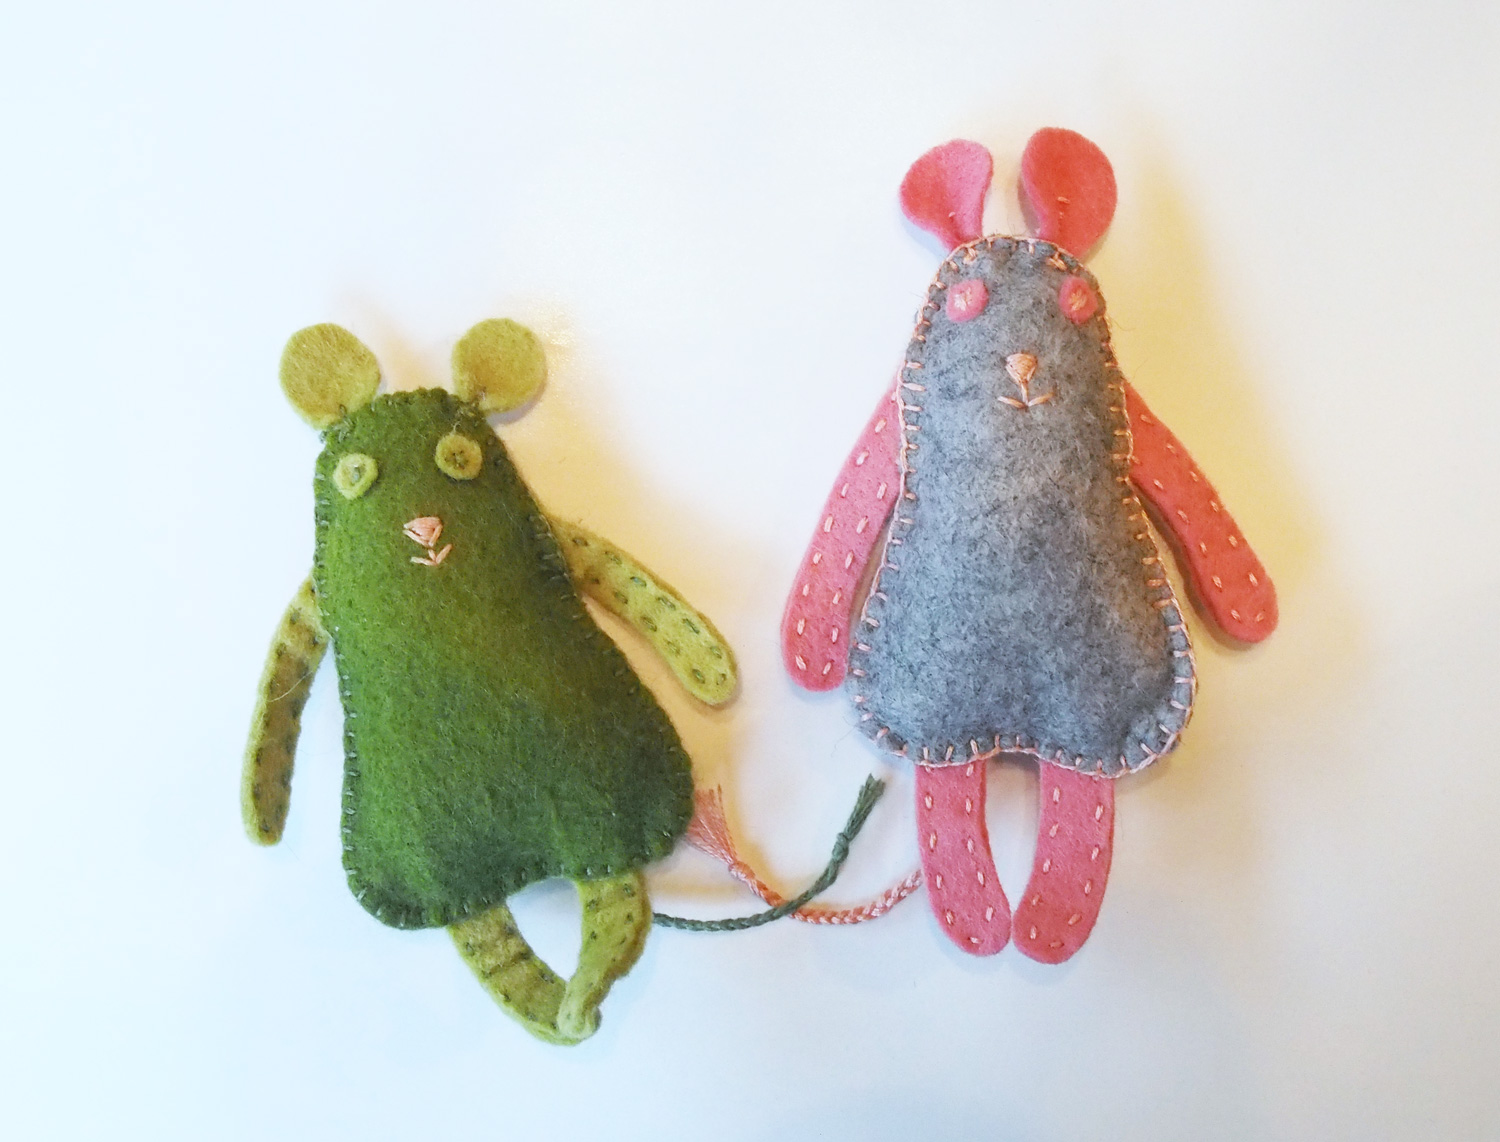
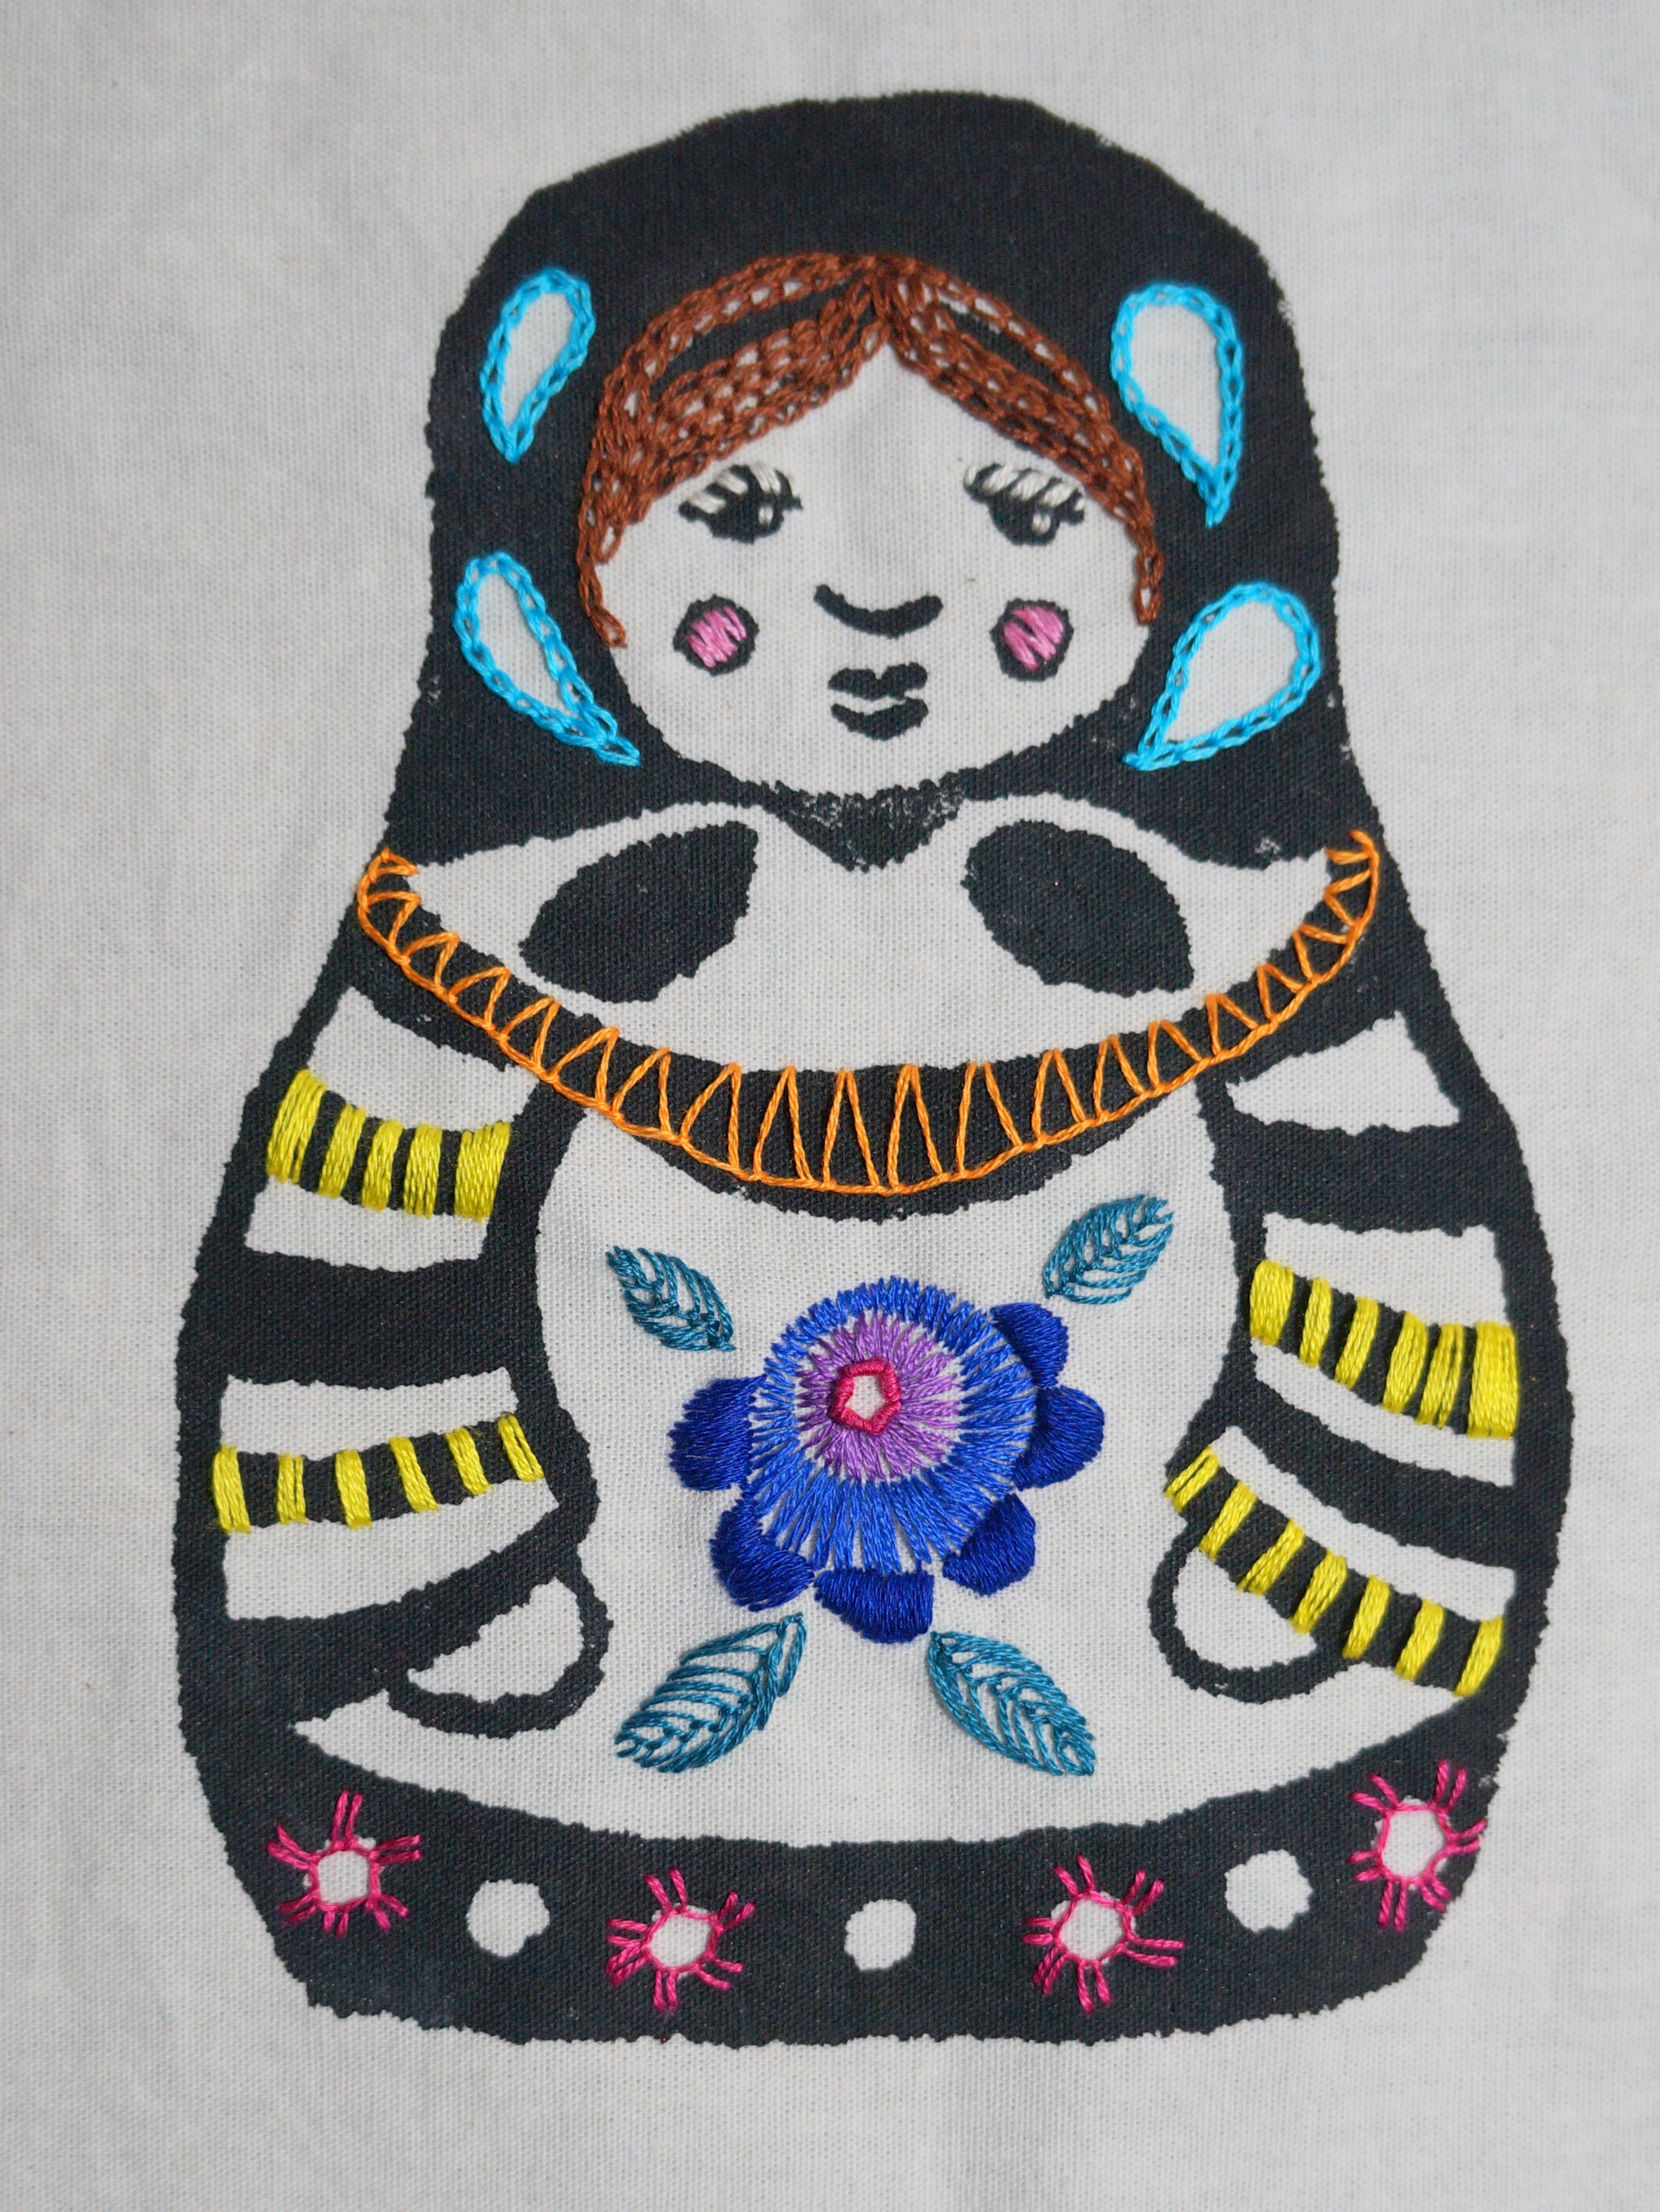
Flowers |
Learn this stitch along with 305 other stitches from our 600-page eBook.

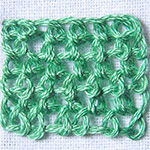
Related Stitches from the Blanket Stitch Family
Raised Blanket Stitch | ||
Knotted Blanket | ||


Thank you for a great explanation. I was looking online for a similar idea and really appreciate it
I just wanted to drop a quick thank you for all of your embroidery information. Your site is amazing & inspiration for many! Thank you so much 🙂 🙂 🙂
The first tutorial on blanket stitch that makes sense! Thank you. 🙂
Hi,
I would like to buy your applique designs. Can anybody customize it on a fabric so that I could use it over pillows or bedsheets or anything…. If anybody could make customized appliques please contact. It would be very helping.
Thanking you.
Deepika Saboo.
Thanks I have used your instruction a number of times find them clear and easy to follow .I am a beginner working on a Jacobean design .Surprised how therapeutic stitching is
So glad I found your website , your blanket stitch how to was the first that made it all clear, plus that you could work it right or left. I will return every time I need help. Thank you!
Hii Sarah,
I’ve got some shots of d embroideries im learning from u… gonna keep uploadin dem under each name.. chk dem out..!! 😀 😀 nd most of all tnx fo d greaaat work..!!
Hi Sarah,
Can you tell us how to do mirror work? It was taught to us in school….but now i remember only bits n pieces.. that i think it was done using chain or/and blanket???! It would really help if you can post a tutorial on it.
And I will soon post my work which I have done after learning from your website also very soon 🙂
Thanks.
I want to thank you for publishing this, they are so helpful!
this was a wonderful site….very very helpful….thank you for the help……connie
Sara
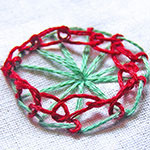
I have been working a table cloth. The four corners and one edge is over. Blanket stitch is used for the flower and the edge. Have a look.
Thank you.
Shami Immanuel.

Wow Shami, this is totally awesome!! One of your best works I guess. 🙂 I really love what you have done here. The selection of colors is nice.
Hi Sarah,
Very impressive website!! Well, I am a beginner in embroidery and I forgot my knotted blanket stitch. Its a blanket stitch with a french knot on the inner side of the design outline. If you have a link or a tutorial for it I would be grateful!! Thanks!
Sravani
Dear Sravani,
Thanks. 🙂
I am right now dealing with the blanket stitch family, so the knotted blanket stitch tutorial will be put up soon. You can google to find other tutorials on this stitch too.
This website is very helpful. I learned to do embroidery from my Aunts and Grandmother. I live in Labrador and alot of women embroider a ” Labrador Quilt” which I am currently working on; its essiantly 40 squares that have pictures drawn on them of Labrador scenes and animals that you embroider over. This website will hopefully help me in creating my quilt. Thanks,
Amanda
🙂 Thanks Amanda.
It was good to learn about the Labrador quilts from you. Do share a sample of what you have done with us once you are finished with the project. We would love to see it.
This is a very nice and classic way of using the stitch for appliques. 🙂 Thanks for sharing.