
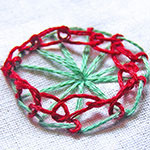
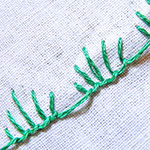
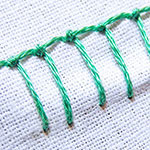
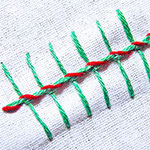
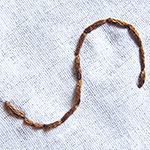
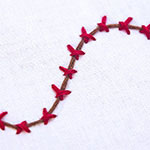
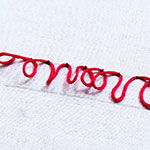
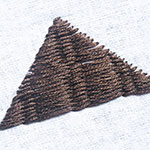
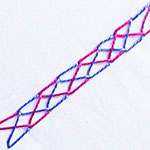
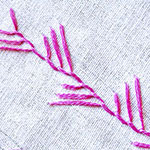
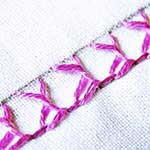
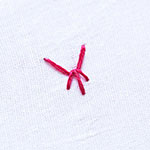
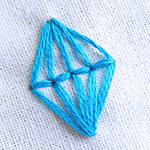
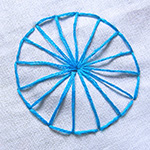
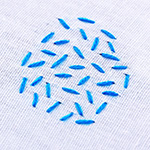
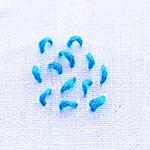
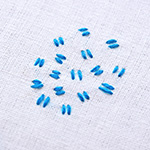
This Embroidery Stitch Picture Dictionary will help you to identify the stitches even if you don’t know the names! Dig through our embroidery stitch library of 300 stitches below—click over a picture and go directly to the stitch tutorial page.
When I started researching and documenting hand embroidery stitches way back in 2007, many stitches looked similar in their basic technique. To make identifying easier, I started categorizing them into different groups. I call each group a Stitch Family. This categorization should help you in easy reference, and for identifying and selecting the stitches. The Stitch Families are placed in alphabetical order. 🙂 Hover over the images for the alternate names in different popular languages.
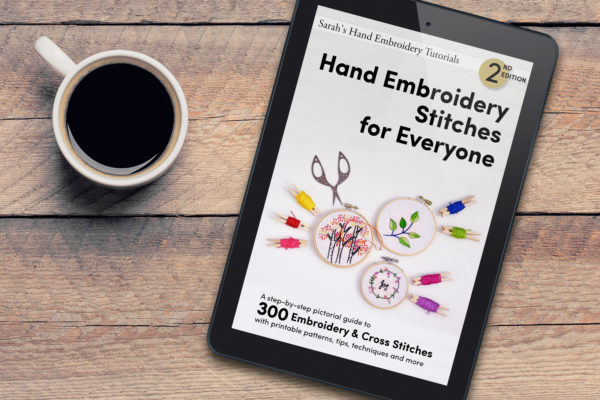
We have a dedicated Hand Embroidery Book with the picture dictionary and step-by-step guides to each of these 306 stitches. Buy now and start stitching!
Back Stitch Family


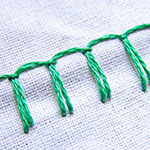
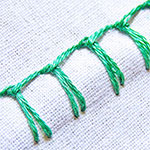
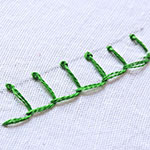
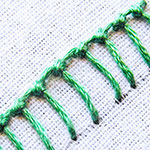
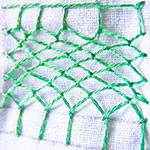
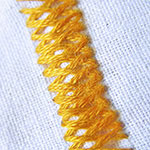
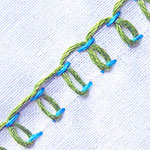
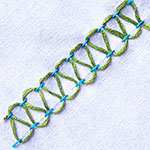
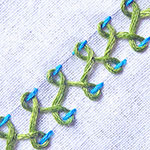
Blanket Stitch Family
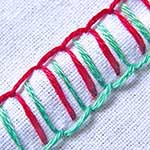
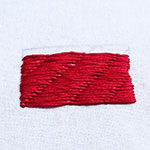
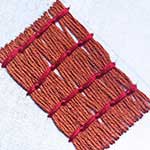
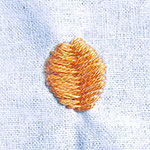
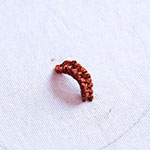
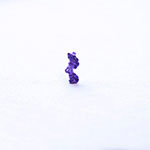
Raised Blanket Stitch | ||
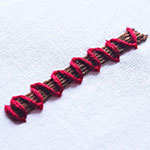
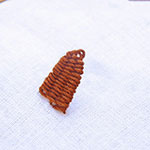
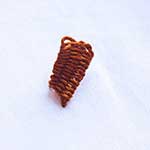
Knotted Blanket | ||

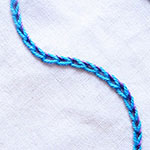
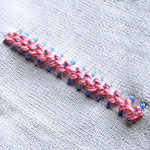
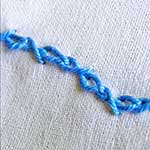
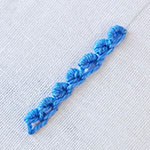
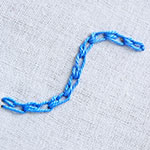
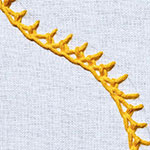
Chain Stitch Family


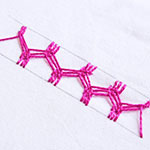
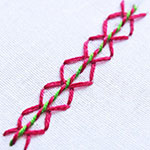
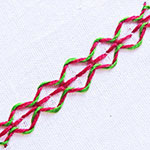
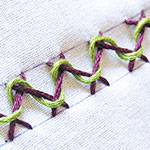
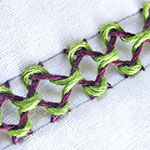
Chevron Stitch Family
Couching Stitch Family
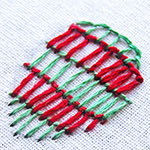
Honeycomb Filling | ||


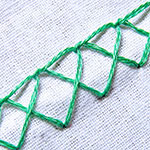
Cretan Stitch Family
Plaited Insertion | ||


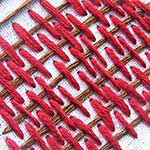
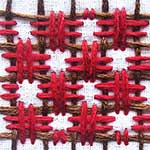
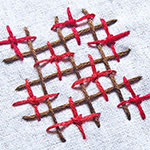
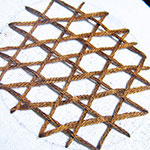
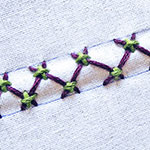
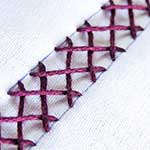
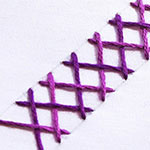
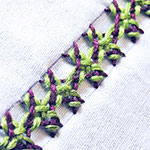
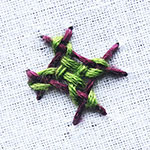
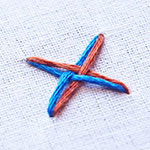
Cross Stitch Family


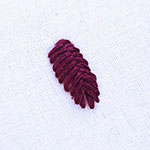
Fishbone Stitch Family


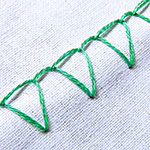
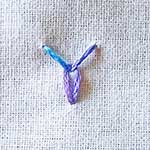
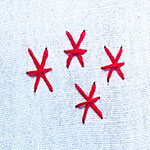
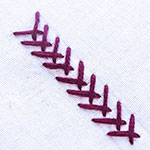
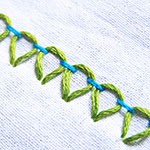
Feather Stitch Family


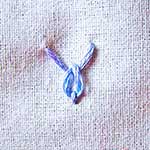
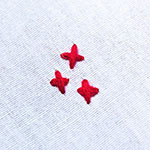
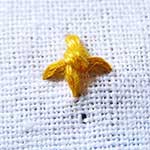
Fly Stitch Family
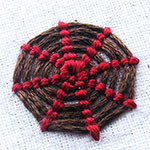
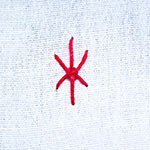
Crown Stitch |
Reversed Fly | |
Whipped Reversed |
Threaded Reversed |
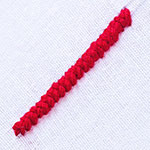
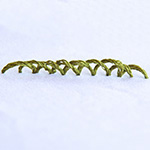
Anklet Stitch |


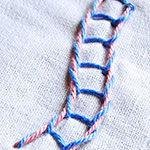
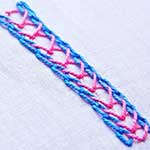
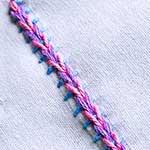
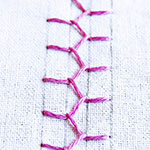
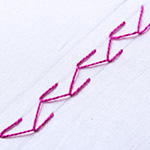
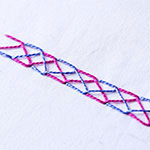
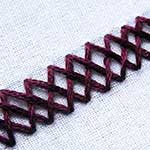
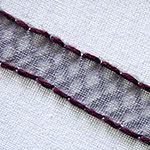
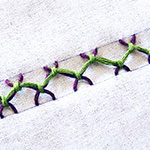
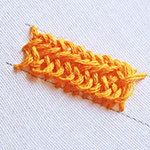
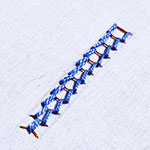
Herringbone Stitch Family
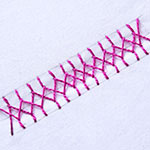
Laced Herringbone | ||
Indian H’bone | ||
Closed H’bone |
Otomi |
Shadow Stitch |
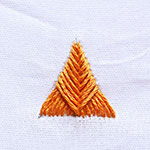
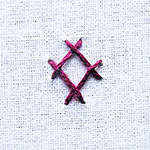
Maltese Cross |
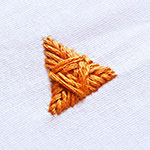
Double Maltese | |
Interlaced Maltese |
Int’ced d’ble Maltese | |
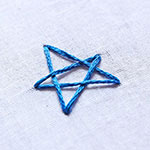
Persian Star |
Ermine | |
Vertical H’bone |
Vandyke |
H’bone Ladder |
Half Herringbone |
Raised Herringbone | |


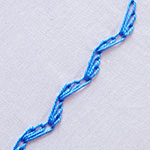
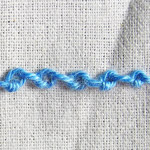
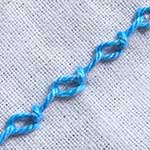
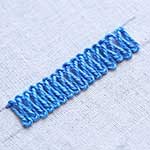
Knot Stitch Family


Palestrina Stitch Family
Mountmellick |
Eastern Stitch |


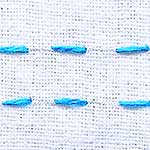
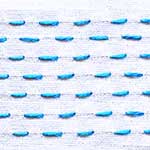
Running Stitch Family


Satin Stitch Family
Surface Satin |
Back Stitched Satin | |
Trailing Stitch |
Double Satin |


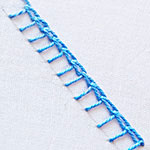
Stem Stitch Family
Double Lock Stitch | ||


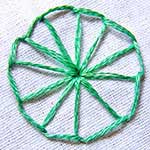
Straight Stitch Family
|


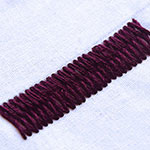
Weave Stitch Family
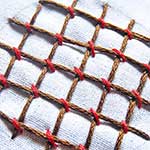
Stripped Woven Band | ||
Raised Needle Wea |
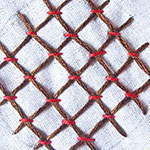
Broad Woven Picot | |
Portuguese Border |


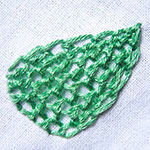
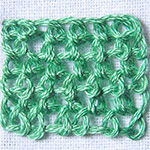
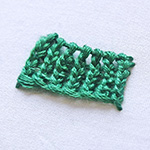
Knit Stitch Family
Learn all these stitches and plenty more from our 600-page eBook.


I am wanting to work with black or dark blue velvet. What type marker can b3 used on this type fabric? I think this would be a very important thing for everyone to know. Thanks for sharing. I have no photo to send but will have one as soon as I find the correct markr to use on dark colored velvet………………….Thanks again
Hi Sylvia,
Velvet, and that dark too, can be tricky.
One great way to transfer the pattern onto velvet would be to use a dissolving stabilizer. You can print or draw your pattern on it, stick it over the velvet, stitch over it, and wash it away! Here is a link to the product for you to check out: https://amzn.to/3vO2Hbx
Another way would be to use wet chalk markers. I have not used them personally, but I have a feeling that they should work well on dark velvet fabric. It can wash off easily too. Here is the link for you to check it out: https://amzn.to/3ifoPIa
I hope these help! Let me know. 🙂
I have copied your suggestions down. I am going to try the wet chalk. I am pretty good at copying things *** as you have probably sw3n. I will take photos and let you know. AGAIN……..THANK YOU VERY MUCH FOR THESE SUGG3STIONS.
Perfect!
Sarah and Sylvia … I was taught, back in the dim reaches of time, to trace the image onto a piece of thin cotton like muslin. Then baste that to the **back** of your fabric and stitch. It does take a little bit to get used to it, but it works really well.
Hmmm. Wonlet me upload photos. I’ll try it in a Real Post and not a comment.
Thank you, Susan. It is a great tip.
Is there a stitch that looks just as good on the back of the item?
Hi Anna.
Some stitches that can look as good on the back are:
1. Running Stitch
2. Holbein Stitch
3. Satin Stitch
4. Closed Herringbone Stitch (shows a double back stitch on the back)
5. Chain Stitch (shows a back stitch on the back)
6. Herringbone Stitch (shows running stitch on the back)
Hope this helps.
Thank you so much!
Hello! This is a wonderful resource, and I’m very excited to find it. I’m just learning embroidery, and this will be a great resource!
I do wish to inform you of a little known fact: Esk*mo is a slur against the Inuit people, meaning “snow-eater”. Would it be understood in the embroidery community at large if I referred to that stitch as the Inuit stitch instead? And I’m curious! Was it named by the people, or because it looks like a stitch the Inuit use in their clothing?
Hi Heather,
Thank you! I never knew that the term ‘Eskimo’ is a slur. I appreciate you letting me know of it. I did a little research and feel compelled to explain that it is wrongly understood that the term ‘Eskimo’ means snow-eater or raw-meat eater – though it is still a popular belief. The term originally means…
According to Wikipedia it’s a term the Algonquin tribe, a Canadian native tribe from the southern part of Canada, used to refer to the natives from the north.
Algonquin: Ayas̆kimew – “A person who laces a snowshoe”.
French: borrowed from Algonquin and made into a french word, Esquimaux.
English: simplified from either French or Algonquin, Eskimo
The embroidery community might not understand if you refer to this stitch as the Inuit Stitch, but they might learn that it is an alternate name. For those who feel the original term is not appropriate, they will be relieved to have the alternate name. 🙂
I am not sure of the origin of the name of this stitch. But, here is my explanation-
The Inuits and Aleuts used a reversible stitch to join the seams of their parkas, which means it looked the same on either side. To do that, they would make a row of Running Stitch closer to the edge, and then, with a heavier thread, they would start lacing it under the Running Stitches on both sides. This process is explained in the Stepped Running Stitch Variation 1 ( Gut Raincoat Stitch) tutorial- https://www.embroidery.rocksea.org/stitch/running-stitch/stepped-running-stitch/.
What you see here is an imitation of how the stitch would appear on one side- a decorative adaptation into surface embroidery.
Thank you Sarah! Both for the explanation, clarification, and the little tidbit of history! I much appreciate it. 😀
Here’s a link to a bit more accurate and detailed clarification, including an explanation on why those terms are not equivalent: https://www.aaanativearts.com/alaskan-natives/eskimo-vs-inuit.htm
Thank you, Chris. After some deliberation and study, we decided to call the stitch just the ‘Laced Edging Stitch’.
This picture dictionary is amazing! Thank you very much for this. I just knew some basic stitches but am definitely going to try out all these beautiful stitches.
Thank you, Ruby! 💕 This is a growing dictionary, which means, new stitches are being added to it periodically. I hope you enjoy trying them out. You can also share some of your stitches as a part of the comment! ☺️
Merci pour ce dictionnaire d’images ainsi que pour les explications pour exécuter les points. Cela va beaucoup m’aider pour un petit patchwork crazy. Votre site, que je viens de découvrir, est super, merci encore. Bonne soirée.
Awesome, Marijo! Thank you. ❤️
Thank you for your picture dictionary…………..Beautiful site you have and it is helping me a lot. ALWAYS have a good day and enjoy the good work you do. I’ve sent you a picture of my first attempt…….Thanks again
Thank you for being here………. I love to create. About 4 years ago, someone showed me Beading. I can now do portraits or whatever I want. I like new challenges and your site has been done beautifully….arranged very professionally. I found the site for Pearl Cotton Yarn……and have ordered some. I have a big peacock I’m going to do when I get the yarn. Oh! I’m 78 years old so………..Just a small note to NEVER GIVE UP WHAT YOU LIKE TO DO………..HAVE A GREAT DAY.
Hi Sylvia,
What a wonderful message! Thank you! I am sure you are inspiration to many to keep learning and doing what they love, including me!
Thank you for your appreciation for our work. Each page takes a lot of research and time to create. Kind words like yours keep us encouraged. 😊
Please do share your project on peacocks’ when you get a chance. You can upload an image in the comments section. It will be a delight to see.
❤️ Sarah
Sarah! I can not get the peacock picture to print on here. I do not understand.
I sent my peacock to you in the CHAT in messenger. I’m sorry I could not put it in here.
Hi Sylvia!
I just saw your peacock in my chat. B-E-A- U-tiful!! 😍 I will check if there is a reason why the upload is not working and if I can do it for you. What an amazing work! I love it! ❤️
I want to know what stitch is best to do names. My friend lost her husband and I want my book buddies to all sign a tea towel that I can stitch. I also want to stitch a flower by their names. I am just learning so this is a challenge for me.
Hi Melissa,
I am sorry for your friend’s loss. I wish her strength. It is thoughtful of you to do something like this for her.
If you want to stitch names, use one of these stitches : Back Stitch and Outline Stitch. They are easy to work with and gives a neat result. For flowers, I am supposing it is going to be a small one. You can use Lazy Daisy or Satin Stitch to do the petals. Fill the center with French Knots or Satin Stitch. You can do the stems using the Stem Stitch.
Please let me know if you need any further help or advice for your stitching.
Here are the direct links to the stitches:
Names:
Back Stitch : https://www.embroidery.rocksea.org/stitch/back-stitch/back-stitch/
Outline Stitch : https://www.embroidery.rocksea.org/stitch/stem-stitch/outline-stitch/
Flowers:
Lazy Daisy : https://www.embroidery.rocksea.org/stitch/chain-stitch/lazy-daisy/
Satin Stitch : https://www.embroidery.rocksea.org/stitch/satin-stitch/satin-stitch/
French Knots : https://www.embroidery.rocksea.org/stitch/knots/french-knot/
❤️ Sarah
Thank You for this. So far this has been the best picture tutorial for embroidery stitches that i have found so far. VERY helpful. I have always loved to embroider, but have not in many years, so was very out of practice.
Thank you, Nanny. Your words make all the effort worthwhile. I hope you enjoy the pages. ☺️❤️
Thank you Sarah for such a Awesome Website It is Amazing I am just starting on my Embroidery Journey and Your Website is Like My Bible I even had to make all the Pages available offline on my phone It is Amazing what you have done Cheers Kylie from Australia 😊💕
Thank you, Kylie!❤️
I am so glad that you are enjoying our pages.
In a couple of weeks I will be publishing an e book with lot more stitches and the basic information for beginners, along with lots of tips, samples, and history. You can see if you would be interested.
Keep stitching! 🙂
Will I be able to Buy on your website here? It sounds Great Cheers Again from Australia 😊 💕
Yes! The book will be available soon only in our website. 🙂
Wow, just wow!
I’m in awe of your talent and passion. The world cannot thank you enough for all of the work you have put into making all of this available online for those of us who are just beginning.
Hi Tani. The pleasure is mine. I am happy to share whatever I know and research with everyone, especially the beginners! So glad that you are loving our pages.
THANK YOU SO MUCH FOR THIS!! I’m trying to convert an image for a friend into an embroidered piece and I’m new to it and keep struggling to find things with a good picture of the stitch before that explanation and I am super bad at visualization. This lets me see what you’re talking about before I even click so that I can know whether or not I want to put it into the piece. You’re a lifesaver.
I am super happy that you found what you might have been looking for. Enjoy the picture dictionary and best wishes for your project! 🙂
This is just awesome.

So methodical and neatly done.
I used to search the net for new stitches when I started the ‘one year of stitches’ in 2017. The biggest challenge was finding suitable stitches for the pattern I made on my own.
Followed a few stitches from your site too.
But this compilation would be just perfect for all.
Sharing my finished project with you here.
Wow, Sujatha! What a wonderful piece of work! So nice to see this year long finished project. Did you dedicate each month to work on each zodiac sign? You’ve done a beautiful job!
We are happy that the picture dictionary will help you. It is a growing dictionary, so more stitches will just keep adding!
Keep sharing your work… Would love to see it coming!
Thank you Sarah
Coming from you, I take that as a huge compliment.
I decided on the Zodiac theme cos I could divide into 12 divisions and plan for a year. Made a few stitches daily. On buddy days I settled for the comfort zone of known stitches.
I have a doubt on embroidery… How can I do Cross Stitch on plain cloth? I vaguely remember my needlework teacher in school tell us about a mesh which we can pull out after stitching.
Is anything like that available?
Hi Sujatha,
Your idea of Zodiac is awesome!
To cross stitch on plain cloth, you do get a kind of mesh fabric which acts like a grid- it is called a ‘waste canvas’. You can gently pull out the threads of the mesh after the project. You also get a kind of water soluble mesh which dissolves away when you wash the cross stitched piece. You will get both online, and in hobby stores in the US.
That is Stunning You are Very Talented I’m only just beginning with Embroidery I have been Cross Stitching for 30yrs so I thought it was time for me to Try something else I’m loving it This Website is Very Helpful Cheers Kylie from Australia 😊
Wowwwww I just searched kasuti for beginners and now I have your website that is wonderful for embroidery lovers. This picture dictionary is great. I really need this as I am a beginner. Thanks a lot :))))
Awesome! You’re welcome Salma. Happy that you liked the picture dictionary.☺️
Thank you very much!
☺️
I really enjoy the variety of stitches you teach. I do a lot of crazy quilting and about all of your stitches go into my blocks. Thanks for such inspired help! i hope I got one of my blocks shared with you.
Hi Aretta,
We are so happy that you are enjoying our tutorials. Please share some of your works here. We always love to see what our readers are stitching. It will also help inspire other readers!
Great resource, thanks from a beginning stitcher!!
Thank you, Eileen! See you around. 🙂
Fabulous collection of heritage stitches.
Thanks Sonja. And more will be added!
I picked up embroidery after 50 years. I only knew a couple of stitches when I was taught as a child. Your site is fabulous .. great pics, easy explanation, step by step .. one of my “go to” sites for learning.
Hi Colleen,
Thank you for writing. It is really nice to know that you are getting back to the hobby after 50 years! Our picture dictionary is always expanding with more stitches and embroidery forms from around the world.
I hope you enjoy each page. Happy stitching.
-Sarah
Hello Sarah! I am very upset. I can’t get a good tutorial for pendant couching stitch. Would you please post a tutorial for this stitch. I’ll be very happy and thankful to you.
Regards
Hi Rana,
I think I have the tutorial for Pendant couching ready. But it will take me the weekend to post it. Please bear with me! I will definitely post it this Saturday, if not earlier.
Thanks for reminding me to keep posting the stitches. I realise it is long overdue. 🙂
Sarah
Here you go:
[pendant couching]
Have fun learning.
-Sarah
So many great stitches! It really makes me want to use some of them on future projects!
Romina
Fiz um caderno com 7 paginas e disponibilizo na Patchaula. São como este e trazem a explicação para fazer os pontos. No momento estão no Facebook.
Adorei esta organização que as explicações me deram.
Estas famílias dos pontos sempre me confundiram e este espaço soube organizar e dar nomes a todos eles. Vou compartilhar e divulgar.
Obrigada
Querida Rose,
Estou feliz por você ter encontrado nossas páginas boas para aprender. Muito obrigado.
Dear madam,
Oh, how your website brings back long buried memories from my childhood! I learned the basics as a child and then life took me down some nasty turns and I had to stop for a long time, but recently I was inspired to embellish some ordinary appliqué work.
On my first search for embroidery stitch samplers, I popped into a couple of other sites, and found myself ENTRANCED with all the variations you display! I believe that I learn best by hands-on methods, and videos can often go too fast for me. Your 3D pictures and plain directions make relearning these so quick and easy! And I’m surprised to read that your site is a rarity! Thank you a hundred times over, and may you continue to share your beautiful details!
Lilly from Sudbury, Canada
Dear Lilly,
Thank you so much for your appreciation for our website and efforts. It makes our day to know that you like the way it is done…makes all the effort worthwhile!
I am extremely sorry that I am responding only now. I have a young family and between the demands and chores, I miss some very valuable comments now and then.
Hope you are still enjoying our pages.
Much love,
Sarah
Hello Madam..I am so greatful to you..i am a beginner..this website is very useful to me..Thank you so much madam..
Dear Sara,
Thank you so much.
Zélia