

Eyelet Stitch is also known as
Eyelet hole [EN], Point d’œillet [FR], Blindlochstich [DE], Punto inglese [IT], Ponto ingles [PT].
How to do the Eyelet Stitch
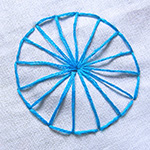
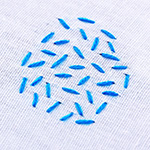
This stitch resembles a small eye on a doll. Eyelet Stitch is particularly nice when done in the same color as the fabric, like white on white. This stitch helps to create a small hole in the fabric with a work around it. You can work with this technique, no matter how big the hole.
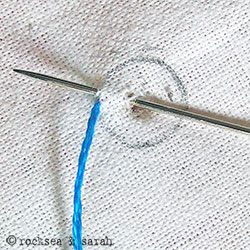 | 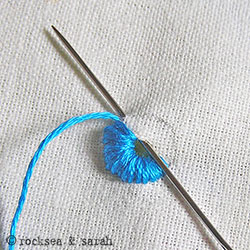 |
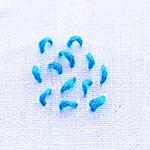
| Fig 1: To begin with, puncture a hole in the fabric. I used a nail to do that. Now, draw a stitch line around it. The area between the drawn line and the hole will be filled with stitches. Bring out the needle from one end of the stitch line as shown. Take the needle in through the hole and bring it out again from the stitch line, as near as possible to the previous point. | Fig 2: Keep up with this simple procedure. Work all around the hole. To make the hole more visible, just pull the thread out tighter. Instead of a circled stitch line around the hole, you can also experiment with any other shapes, like a square or an oval. |
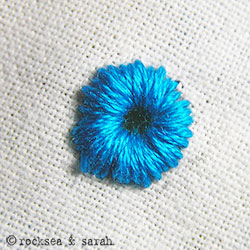 | |
| Fig 3: A finished eyelet stitch looks like this. |
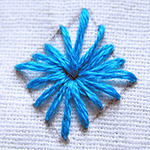
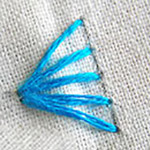
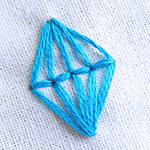
More stitches from the Straight Stitch Family
|


Learn the Eyelet Stitch along with 305 other stitches from our 600-page eBook.


