

French Knot is also known as
Punto de Nudo Francés [ES], Point de Noeud [FR], Knötchenstich [DE], Punto Nodini [IT], Ponto de Nó Francés[PT], Franska Knutar [SV].
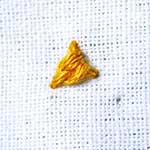
About the French Knot
The French knot is one of the easiest of all knots. Interestingly, however, it is often hailed as one of the most difficult-to-handle or difficult-to-do stitches. This, so much so, that learners often end up hating to do this stitch. It is only a matter of getting the hang of it.
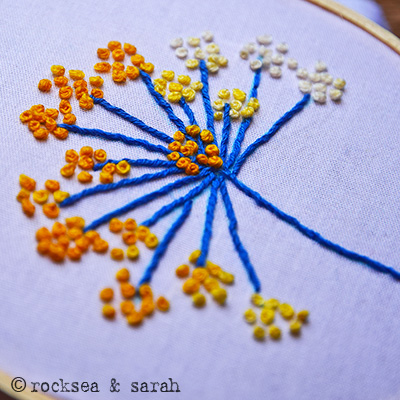
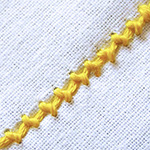
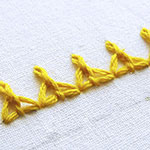
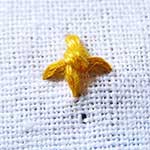
This stitch can be used to do little flowers or as a filling stitch to fill in small circles and the center of flowers. Many closely done French Knots can give a ‘woolly’ appearance and can be used for textures.
How to do the French Knot
You use both the hands to do the French Knot. I strongly recommend that you read the tips at the end of the tutorial to make perfect French Knots.
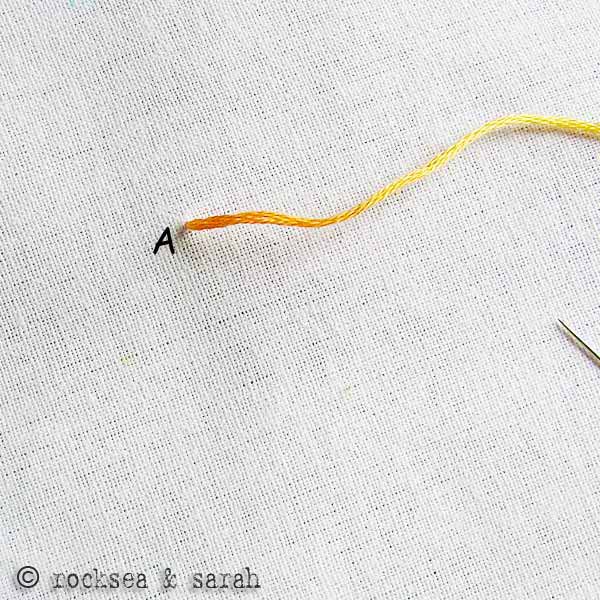 |  |
| Fig 1: Bring the needle out through A. | Fig 2: Now, place the needle close to the fabric. Wrap the thread around it twice, as shown. |
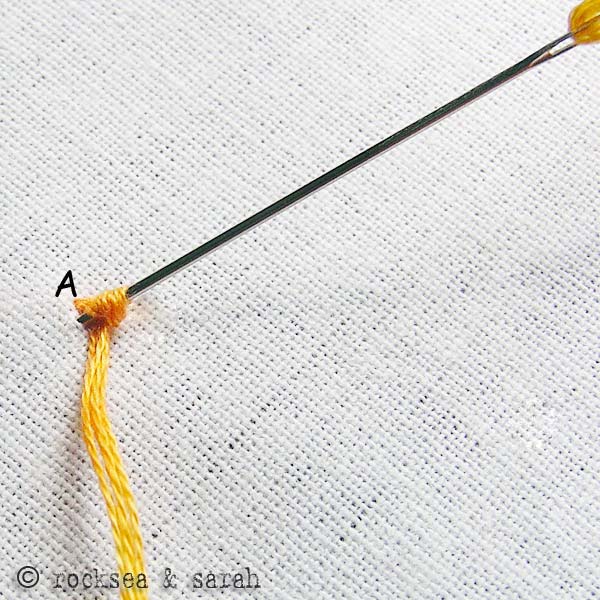 |  |
| Fig 3: Keep the longer end of the thread pulled with your fingers while putting the needle back in a point just close to A. This is probably what you have to master. TIP: If you are holding the needle with your right-hand fingers, wrap the thread and hold it pulled with your left-hand fingers. Vice versa. This makes it easy to put the needle in through the fabric without the risk of pulling out of the wrapped thread. If this seems difficult for you, try this: after wrapping the thread, turn the needle around about 180 degrees and then try to put it near A. | Fig 4: Pull down the needle through the fabric. You will see your first French Knot formed. |
Tips for making the perfect French Knot
- A Milliner’s needle has the same shaft thickness throughout making the passing of the needle through the wrapping easy. Use it if you have one.
- Do not wrap the thread too tight or too loose, but just tight enough to ensure that the eye of your needle passes smoothly through it.
- Wrap the thread no more than twice around the needle. If you want a thicker knot, use more strands of thread instead of more wraps.
- Do not pass the needle back in through the same stitch point that you came out from, but near it. This ensures your knot does not fall through the hole in the fabric to the other side!
Learn to do French Knots in 2 minutes!
Related Projects
Do you want to know where and how to use this stitch? Check out the projects below and know more! Let’s make something beautiful today ❤️.


Use this stitch on a pattern
Visit and Subscribe to Sarah’s YouTube Channel
Learn French knot and 305 other stitches from our 600-page eBook.

Related Stitches from the Knot Stitch Family


Thank you for your teaching us to sew , and good description so we can understand well!
Thank you, Seya, for your lovely words.
Hi Sarah! I’m trying to dot my work with French knots to add a little magic to the piece, but am having to trail my thread all over my piece. Is there a way to do isolated knots? Also, how are you tying off/finishing these knots? Thanks for the help and advice!
Hi Katrina,
You can start with a knot, work your french knots and then finish it by making a couple of tiny stitches under the French knot on the back side of the fabric. These couple of stitches are enough to secure the French Knot in place. You can start the stitch also by making a couple of tiny stitches right under where the French Knots are supposed to sit.
Check this video: https://youtu.be/2tO1Z1DCZD0
Check the video at the time location of 10:15
Hi sara
Your stitch tutorials r of great help and some samples from my side. Waiting for the book.
Hi Shami! It’s great to hear from you. We have added a couple of your samples in our book! Thank you for contributing. Our book should be done in a 2-3 months. Just some final technicalities left.
Hi Sarah,
I have always had trouble with this knot stitch, but thanks to you detailed explanation with pics, I got it at first attempt! Thanks so much!
Also could you post something about the casting stiches, if you know about them? They are my favorites… 🙂
Love your blog.
Hi Abhinaya. I hope you are still enjoying hand embroidery. I will try to do some casting stitch tutorials.
Although a rightie, I sew left handed. What is the correct way for a leftie to do the French or Colonial knots?
I’m a leftie too. I just substituted left for right and vice versa and had no trouble at all. Which is impressive since I’ve been trying to do this for as long as I can remember.
Thank you, GCL.