
Colonial Knot is also known as
Figure 8 Knot [EN], Nudo Colonial [ES], Noeud Colonial [FR], Kolonialknotenstich [DE], Punto Coloniale [IT], Ponto Nó Colonial [PT].
About the Colonial Knot
The Colonial Knot looks pretty much like the French Knot but has a higher profile, which means, it looks more prominent. Also, while we wrap around twice in the same direction for the French Knot, we wrap around in an ‘8’ shape to make the Colonial Knot. To do this stitch, the awareness of the French Knot is good. This will help us to be clear about the difference between both. In my experience, I have found the Colonial Knot much enjoyable to do. The trick is in understanding and getting your hands used to using the needle to guide the thread to do the first half of the wrap.
How to do the Colonial Knot
 | 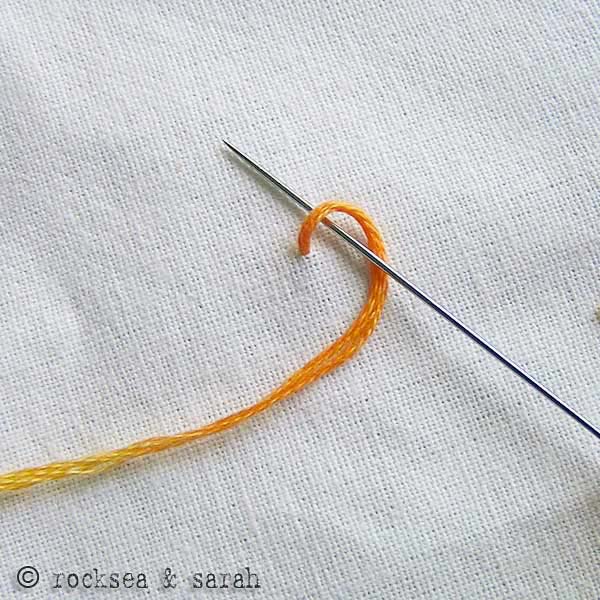 |
| Fig 1: Bring the needle out through the fabric. Now make a little hunch or a twist with the thread as shown in the illustration. | Fig 2: Now, put the needle in through the ‘hunch’ that was made. |
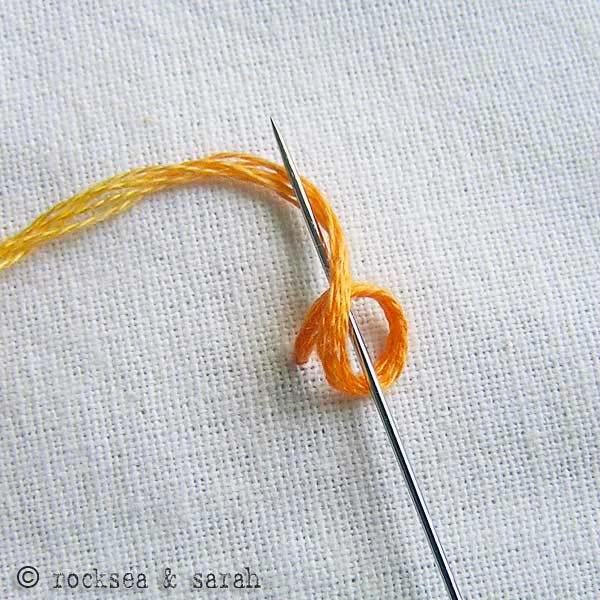 |  |
| Fig 3: Wrap the thread around in the other direction of the ‘hunch’ so as to form a sort of ‘8’. | Fig 4: Pull the longer end of the thread to tighten the wrap around the needle and hold it pulled. |
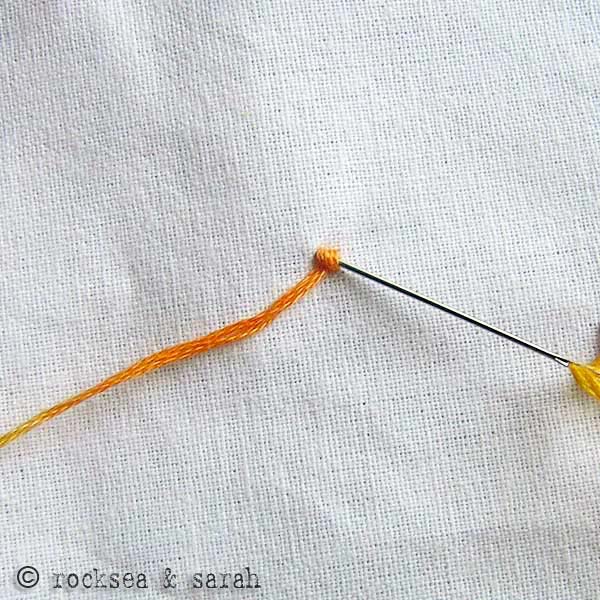 | 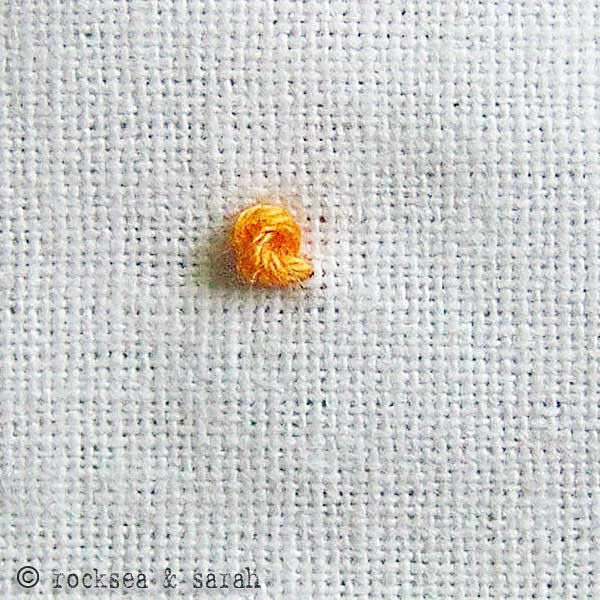 |
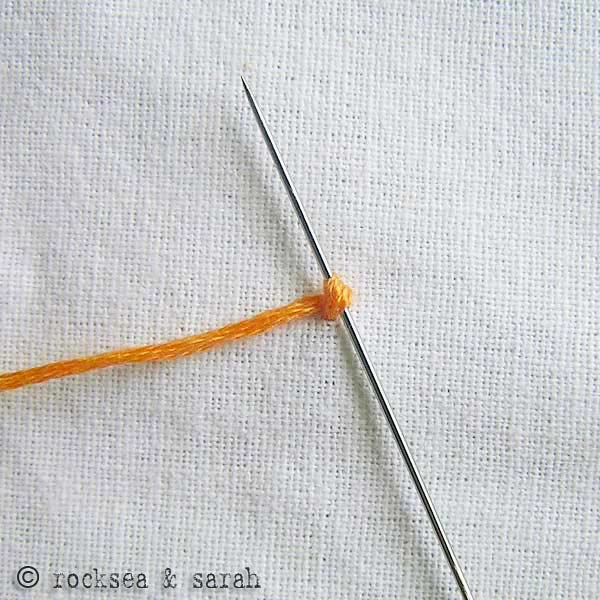
| Fig 5: Now, draw back the needle and put it in through a point near where it had emerged earlier. Make sure the thread is held pulled while doing this so that the wrap does not loosen or fall out of the needle. | Fig 6: The finished Colonial Knot will look like this. |
Related Projects
Do you want to know where and how to use this stitch? Check out the projects below and learn more. Make something beautiful today!
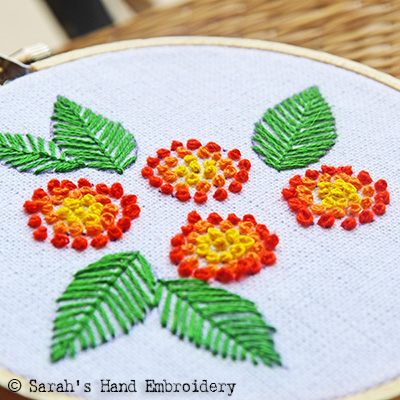
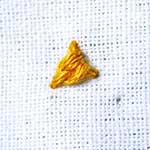
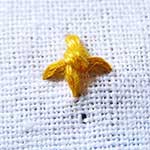
Flower Embroidery |
Learn to do Colonial Knots in 2 minutes!
Use this stitch on a pattern
Visit and Subscribe to Sarah’s YouTube Channel
Learn this stitch and 305 other stitches from our 600-page eBook.

Related Stitches from the Knot Stitch Family


Your explanations and photos are wonderful. Thanks.
Thank you, Susan. 🙂
Many years ago, early 80’s, the counted cross stitch took over all craft projects for all the people I worked with. We shared patterns and stuff. A short time after that there was another stitching craze which involved ecru colored material and ecru thread using knots for the stitch. Does anyone remember what type of craft it was? I am wanting to get back to that craft because my eyes are not as good as they need to be for counted cross stitch. Thanks for your time and any help would be greatly appreciated.
Hi Diane,
Do you have a sample of the embroidery work you have mentioned? It could help identify it.
Sorry, but I don’t…I wish I did and I know it would be very beneficial in identifying it. All I do know, it used ecru cloth and ecru thread.
I think it’s called candlewicking embroidery
Sue, Thank you so very much. I think that is it. I thought it would not be id’ed. Thank you, thank you!
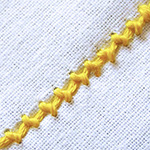
Something like this? This is a Candlewicking sample.
Yes, that is it!!! Thanks again!
Thank you, Sue! 🙂
This sounds like something we did in a creative stocking class in high school. It was called candle wicking. Ecru fabric and threads, tied in knows to make a design.
If this sounds like what you mean- candle wicking
That’s right, Nicole. The Colonial Knots is used as the prime (almost the only) stitch in Candle -wicking. It’s a beautiful embroidery. Looks simple, but I remember some of my students finding it challenging as their knots all looked different at the beginning!
Thank you for the help!
Where are the tutorials provided? I am real interested in candlelwicking!
This is called candle wicking.
This is the stitch used in candle-wicking embroidery.
You always explain the working of a stitch beautiful. I always recommend you in Only hand Embroidery.
Thank you so much, Sumita! MEans a lot. 🙂
Thank you for showing me how to do the colonial french knot, and it looks like it is easy to do, once you figure it out.
Josie
i wanted to embelish a quilt using nots is it still washable?
Hi Sarah…

I have a project that I could use some help on. I have a crocheted blanket with a cotton backing added to the back. I’d like to “attach” the crochet part to the cotton in order to hold it together. I was thinking in the center of the circle- or the triangles. I’ve tried french knots, but they aren’t large enough. Any suggestions would be greatly appreciated.
Love your website! These tutorials are amazing. Clear pictures and instructions. Also love how you provide alternate names for the stitches and how you’ve grouped them. I have you bookmarked and am referencing the tutorials daily now that I’m trying to tinker with embroidery. You make it so much easier for us beginners! Your hard work is much appreciated. Good luck with completing your e-book:)
Thank you so much for this tutorial! I have such a hard time with regular french knots, this really helped me!
Thank you so much for your clear instructions. Now I have lazy daisies on my baby cardigan 🙂
Perfect instructions! I learned this knot years ago but needed a refresher. Your instructions and photo were just what I needed. I’ ll bookmark this page and come back whenever I need to learn or re-learn a stitch.
I LOVE this one. I’m going to use this stitch over and over again. Thank you so much for sharing your knowledge.
I love your lessons ! they are explained very well
thanks alot
🙂 Fatma.
Dear Sarah,
I do not know stitching, but through your user friendly tutorial i am planning to start. I will update you.
i finnd this one much neater and easier than french not 🙂
🙂
whre this colonial knot is used?
Hello Sima,
You can use colonial knots to make little flower petals or the centre of the flowers. you can also gather them up for small fillings. I hope this answers. 🙂