
Also known as: Barred Witch Stitch
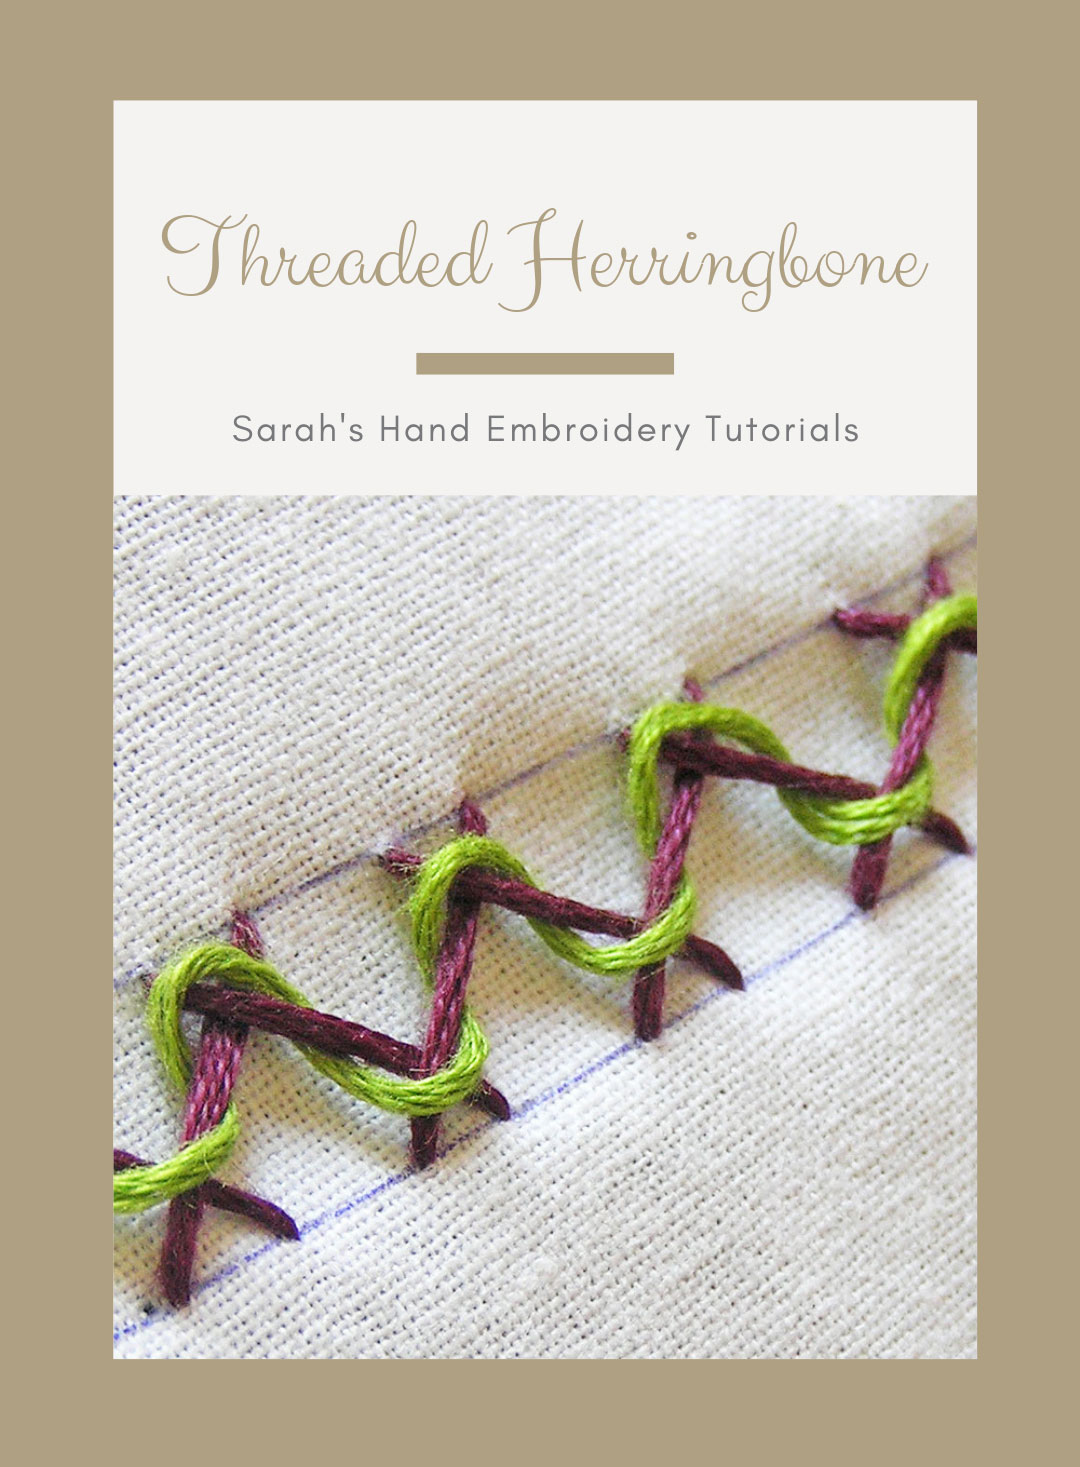
This is a fancy stitch done over a base of herringbone stitch. This stitch looks great for border making.
You need to know how to do herringbone stitch before beginning this tutorial.
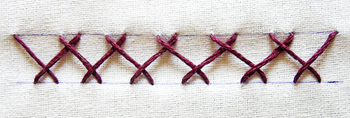 | |
| Herringbone Stitch: Make a row of herringbone stitch for the base. | |
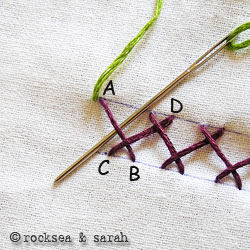 |  |
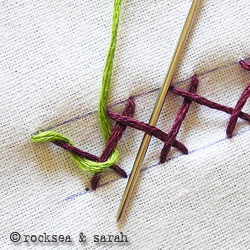
| Fig 1: Bring the needle with a contrasting thread out from the point A as shown. Now, pass the needle under the stitch A-B without plucking the fabric underneath. | Fig 2: Now, take a turn and pass the needle under the stitch C-D. |
 | 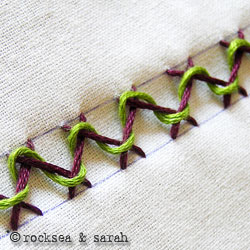 |
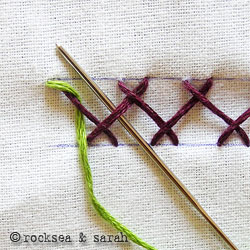
| Fig 3: Continue the process of ‘lacing’ between the herringboen stitches. | Fig 4: A finished row of laced herringbone stitch looks like this. |


Sou brasileira, moro em Aracaju/SE, amei esses trabalhos, vocês estão de parabéns.
from whom did u learnt ? wow!!!!!
Boa noite Sarah,
Sou brasileira e moro numa cidade bem grande com mais de 1 milhão de habitantes. Gosto de borados e fiquei maravilhada quando descobri este site ensinando esse montão de pontos. Gostaria de saber se vocês têm tudo isso impresso ou é só através da internet.
Obrigada por esse presente.
Caro Maria,
Agora este tutroial online é o que está disponível. Estas páginas podem ser impressos individualmente. Mas, estamos workign em um ebook … foi goign por muito tempo, pois tenho filhos. Assim, uma vez que ele fez, você pode verificá-lo para fora!. 🙂
Parabéns !
Adorei rever, esse maravilhoso ponto que tanto fiz no meu colegial. Grata, mais uma vez pela oportunidade .
Muito bem explicado , parabéns!.
Parece que tem que passar um risco paralelo (lápis) para fazer o barrado de ponto de peixe….e depois como faz para sair o risco do pano?
que bello trabajo , no sabia que se podia realizar en hilo ,yo lo realizo en cinta , pero aqui en venezuela esa cinta no esta llegando, ya que la traen de colombia, gracias por dejar esa nueva alternativa besos y gracias una seguidora de sus trabajo josefa , puerto la cruz, estado anzoategui, venezuela
Thank you – very clear – shall be using this on my crazy patch this evening.
🙂 Do share some pictures of your work you learnt from us. We would love to see them and share it with others for inspiration.
di,
dis is pretty cooooooooooooooooooollll