
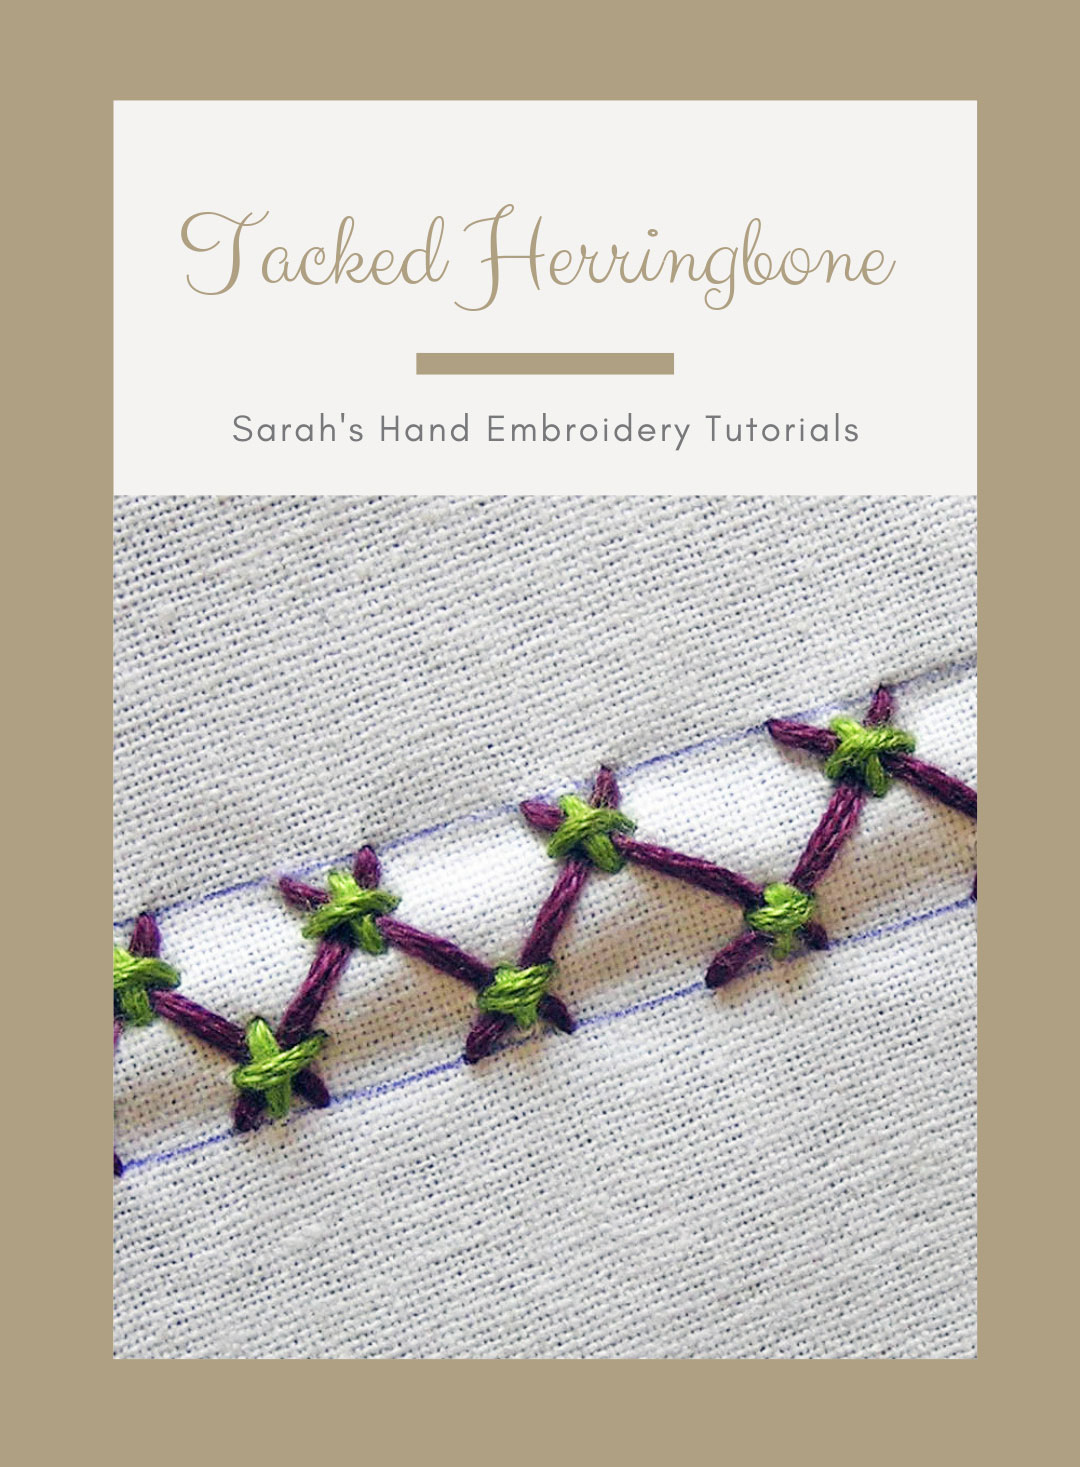
This stitch is done with herringbone stitch as the base. The herringbone stitch is tacked down using small straight stitches at the crosses. There are two ways this can be done: one, by using just a single stitch over the crosses. Second, by using two stitches across each other over the crosses. The illustrations will make it clearer.
You need to know how to do herringbone stitch before beginning this tutorial.
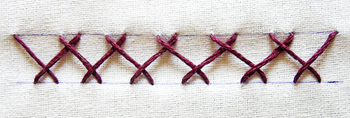 | |
| Herringbone Stitch: Make a row of herringbone stitch for the base. | |
| Variation 1: | |
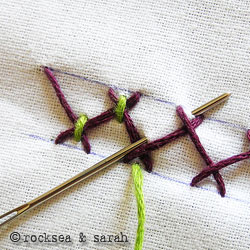 |  |
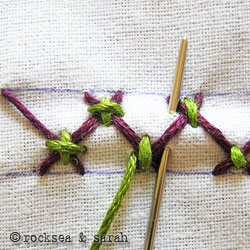
| Fig 1: Using a contrasting thread, we start making straight stitches over each ‘crossing’ of the herringbone stitch, as illustrated. | Fig 2: Continue this simple process for the entire row of herringbone stitch. This tacking makes sure that there is an extra firmness added to the stitch, as well as add to its look. |
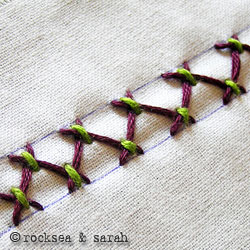 | |
| Fig 3: A finished tacked herringbone stitch would look like this. | |
| Variation 2: | |
 | 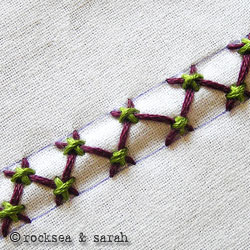 |
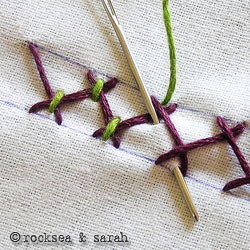
| Fig 4: We can add to the tacking by making a straight stitch across, like illustrated. | Fig 5: A final look of this type of tacking would look like this. |


Thank you its awesome
Thank you. 🙂
Por favor, como sechace el punto arroz y punto semilla. Necesito tutorial. Muchas gracias
thinks
Amazing!
wonderful
Sarah,
very inspiring
thanks
Could you please tell me which stitches are good for kora and dabka for wedding dresses
Could you please tell me which stitches are good for kora and daka for wedding dresses
Sarah,
Wonderful tutorial!
What amazing site to spend hours and hours with your job. thanks a lot for your beautiful job 🙂
Hi! I just had a question. I’m fairly new to embroidery, I’ve basically taught myself until I found your website. My question is, what stitches are great for a whimsical flower stem & leaves? The leaves are about an inch long and 1/2 inch wide… The stem is about a quarter inch wide… Any input would be great! Thanks so much!
Hello Nicole,
Broadly, what stitch to be used will depend on whether you want to fill it in or not. If you wish to just outline the pattern, you can use stitches like stem stitch, or back stitch, or even chain stitch…basically, any straight stitch would be fine. If you want to fill it in, I would suggest the satin stitch family of stitches. You can also try to fill it in using the rice stitch or the seed stitch. I hope this gives you some idea. 🙂
I love the Assisi embroidery on your header!
Thanks Lea-Ann. It is a part of a quilt border I was preparing for our newborn. 🙂
Hello,Sarah i was lucky to find your tutorial of kasuti .Thanks.It is very useful
🙂 Thanks Sandhya.
This is beautiful and unique. Love it.