
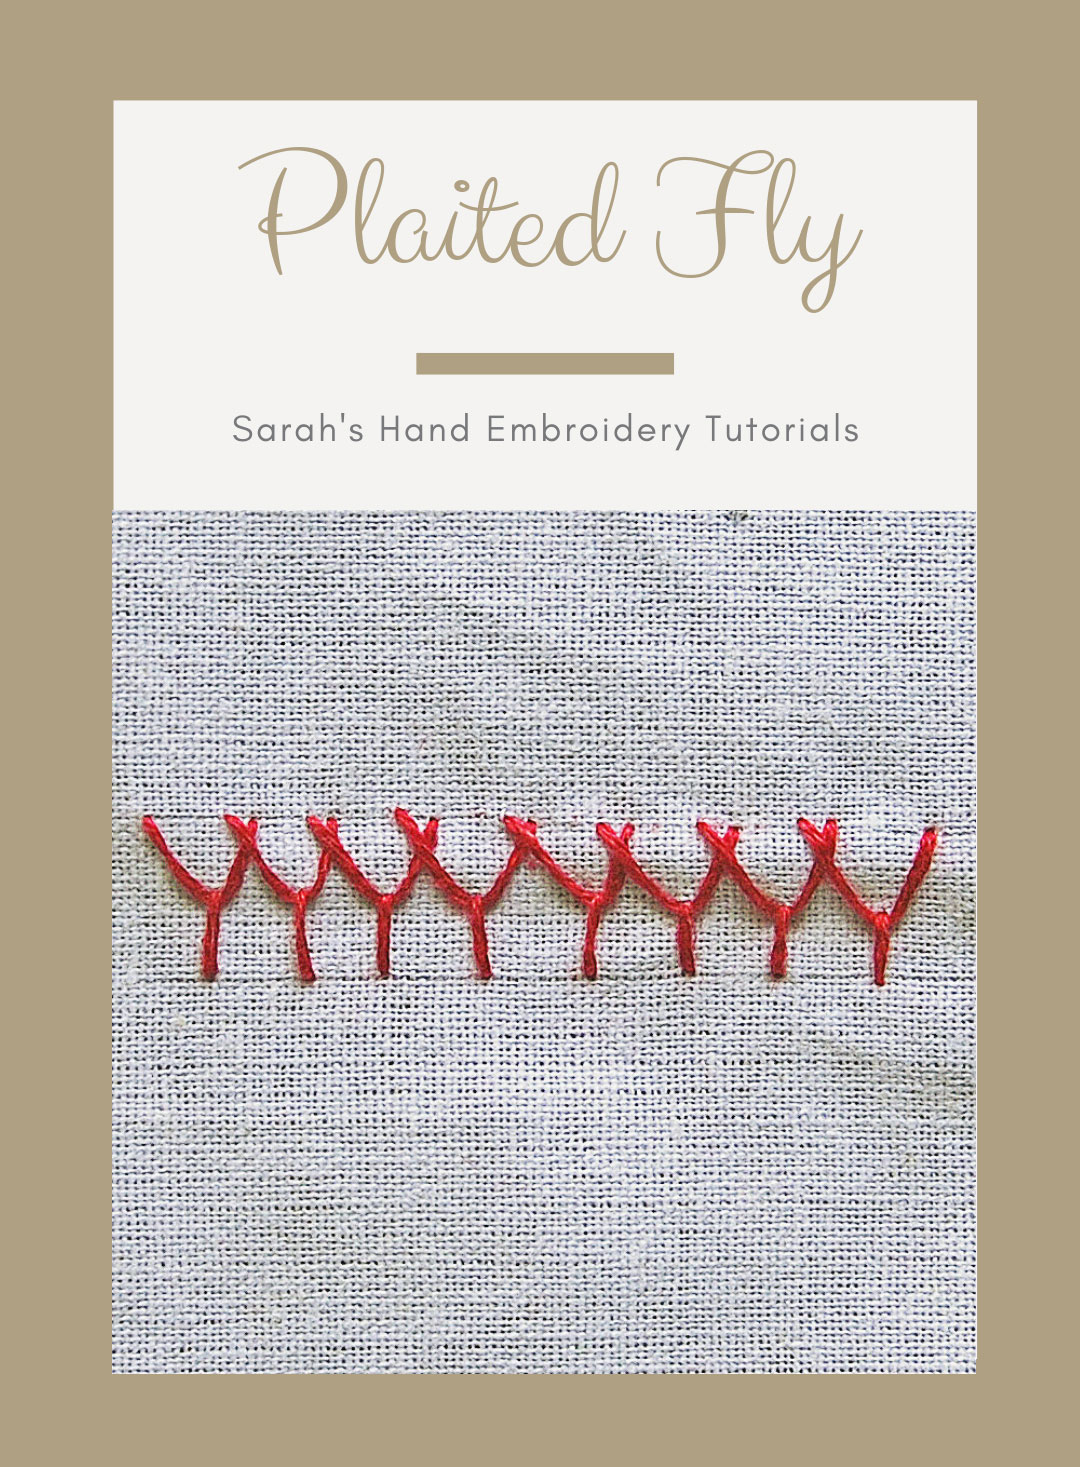
Plaited Fly Stitch is also known as
Puntada de Mosca Trenzada [ES], Geflochtener Fliegenstich [DE], Ponto de Mosca Entrançado [PT].
How to do the Plaited Fly Stitch
This is a variation of the ‘Y’ shaped Fly Stitch. The series of the Fly Stitch is done horizontally, and here, you overlap the legs of each fly stitch over the other. You need to know the Fly Stitch to be able to continue with this tutorial.
 |  |
| Fig 1: Begin by making a single Fly Stitch. After finishing with the tail, bring out the needle just before the second leg of the fly stitch, as shown. | Fig 2: Continue with the process of making Fly Stitches, but each time, overlapping the tips of the legs of the Fly Stitches. |
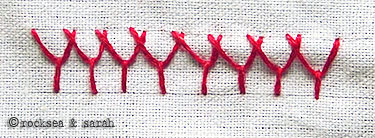 | |
| Fig 3: A series of plaited Fly Stitch would look like this. | |
Learn the stitches from our Hand Embroidery Book
Learn this Stitch and 200 other stitches through our 450-page Hand Embroidery book.
Related Stitches from the Fly Stitch Family
Fly Stitch |
Whipped Fly Stitch |
Closed Fly Stitch |
Plaited Fly Stitch |
Twisted Fly Stitch |
Crossed Fly Filling |


Your tutorials are so helpful and inspires me!
Dear Sarah,
By chance I came across your wonderful website and it is so wonderful. I love the embroidery work…I have been doing for awhile. Thank you for the your great work…
Savithri
Sarah Dear
Your tutorials are amazing!!! I am avid fan of hand embroidery which I first learnt in Class V and have loved it ever since!!! But due to a busy working/family life this hobby eluded me for decades. Recently I could revive my interest and did a years Diploma in Hand Embroidery to revive my memories. Though I know most of the basic stitches given in your tutorials the variations really amaze me!! Really Sky is the limit here!! I have fallen head over heels in love with Brazilian Embroidery. I had never heard of it in my early days!! Please post some tutorials for the various stitches used in this three dimensional embroidery!! Thanks for everything !! and keep embroidering
Dear Sarah
I loved this site. Its a treasure trove for anyone who wants to learn to embroider. Great work!
Thanks Mariam. 🙂
Thank you so much for all your wonderful tutorials. I am new to embroidery and you have made this relatively ‘easy’! Its so nice to be able to have projects that can travel with me and a web site to help me with all of them! Thanks again!
April, wow! You have done such a neat work. 🙂 I really like the way you have done the inside and the centre of the flower. Thanks for sharing your work with us. It should be an inspiration to the other beginners too.
hi April,
We are working on an E book with illustrated tutorials of 200 and more stitches. We want to feature some samples from our readers as well. Your work and picture looks really nice. If it is okay with you, we would like to consider using the image you have uploaded in this page to feature in our E book. All due credits will be given. Please let us know.
Best regards,
Sarah
hi~sarah, can you show me for zigzag coral stitch & basket stitch? thank u very much!
i love here!
Hi Tracy,
I will try top add the requested stitches as early as possible. 🙂
how can i b a member of this site?
Dear Harshita,
You can subscribe to the website using google reader. Check the topmost part on the right hand side.
thank for reminding me