
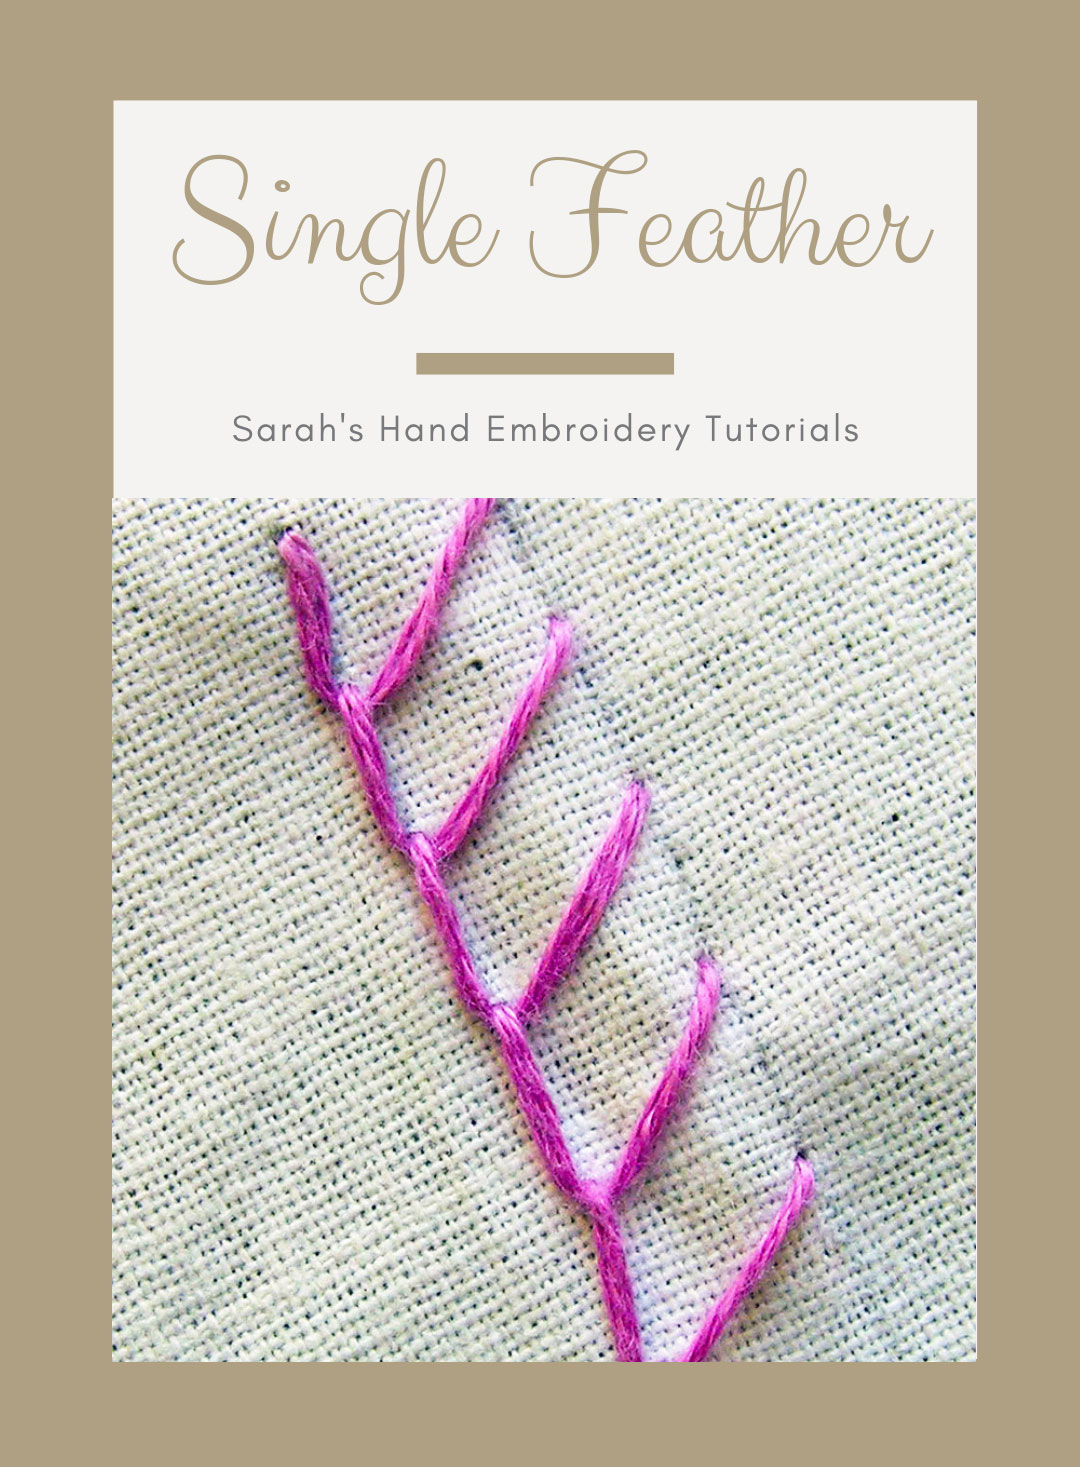
About the Single Feather Stitch
This stitch is called so as, unlike the regular Feather Stitch, we do not alternate the stitch between the left and right side, but to only one side. It follows the technique of blanket stitch, the only difference being that the stitches are slanted instead of straight.
How to do the Single Feather Stitch
The stitch will be worked between two stitch lines A and B. I will work this stitch from top to bottom towards the right side. This stitch can be worked towards the left side too.
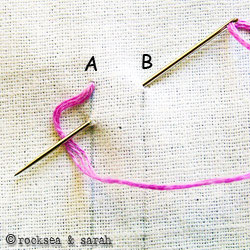 | 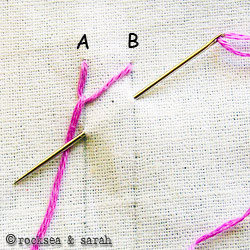 |
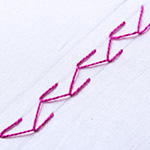
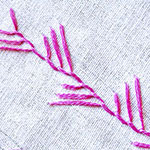
| Fig 1: We bring the needle out through A and bring it out through B. Note that A and B lies in a straight line. Now, bring the needle out through A, which lies diagonal to B. With the thread under the needle, as shown, pull the needle out. | Fig 2: We continue the procedure. Notice that, unlike the feather stitch, this is a series of one sided ‘V’s. |
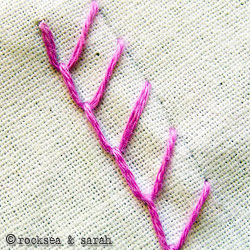 | |
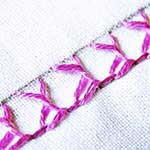
| Fig 3: A finished portion of finished single feather stitch would look like this. |
Related Projects
Do you want to know how and where to use this stitch? Check out the projects below to know more!
Leaves |
Other Stitches from the Feather Stitch Family


Learn this stitch and 300 more from our 600-page eBook.


Me falta práctica, pero como sea, lo estoy logrando gracias a tus instrucciones. ¡Muy agradecida!

Estou muito feliz em receber seu comentário. Obrigado. Esta é uma bela aplicação deste ponto.
i hate this site. i’m trying to find stuff that will tell me nice step-by-step guide but it isn’t giving me that:(
That is sad and I am sorry. I hope you find what you are looking for elsewhere. 🙂
I’ve been looking for a stitch for some wings as well — angel wings though — and this one seems like it’ll do nicely. Thank you so much for this! Your site has been a great resource for me.
wow. While creating the tutorial for single feather stitch, I doubted if anyone would be able to find a good application to this stitch, especially since it is only a slanted version of the blanket stitch. I must really appreciate how you have used it here. Very nicely done owls. 🙂 Thanks for sharing.