
This stitch is so called because each loop in the chain is formed by using the process to make a knot. The loops formed are circular in shape unlike the ‘almond’ shaped chain stitch loops. This stitch is ideally worked from right to left. Once you are familiar with the logic, you can work from left to right as well.
I will be working on a single stitch line. The stitches will fall on either side of this stitch line, except the first one.
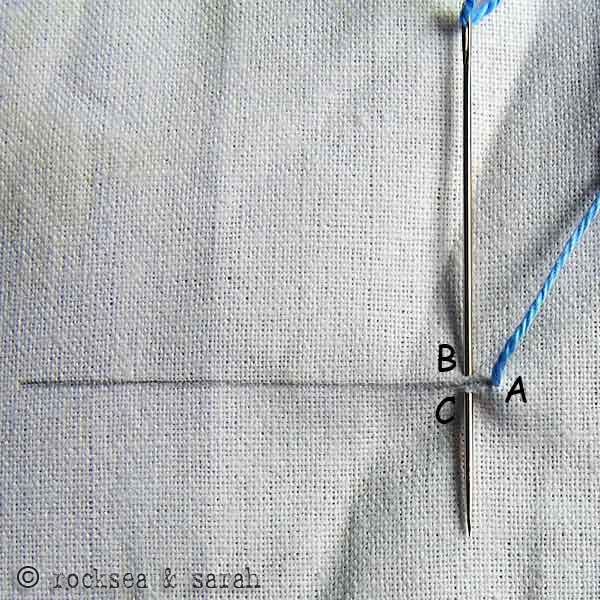 | 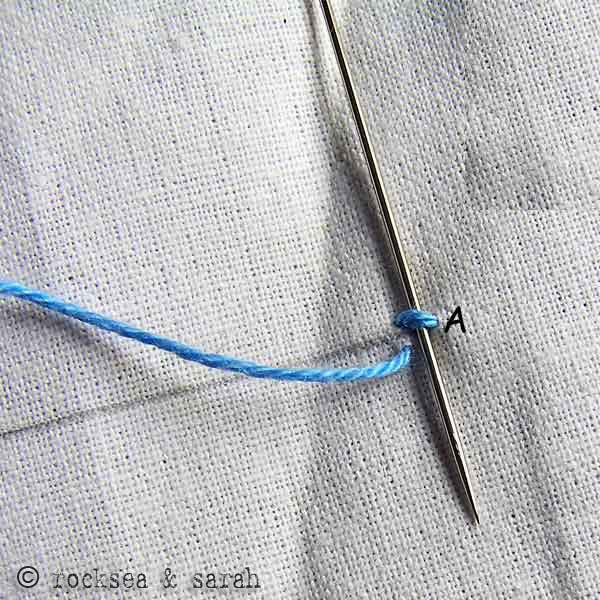 |
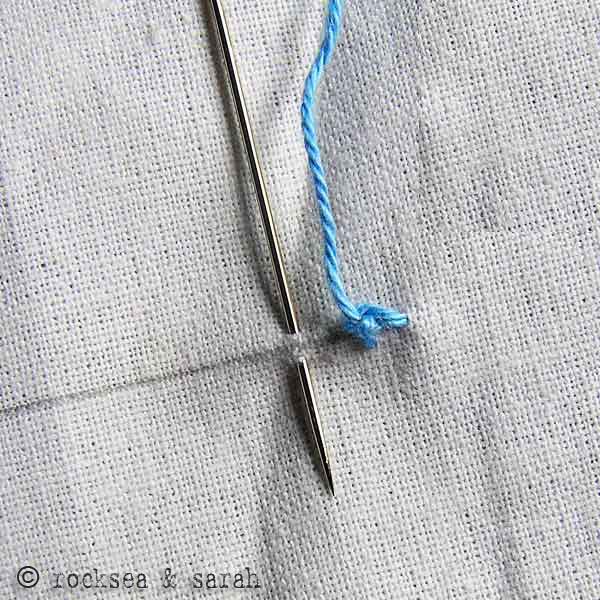
| Fig 1: Bring the needle out through A, which lies on the stitch line. Now take the needle in through B and bring it out through C. Note that the points B and C lie on either side of the stitch line and symmetrically. | Fig 2: Pull the needle out to get a small stitch as shown. Take the needle beneath that stitch from the top, as shown. |
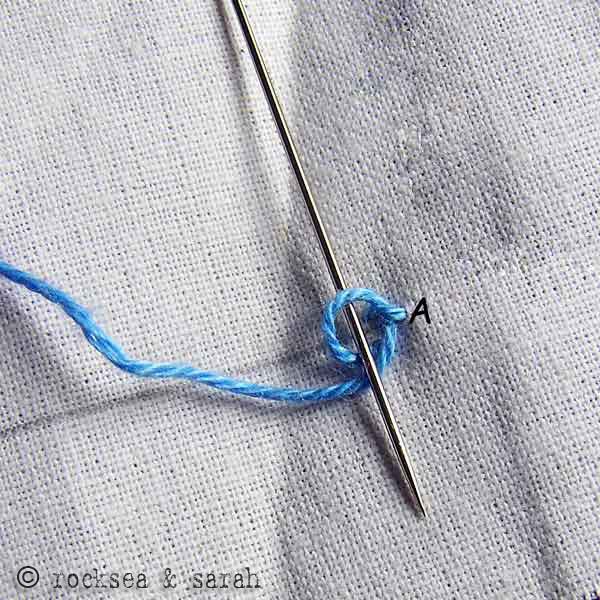 |  |
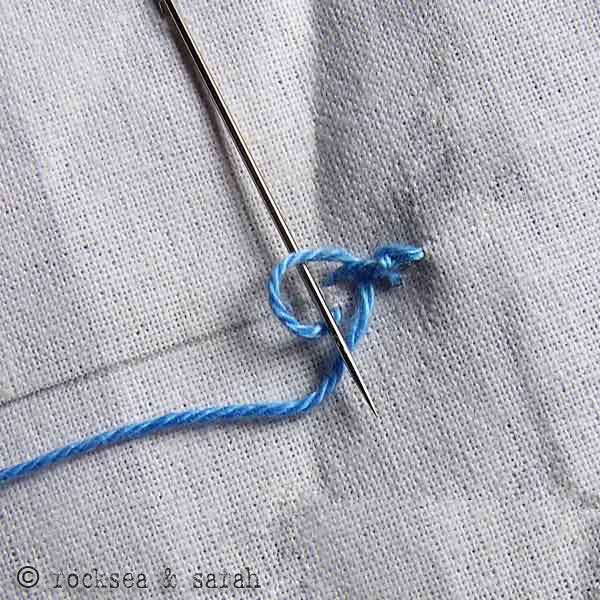
| Fig 3: Pull the needle out to see a loop being formed. But before the loop is tightened, put the needle in that loop. This is the process that makes a knot. | Fig 4: Remember not to tighten the loop too much, else it will make a knot. It must still maintain the look of a circular loop. A tip to help you here: when pulling out the needle to tighten the knot, pull the needle towards the left side. This helps the loop to nt fall into a tight knot. |
 | |
| Fig 5: Continue the procedure by making such tiny circular loops in the same way. | |
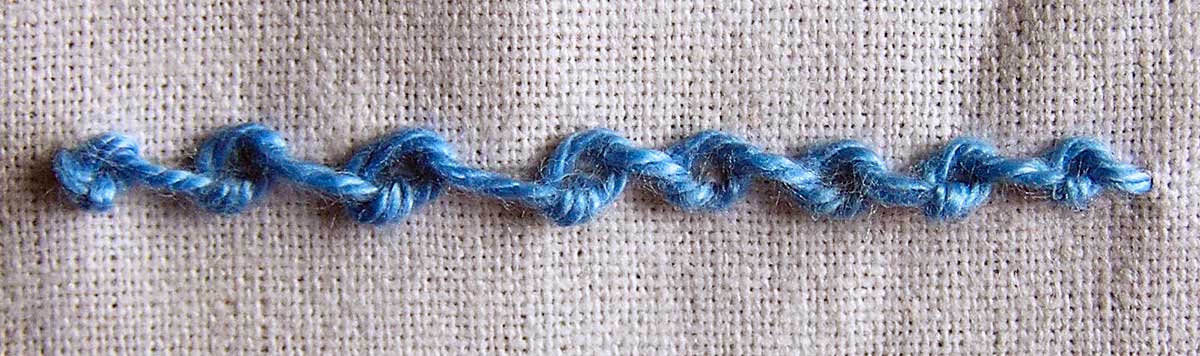 | |
| Fig 6:A finished line of knotted chain stitch would look like this. | |


Thank you very much for your tutorial . Your site is very comprehensive
Thank you,Zainab.❤️
Thank you Sarah’s. All are the best. Sure will sew it. Can sew it in many thing example blouse collar. Hand bags. N so on….. God bless you. Amen.
Awesome. And do share some of your work here. ☺️
Amazing ….. very fond of ur site
it really helped me alot in my final yr project its too gud
I knew chain stitch from my school days but, these type of chains are really very new to me. Thanks a lot for this site. This is very helpful.
Nandhini
🙂 Enjoy stitching!
kudos to your generosity of sharing knowledge..God bless u