
Braided Chain Stitch
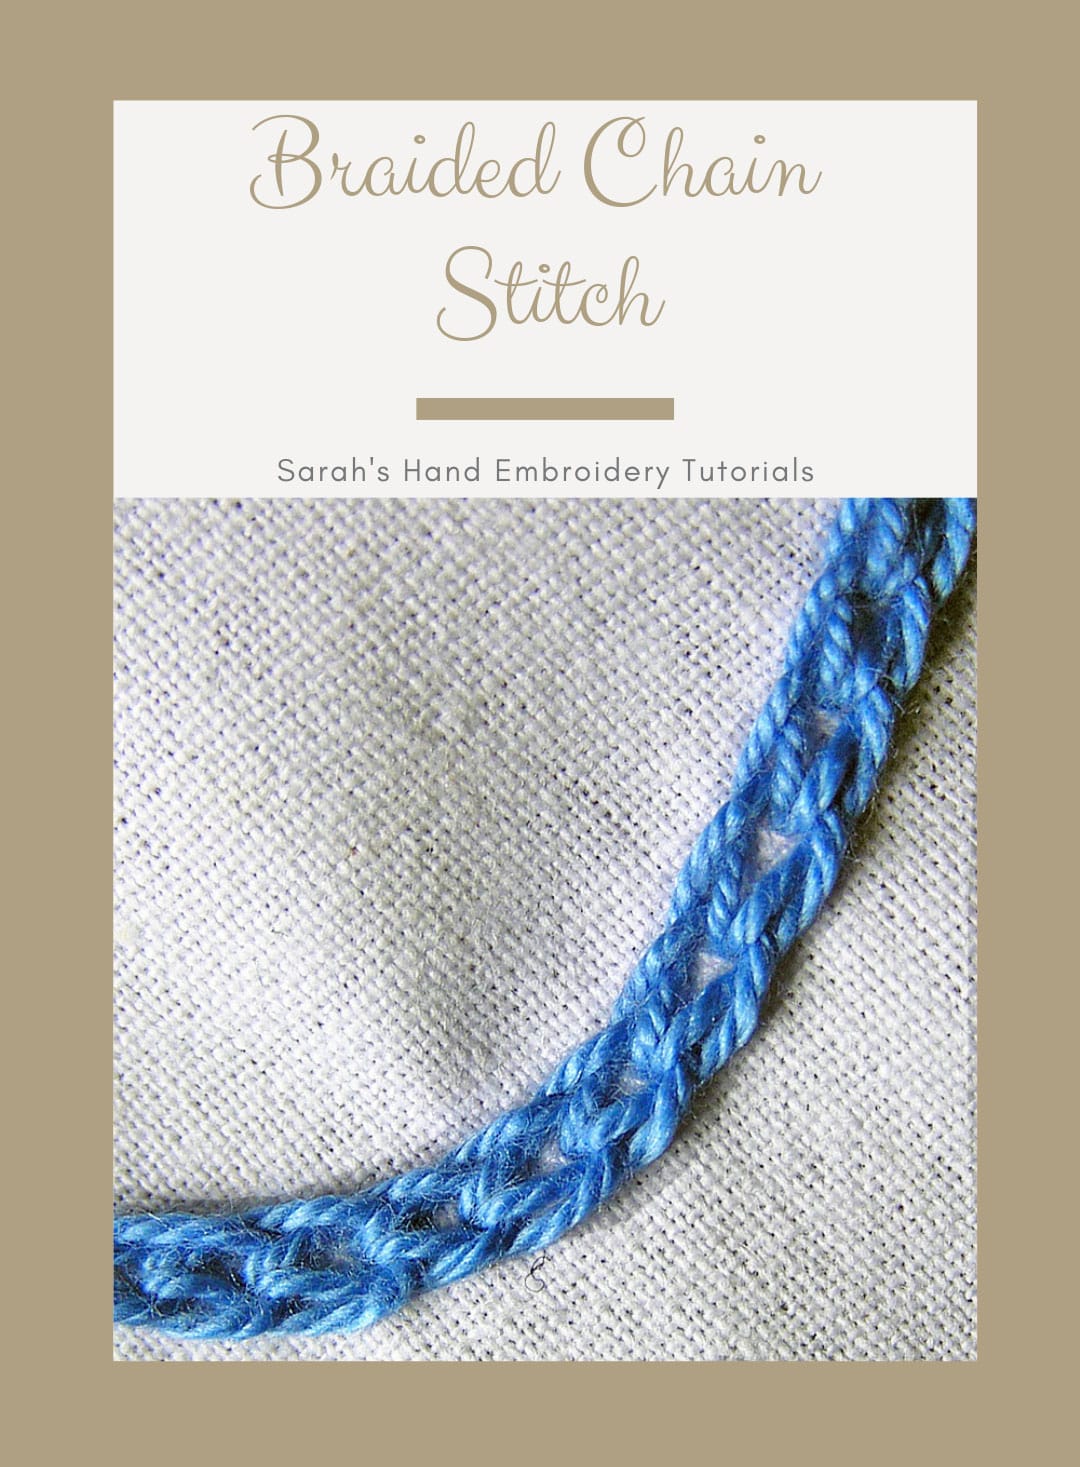
Braided Chain Stitch is also known as Hungarian Braided Chain Stitch [EN], Punto cadena húngara [ES], Point de chaîne hongrois [FR], Ungarischer Kettenstich [DE], Punto catenella ungherese [IT], Ponto corrente trançada húngara [PT]. How to do the Braided Chain Stitch The Braided Chain Stitch is worked almost the same way...


