How to do the Whipped Reversed Fly Stitch
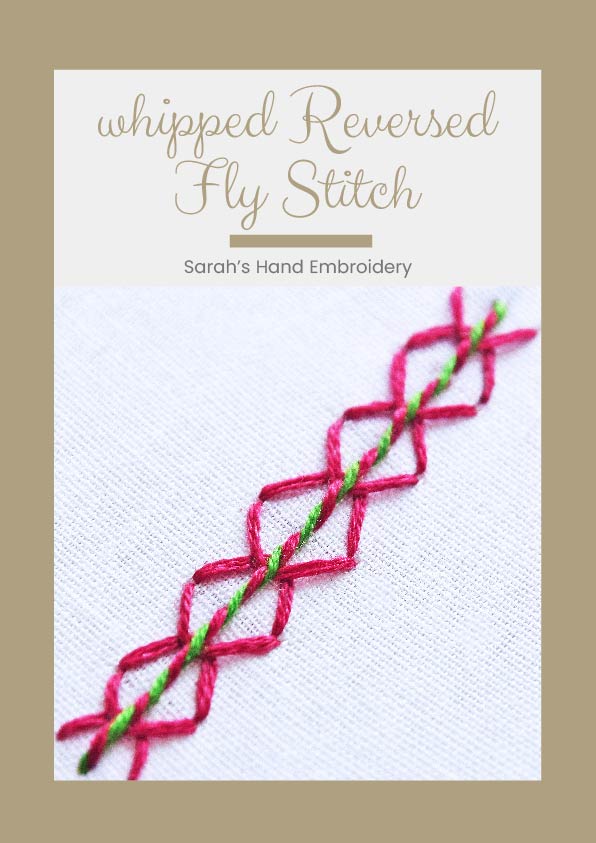
This is a decorative version of the Reversed Fly Stitch showing how a simple addition using a contrasting- colored thread can be decorative. Adding a bead with each between each whipping will be a great add-on to the stitch.
 |
 |
| Fig 1: Start by making a Fly Stitch. . |
Fig 2: Make a vertical row of the Fly Stitches with spaces, as shown. |
 |
 |
| Fig 3: Now, turn around your row of Fly Stitches, and start working another row over it. While making the Fly Stitch, make sure to share the stitch points of the earlier row. |
Fig 4: Connect the tails of the earlier row with the tails of the new row. |
 |
 |
| Fig 5: Similarly, connect the arms of the previous row with the arms of the Fly Stitches in the new row. | Fig 6: You would get a pattern like this. |
 |
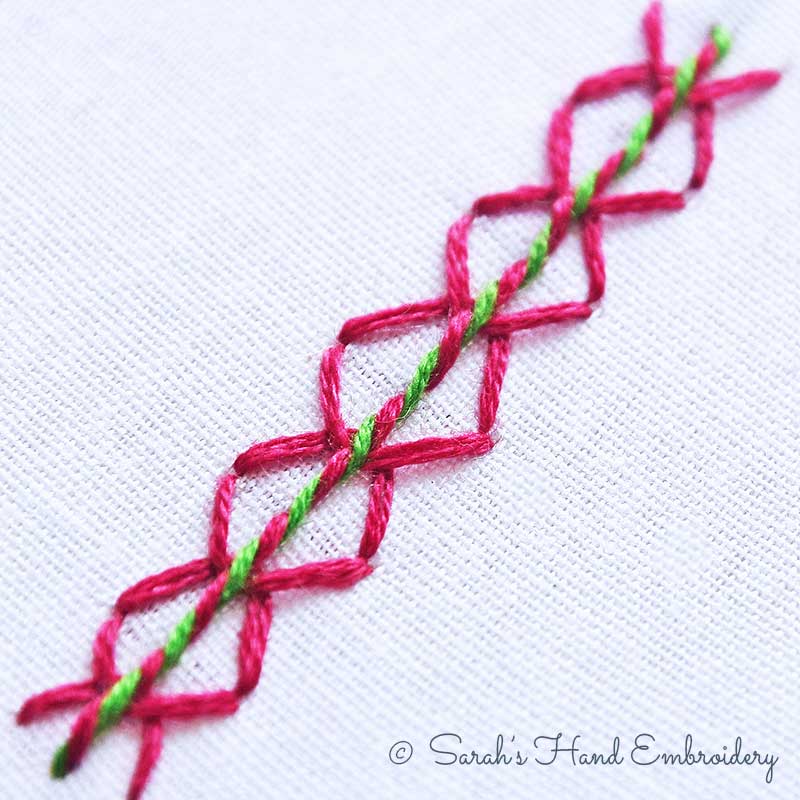 |
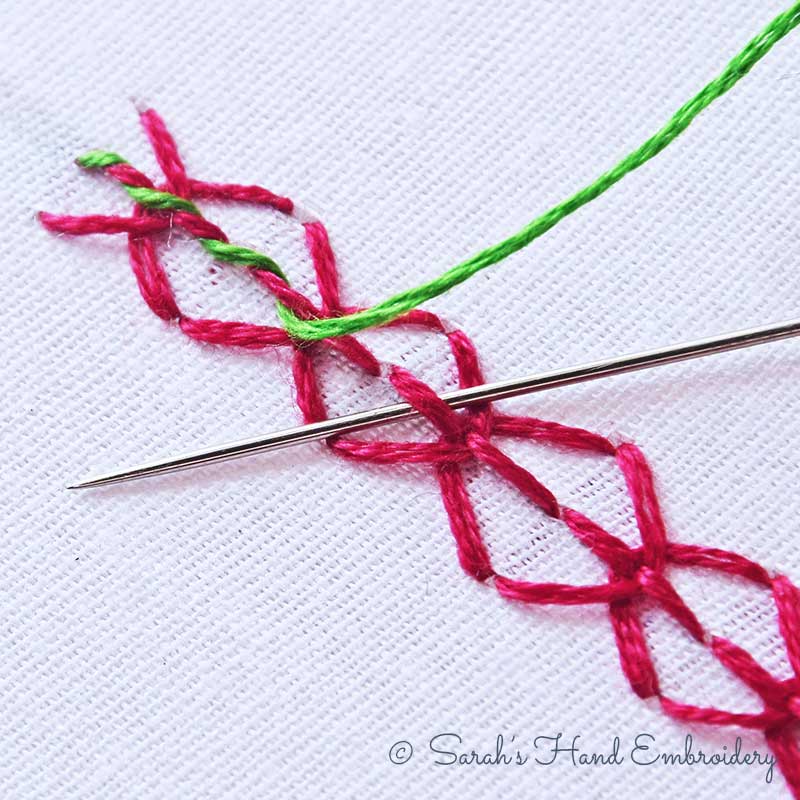
| Fig 7: First, make a vertical row of the Reversed Fly Stitch. To whip, take a contrast colored thread and start from the tip of the first tail. Whip the thread around each tail as shown in the illustration. Be careful not to pluck the fabric beneath. |
Fig 8: A finished row of the Reversed Whipped Fly Stitch would look like this. |
Learn this stitch along with 305 other stitches from our 600-page eBook.
 Sarah has been researching and sharing hand embroidery lessons for over 20 years, making it accessible to everyone around the globe.