Otomi Stitch is also known as
Tenango Stitch [EN], Punto Tenango, Punto de Otomi [ES], Point Otomi [FR], Otomi Stich [DE], Ponto Otomi [PT]
How to do the Otomi Stitch
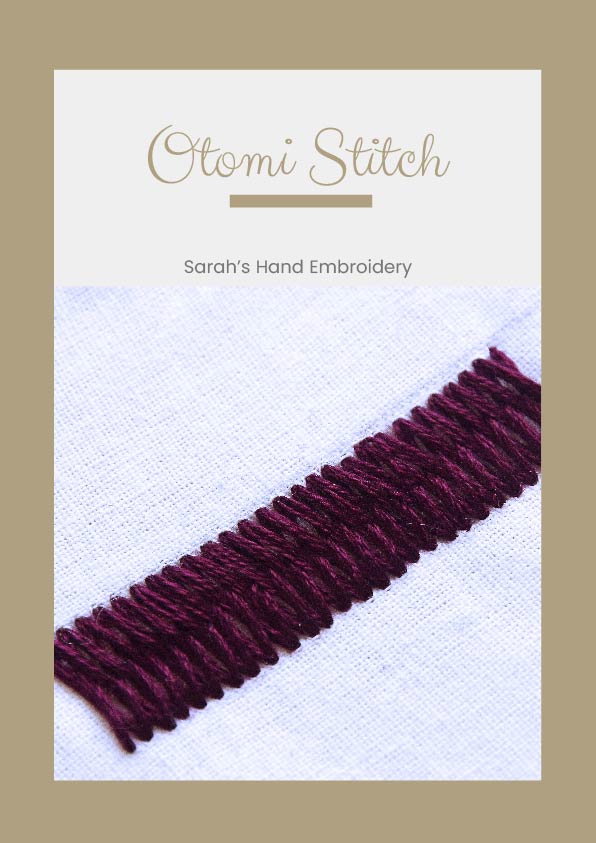
The Otomi Stitch is similar in technique to the Closed Herringbone Stitch. It is done much densely or closely that the background fabric is not visible. This makes the stitches look elongated. Otomi Stitch is a prime stitch in the Tenango Embroidery from Mexico. The reverse of the fabric looks like a row of tiny Double Back Stitches.
 |
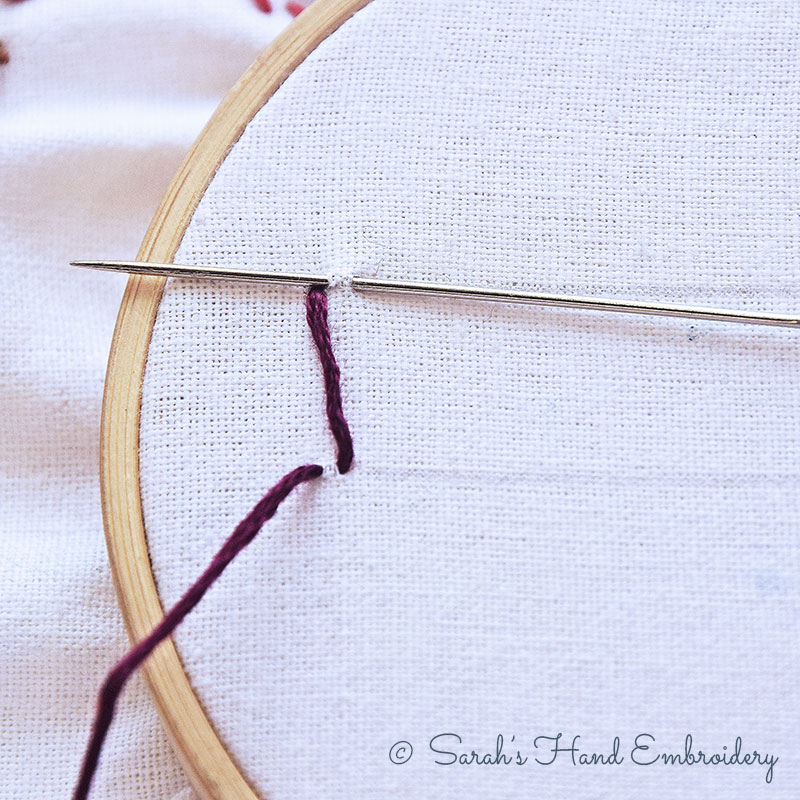 |
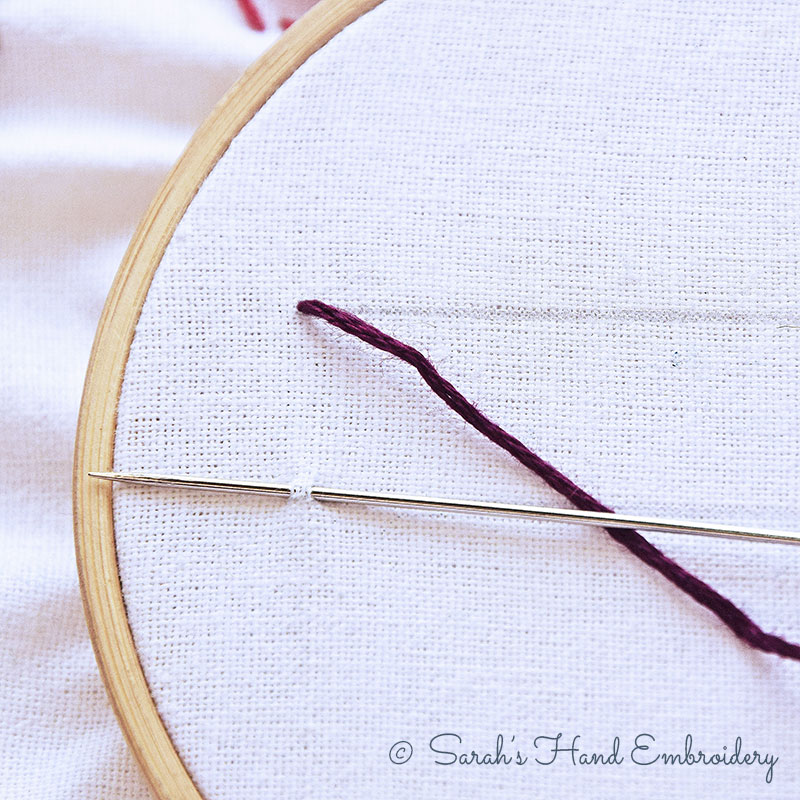
| Fig 1: Start as you would for a Herringbone Stitch, as shown. . |
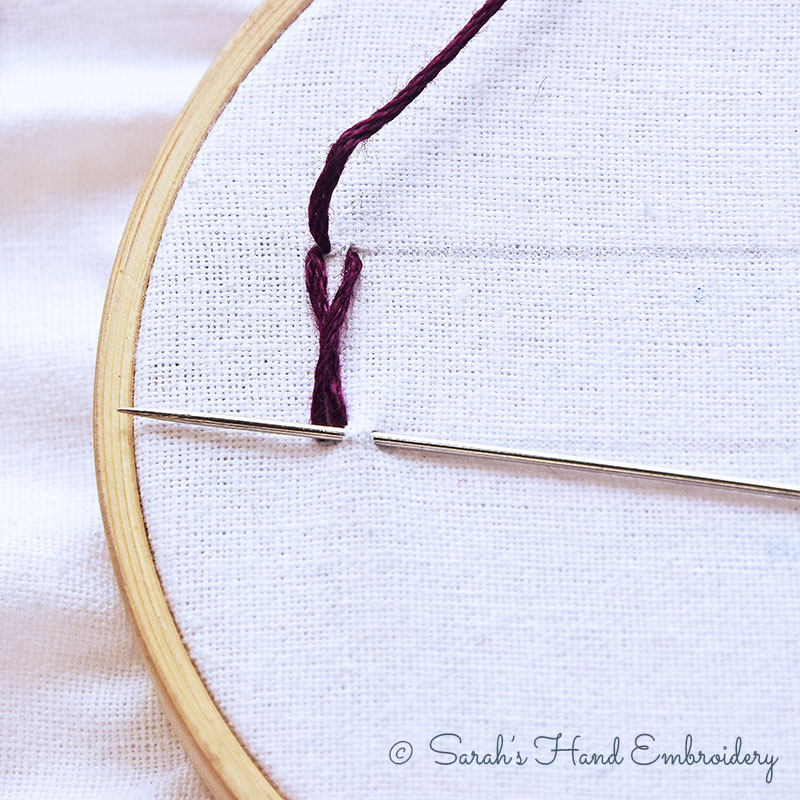
Fig 2: Now, bring out the needle through the point where the previous stitch emerged from. This closes the gap between the stitches. |
 |
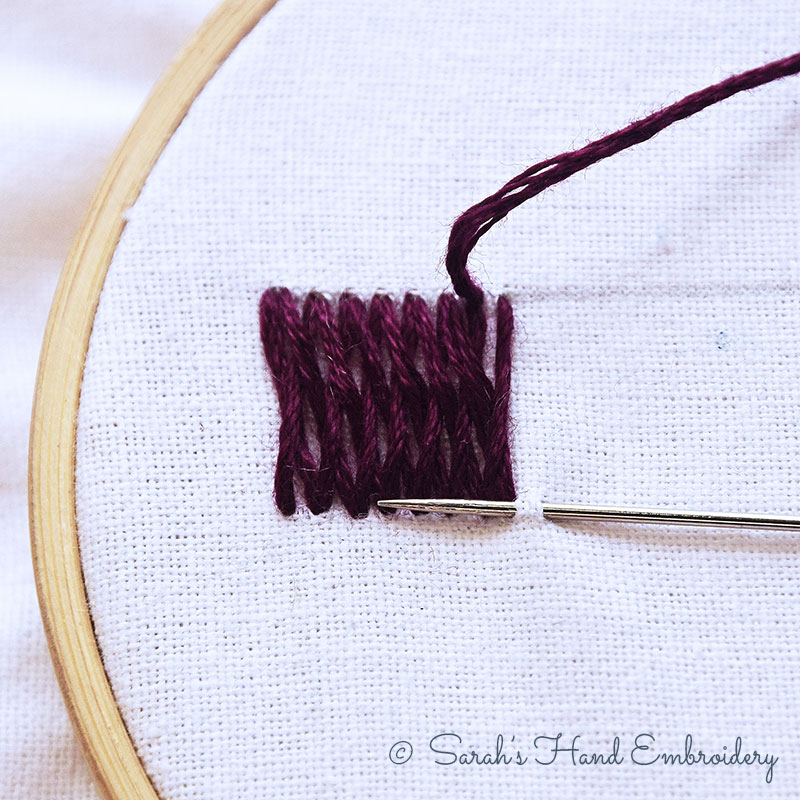 |
| Fig 3: Do the same while you bring the needle out from the lower stitch line. | Fig 4: Take small strides as in to elongate the stitches. You will see a faint rib being formed at the center of the row. |
 |
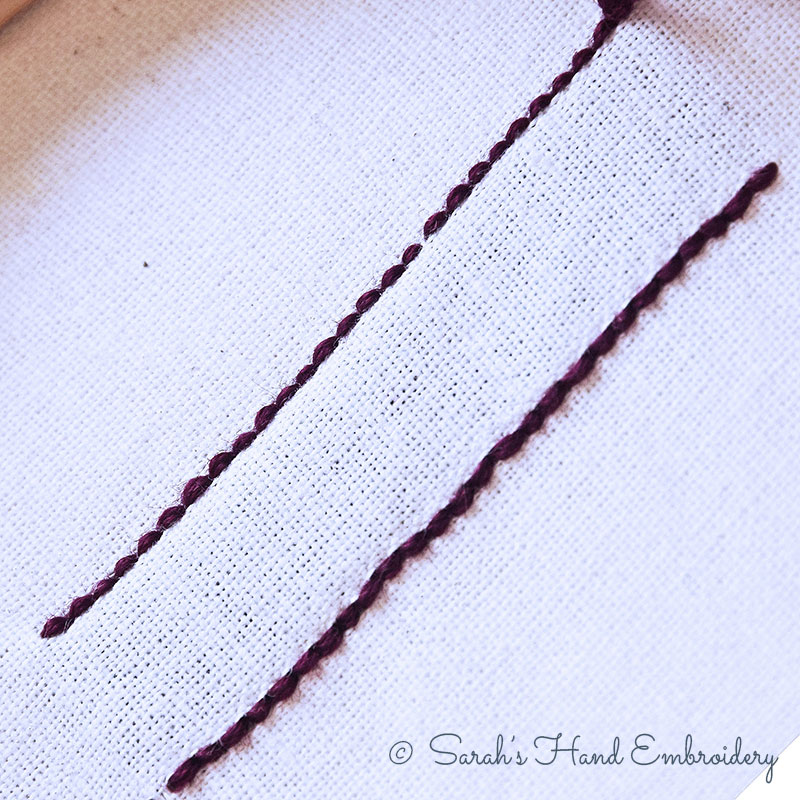 |
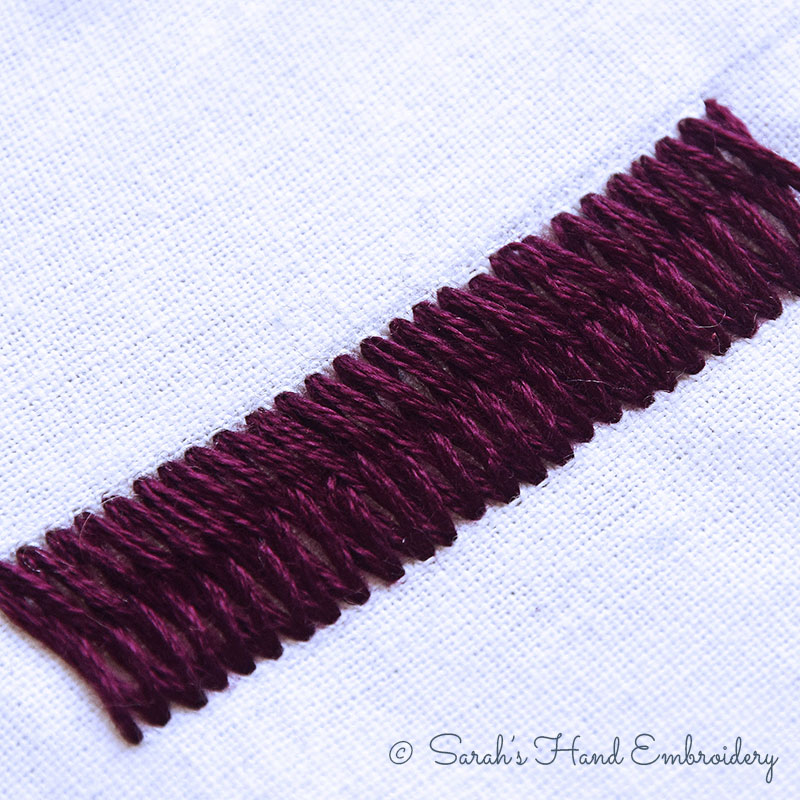
| Fig 5: A finished row looks like this. | Fig 6: The reverse looks as neat and beautiful! |
Otomi Stitch Sample
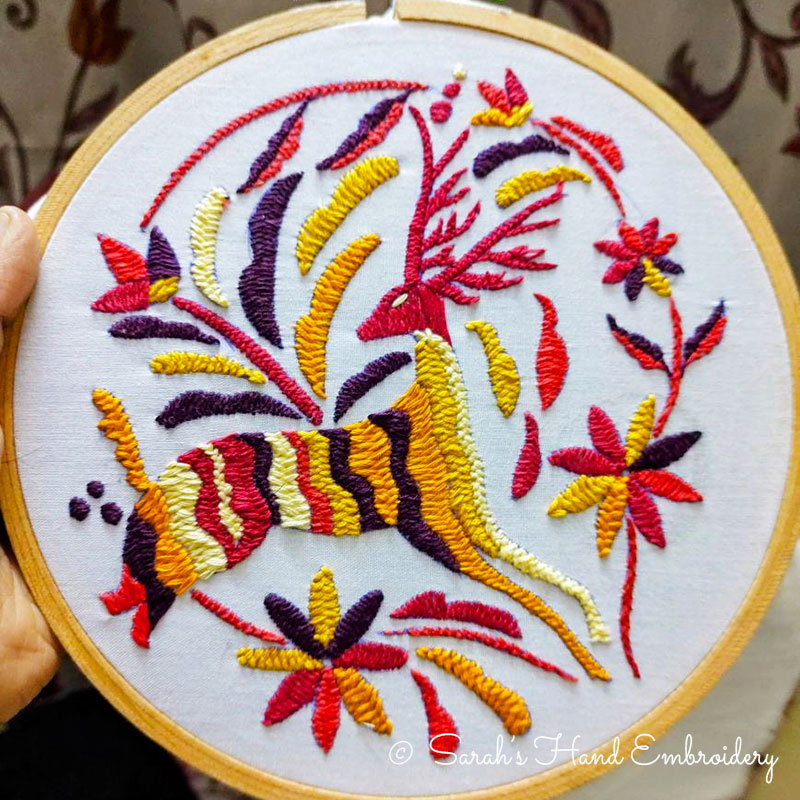
By Soumya, NIFT
Learn this stitch along with 305 other stitches from our 600-page eBook.

 Sarah has been researching and sharing hand embroidery lessons for over 18 years, making it accessible to everyone around the globe.