How to Organize Your Hand Embroidery Needles
Let’s face it—embroidery needles are slippery little escape artists. One moment they’re where they should be, and the next they’ve vanished into the void (aka your sofa). If you’ve ever found one by sitting on it—ouch, we’ve all been there.
So, how do you keep these tiny tools in check? After years of trying and tweaking, I’ve discovered a few reliable (and creative!) ways to store needles so they’re easy to find and safe to use. Here’s a roundup of fun and functional methods that you might love as much as I do:
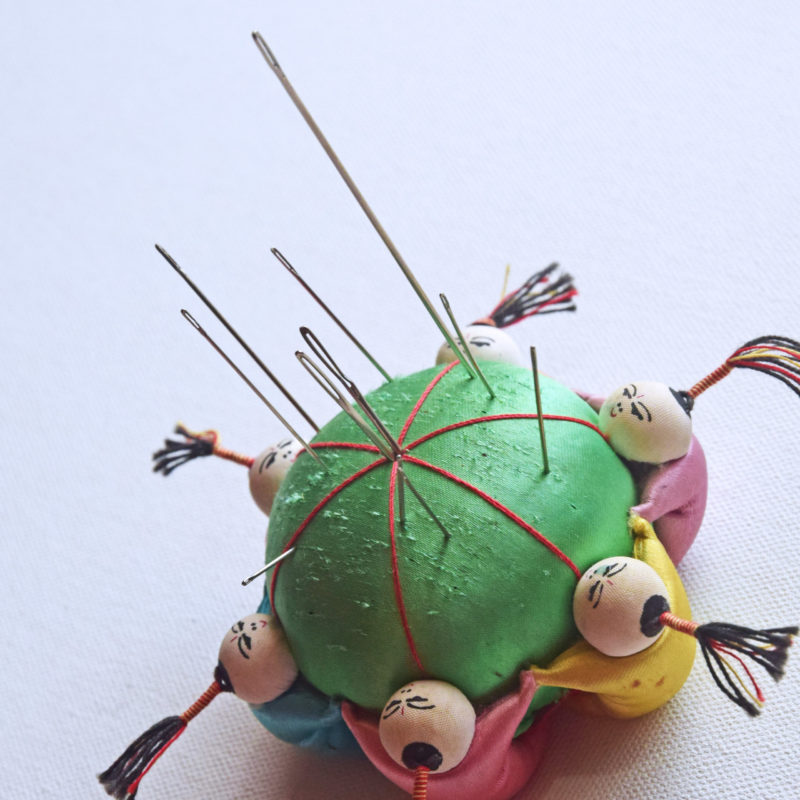
Pin Cushions
Simple and time-tested. Just poke your needles into a cushion, and they’ll stay put. You can even designate different areas for different types—sharps on one side, and embroidery needles on the other. Plus, pin cushions can be super cute and double as decor on your workspace!
One of the main advantages is that needles are easy to access while stitching, and it also adds a lovely decorative touch to your workspace. However, a couple of downsides are that there are no size labels, which can make it confusing to identify needles, and they may rust if left in for too long.
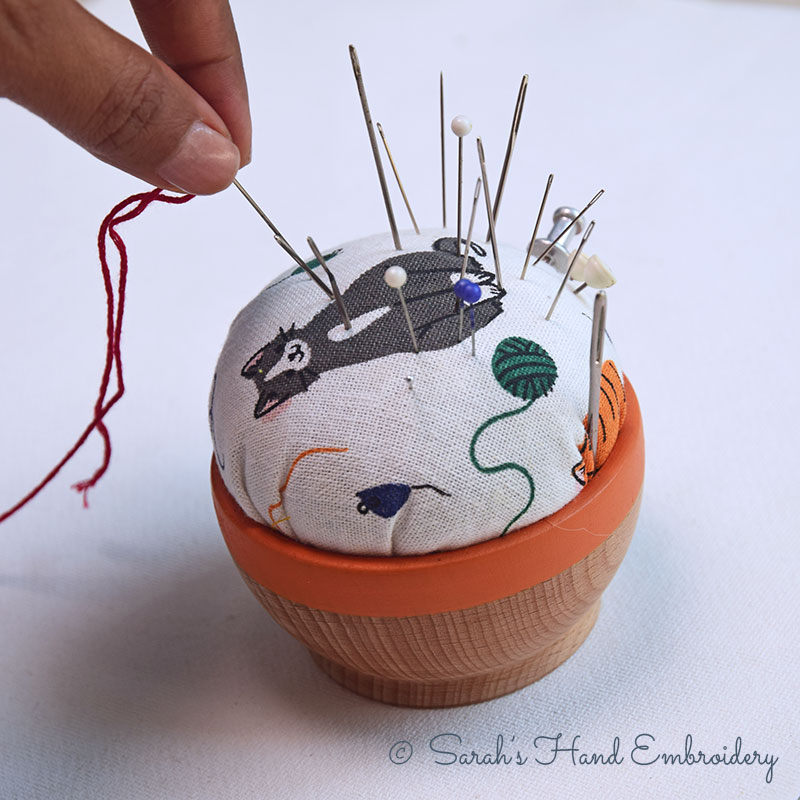 A Pin cushion that I use to keep my working needles
Needle Book
Think of this as a soft, fabric-bound diary for your needles. Each “page” can hold a different size or type, and you can even label them if you’re feeling extra organized. Bonus: it’s portable, so your needles stay safe on the go. This method is great for sorting needles by size or type, and it’s also travel-friendly and compact. On the downside, it can take a moment to flip through the pages to find what you need, and you might need to re-label sections occasionally if you switch needle types.
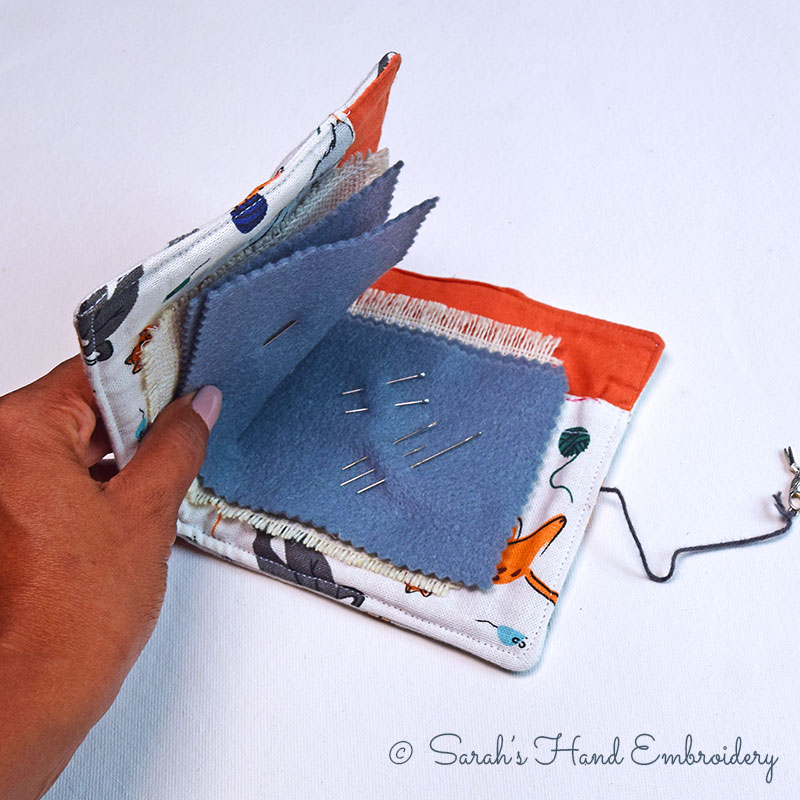
A needle book with felt pages for the needles
Leave Them in Their Packs
This one’s for the minimalists. If you prefer to keep your needles in their original packaging, go for it! It keeps the sizes labeled and prevents any confusion—just don’t lose the pack itself! The biggest advantage is that needle sizes are clearly marked, and there’s no extra cost or setup involved. However, the packs can tear easily and are easy to misplace, making them less convenient for frequent use.
 Needles that I picked up from different stores, kept in their packs
Small Labelled Tubes
Tiny storage tubes (like those used for beads or spices) can be labelled and used to sort needles by type. They’re perfect for tossing into a pouch or drawer and make you feel like a scientist of stitches. Precision and portability! This method is neat and compact, and it’s easy to label and sort your needles by type. However, it’s not the best option for quick access, and the storage item can roll away if not stored properly.
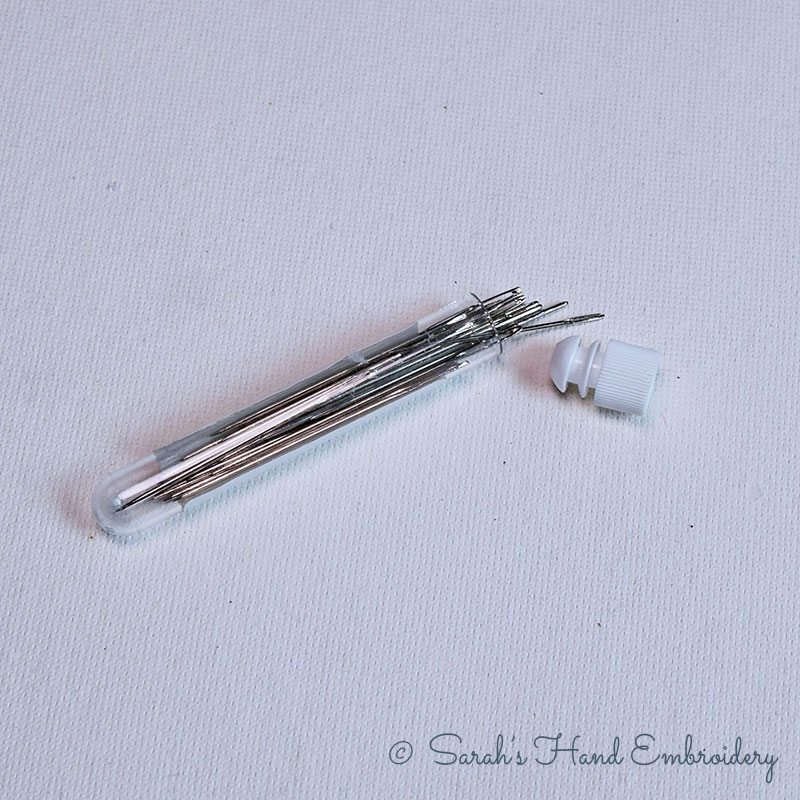 A clear plastic tube for some of my bigger needles
Boxes
You can’t go wrong with a classic needle box. Some come with foam or magnetic inserts to keep needles in place, and they’re perfect for long-term storage. Choose transparent lids for easy viewing or opaque for a clean look. This option is great for organizing multiple needles in one place and is also easy to travel with. On the downside, labeling the individual needles isn’t possible, and handling can be a bit tricky depending on the type of box you use.
 A tiny needle box, non-magnetic
Needle Minders
This is a last-minute addition to the list. Needle Minders are not really meant for long-term storage of needles, but for short-term usage. These magnetic cuties are not just adorable—they’re functional lifesavers. Stick them to your hoop or workspace, and your needle stays put when you pause. Perfect for mid-project breaks or when you’re juggling multiple threads. It’s great because it prevents your needle from getting lost mid-project and can be attached directly to your hoop, making it easy to carry around. However, it’s not designed for long-term storage and isn’t suitable for storing needles during travel.
 A reader holding up one of our needle minders
Watch how to organise your needles!

More basic hand embroidery tutorials


Learn all you need to know about hand embroidery along with 306 other stitches from our 600-page eBook.

 Sarah has been researching and sharing hand embroidery lessons for over 18 years, making it accessible to everyone around the globe.