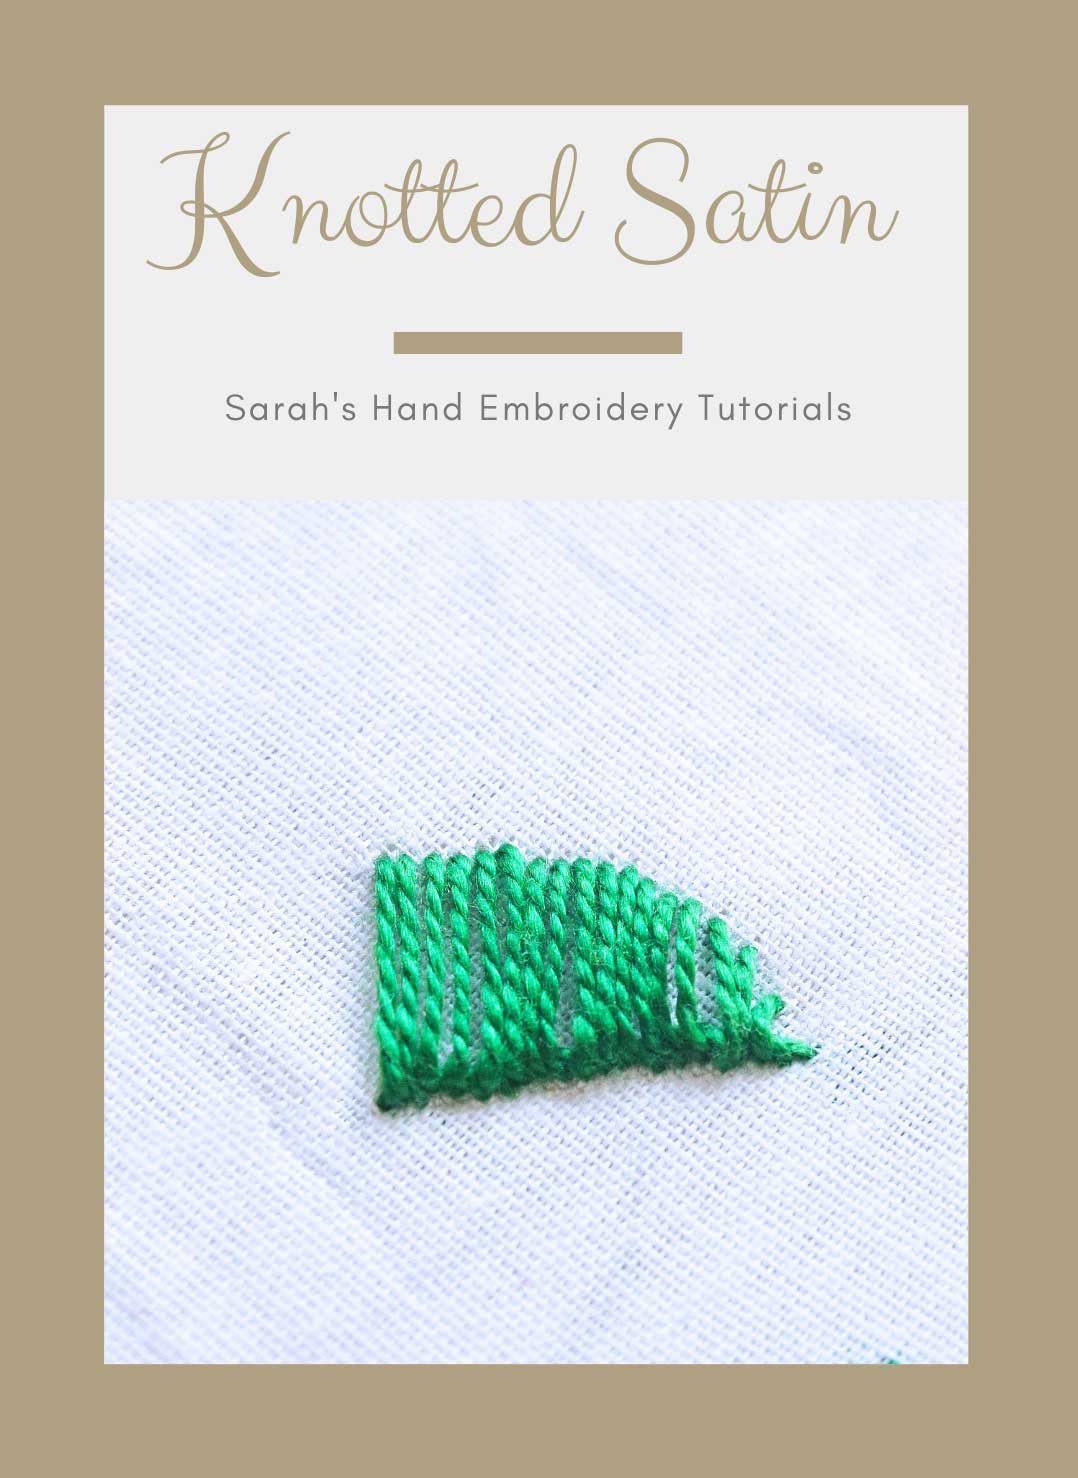
About the Knotted Satin Stitch
The Knotted Satin Stitch is a variation that can give the filling a slightly ‘puffed’ look. This is because of the push created by the ‘knots’ made behind each stitch. Try it on patterns where you are looking for a little embossing instead of a flat feel. This effect is accentuated when using the perle cotton thread. I will work over this semi-crescent shape to illustrate this stitch. Let me work from right to left.
How to do the Knotted Satin Stitch
 |
 |
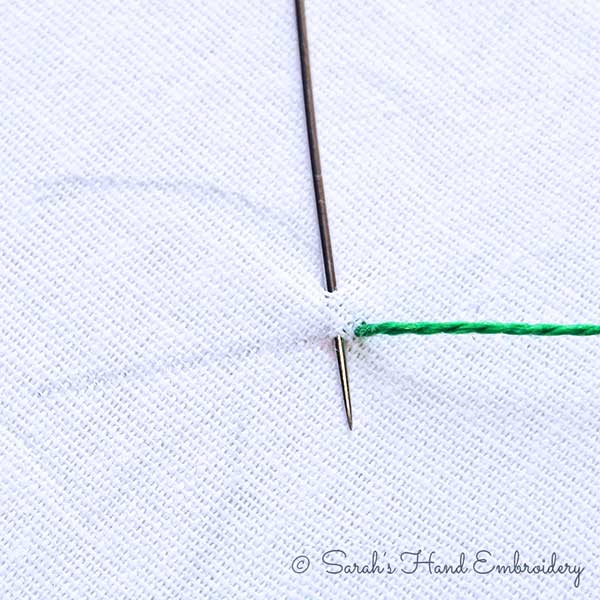
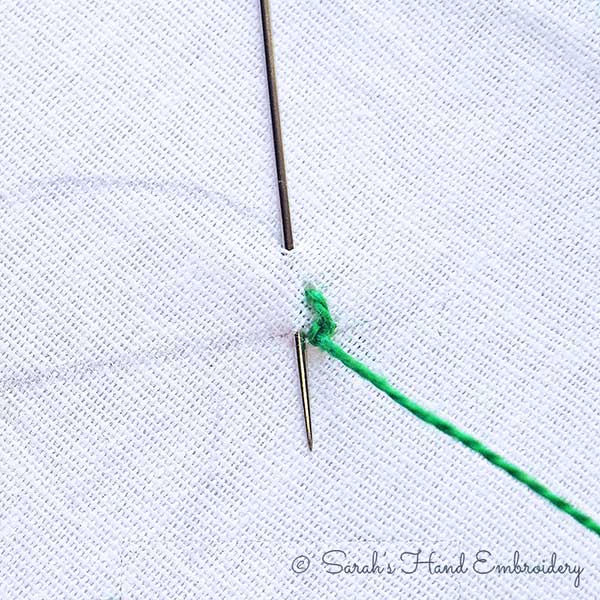
| Fig 1: Start by coming out from the bottom stitch line. Then, go in from the top and return from the bottom. | Fig 2: Now, wrap the thread around, as shown. |
 |
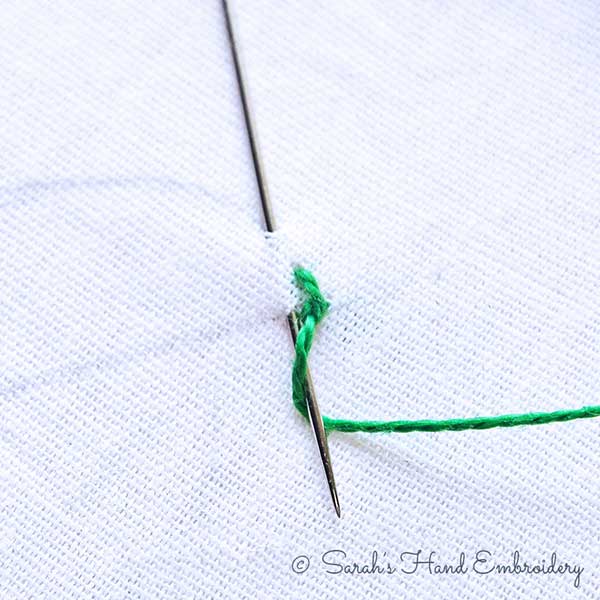 |
| Fig 3: Pull out the needle to create the first stitch. Now, make the next stitch by putting in the needle from the top and come out from the bottom stitch line. | Fig 4: Again, wrap the thread around the needle as you had earlier. Keep up with this process or the remaining part of the pattern. |
 |
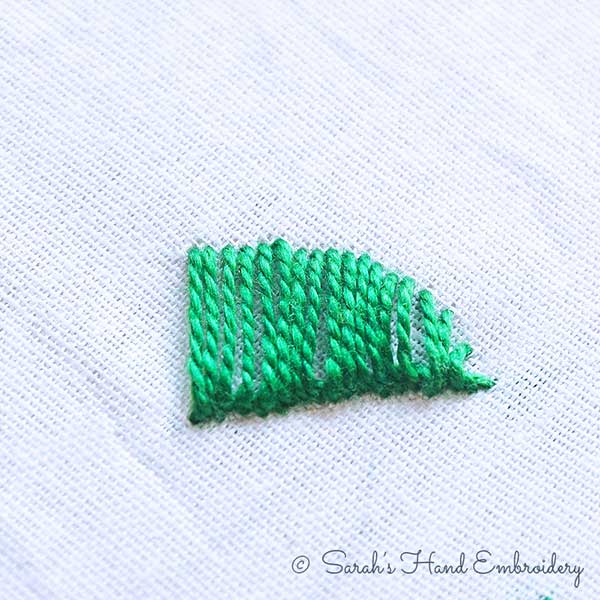 |
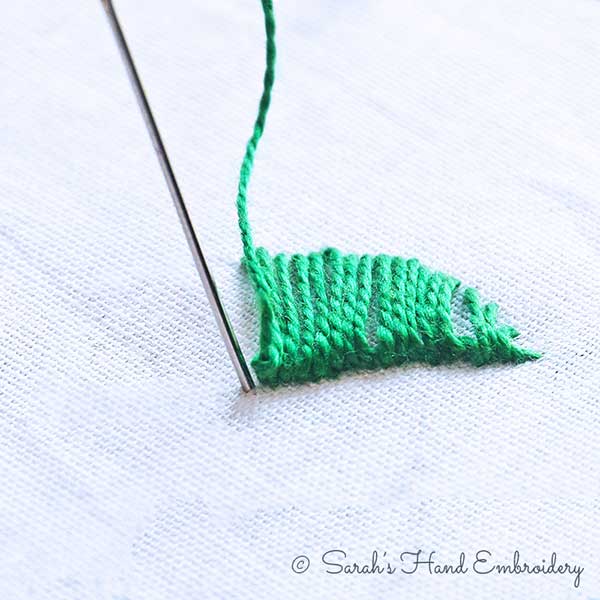
| Fig 5: To finish, pass the needle through the fabric close to the last stitch as shown. | Fig 6: This is how the finished Knotted Satin Stitch will appear like this. |
Learn this stitch and 305 more in our 600-page eBook!

 Sarah has been researching and sharing hand embroidery lessons for over 18 years, making it accessible to everyone around the globe.