
How to do Bead Embroidery with the Tacked Herringbone Stitch
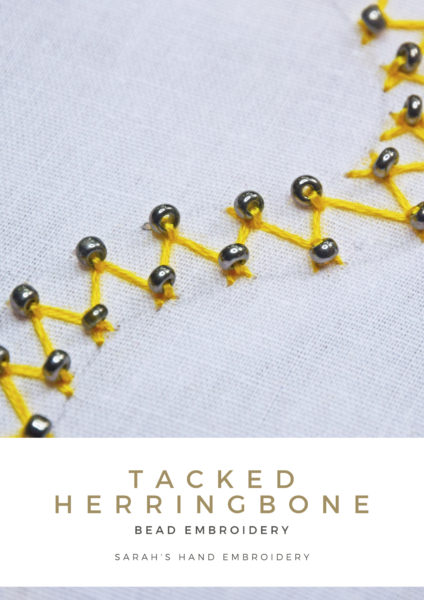
The Tacked Herringbone Stitch provides a base that can be dotted with shiny beads on the tips. It will look gorgeous and add weight to borders. I have shown one sample here. Try out other variations and share them with us!
 |
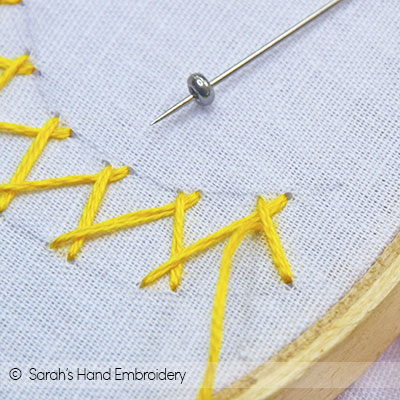 |
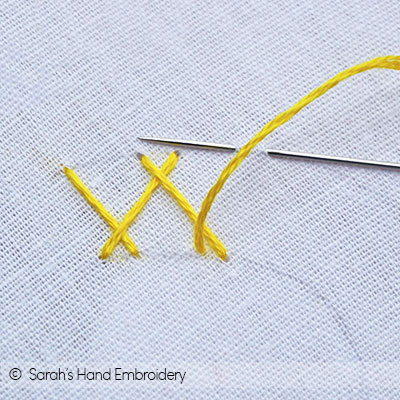
| Fig 1: Make a row of the Herringbone Stitch. | Fig 2: Now start pinning down the little intersections. Come out from inside the intersection. Slip in a bead. |
 |
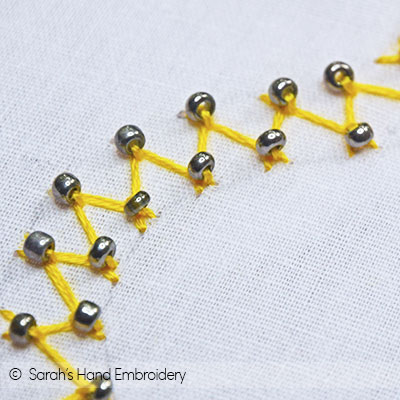 |
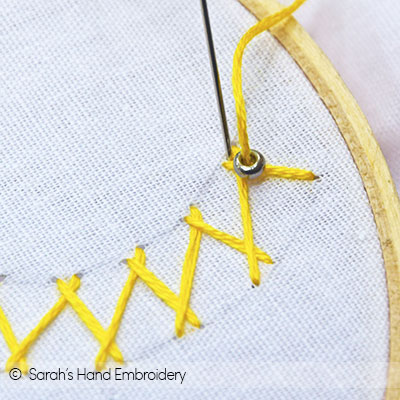
| Fig 3: Push the bead down and take the needle through the fabric on the outside of the intersection. Avoid making crosses as in the typical Tacked Herringbone method. | Fig 4: Work the entire row this way, adding beads over each intersection. |
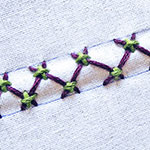
Stitch used in this project
|
Tacked Heringbone
|
 Sarah has been researching and sharing hand embroidery lessons for over 18 years, making it accessible to everyone around the globe.


merci pour de tuto le résultat est super
bisous
Always a pleasure, Odette!
Beautiful.
I have learned so much from you. This is a stitch I will definitely try out.
Wonderful! And, if you ever try it out, you are welcome to share your work with us, here. 🙂