
Sarah’s Hand Embroidery is your one stop destination for hand embroidery stitch lessons with step-by-step illustrations, patterns, projects, and a bit of history.
 Sarah has been researching and sharing hand embroidery lessons for over 18 years, making it accessible to everyone around the globe.
10 Books | 500 Lessons | 300 Videos
Know more about the hands, brains and talents behind Sarah’s Hand Embroidery.
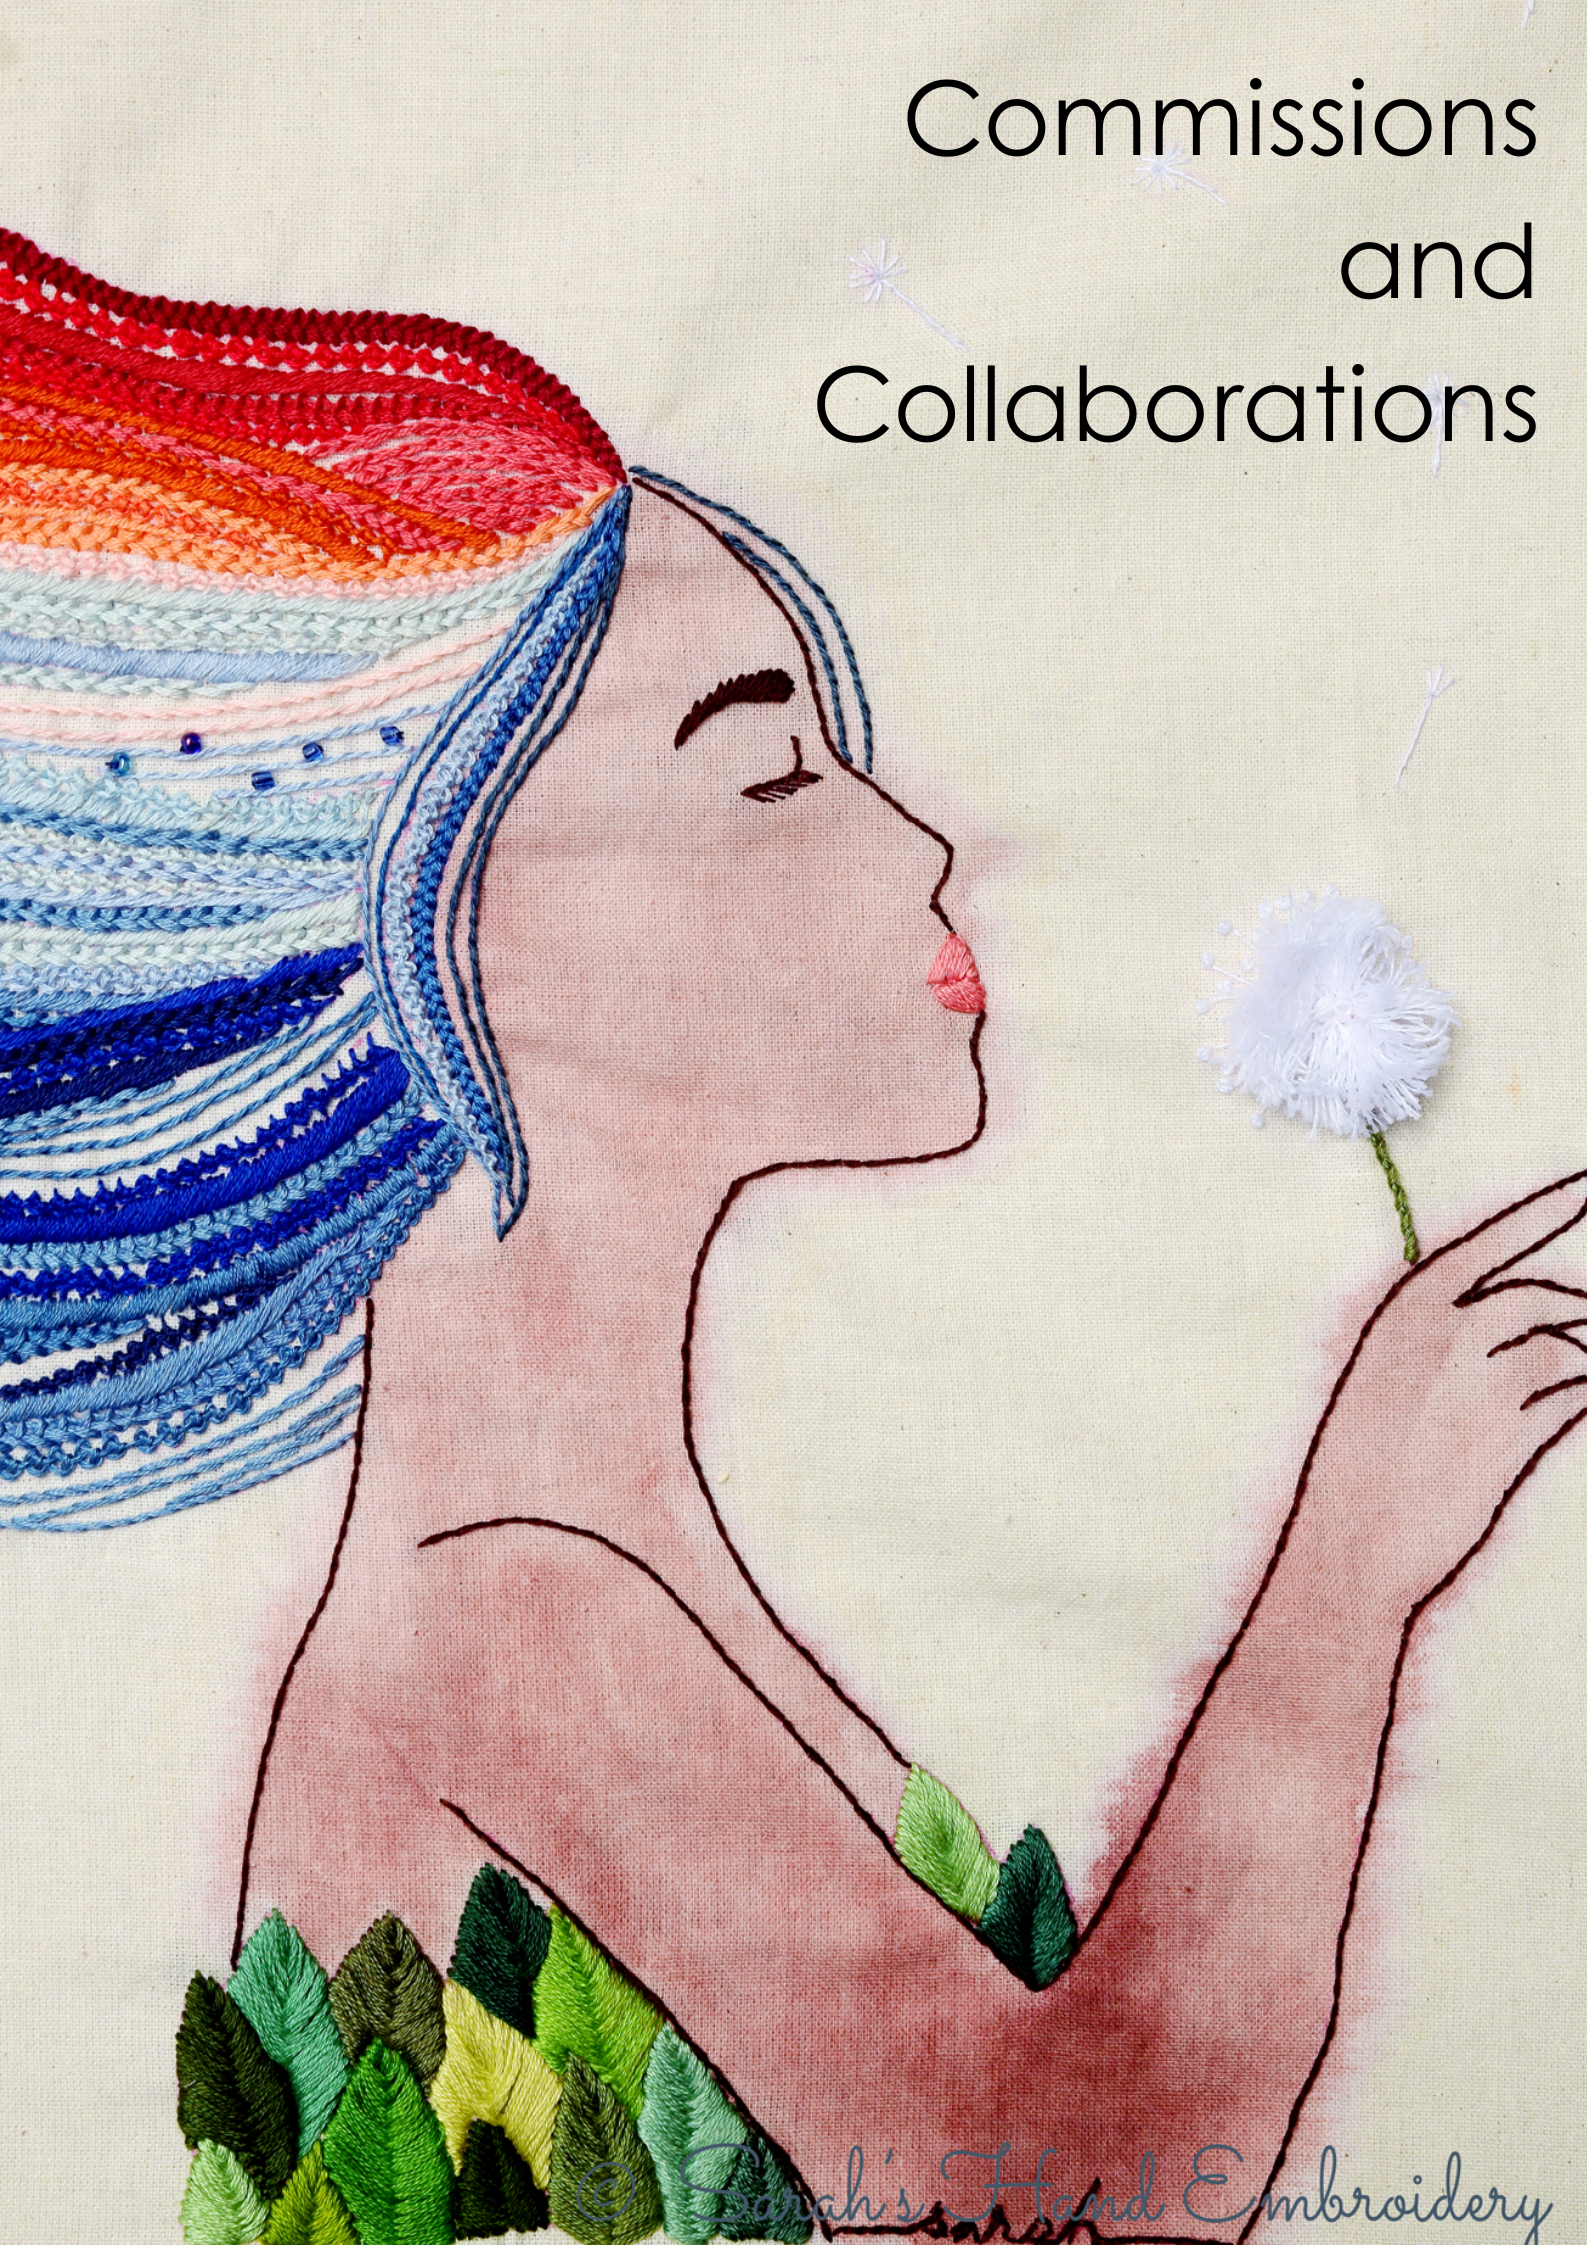
▶ Commissions & Collabs

I collaborate with individuals, organizations, and institutions to create hand embroidery artworks that are deeply personal, visually refined, and crafted to last. Click on image for more details.
▶ Books on Sale ❤️

Learn hand embroidery stitches through step-by-step photo illustrations with tips, techniques, projects, and patterns.
Check out our embroidery bookstore for more books on hand embroidery.
▶Save and use

▶Recent Stitch Book Video

▶ Recent Articles
 Double Satin Stitch
How to do the Double Satin Stitch The Double-Sided Satin…
- Commissions and Collaborations
Bespoke Hand Embroidery, Thoughtfully Created Each commissioned piece is an…
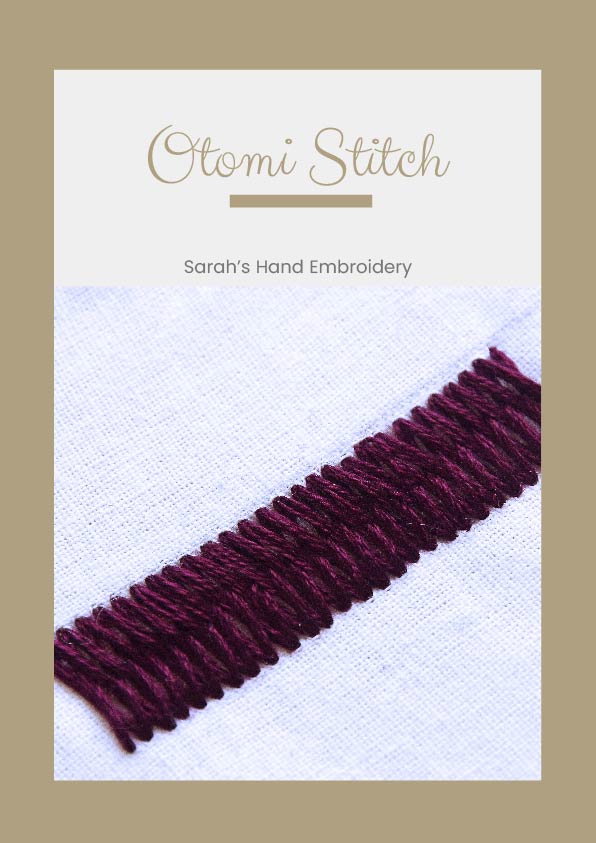
- Otomi Stitch
Otomi Stitch is also known as Tenango Stitch [EN], Punto…

▶ Become a Patron
![]()
▶ Donating = Loving
Sarah’s Hand Embroidery remains free and ad-free, and is supported by readers.
