

Ray Stitch is also known as
Fan stitch / Fancy fan / Straight Fan[EN], Puntada de abanico [ES], Fächerstich [DE].
How to do the Ray Stitch
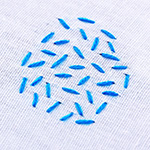
This tutorial is an illustration, of many, of how a few straight stitches can be combined to form patterns to use for embroidery. The Ray Stitch uses eight straight stitches to form a fan-like pattern.
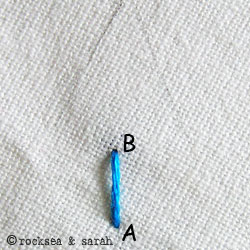 | 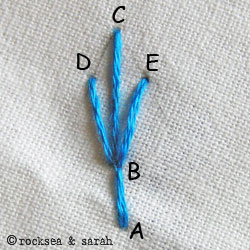 |
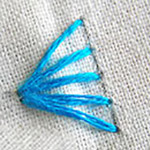
| Fig 1: Begin by making the leg of the ‘fan’, by doing a Straight Stitch A-B. | Fig 2: Now, make the stitches C-B, D-B, E-B, as shown. |
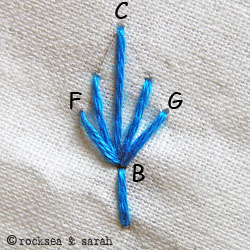 |  |
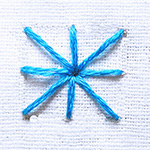
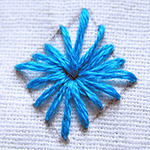
| Fig 3: Continue making these straight stitches in a slanting manner with B as the center point. The ray or fan effect begins to take shape. | Fig 4: A completed ray stitch would look like this. |
Learn to do Ray Stitch in 2 minutes!
Use this stitch on a pattern
Visit and Subscribe to Sarah’s YouTube Channel
More stitches from the Straight Stitch Family
|


Learn the Ray Stitch along with 305 other stitches from our 600-page eBook.


