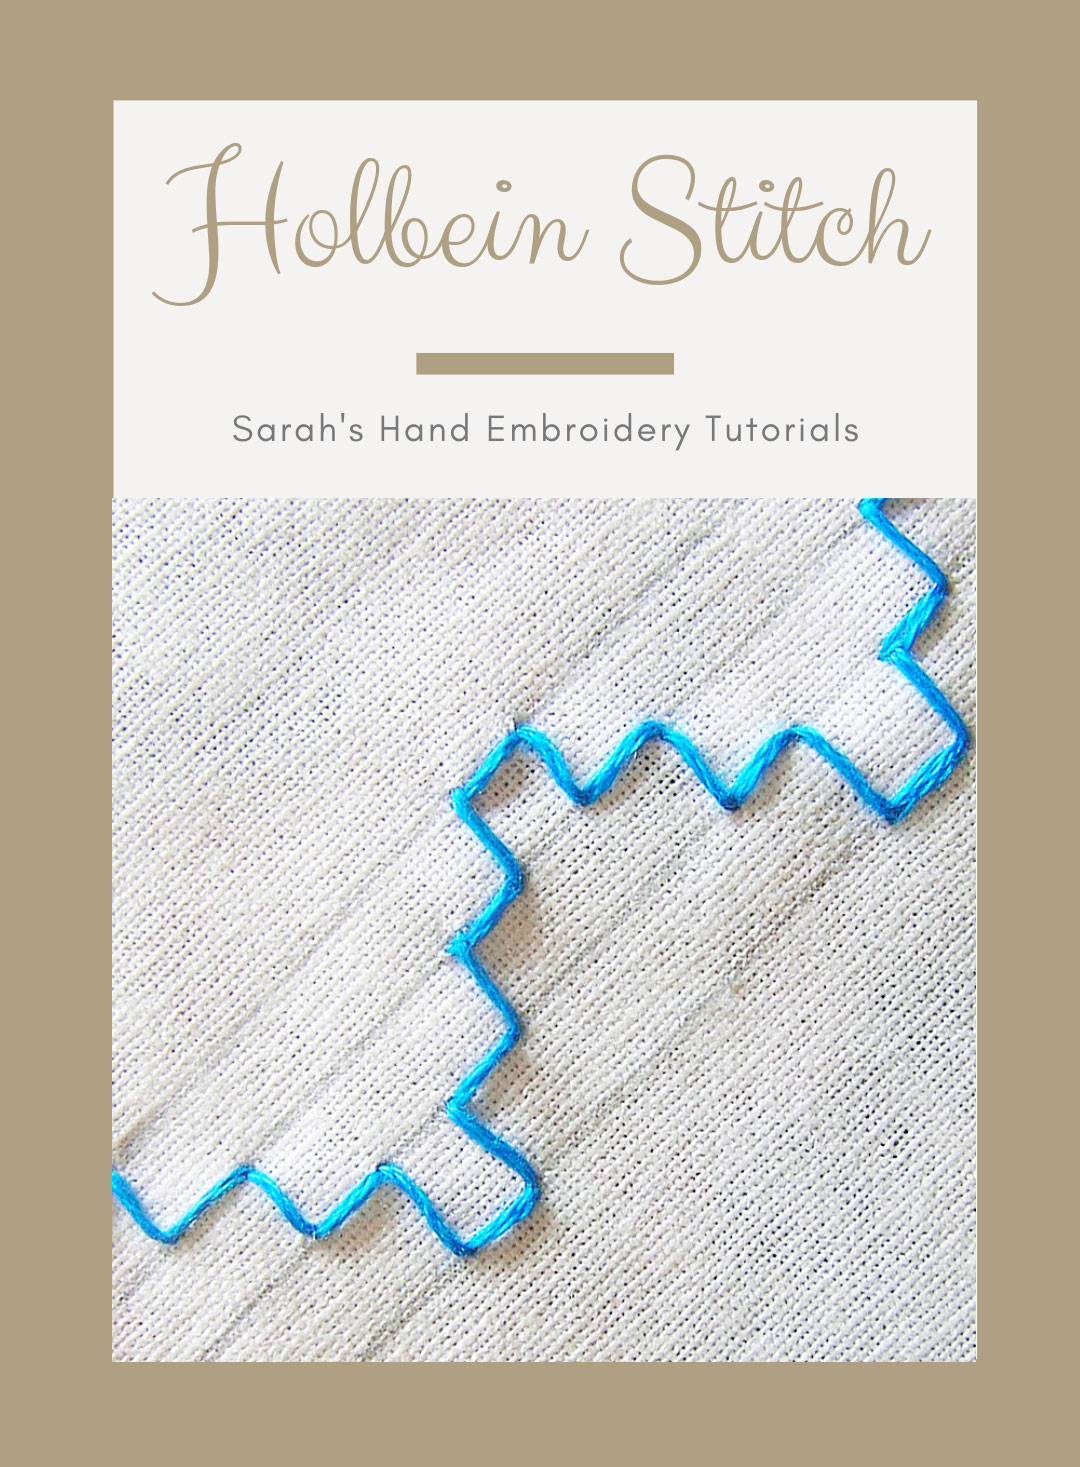
Holbein Stitch is also known as
Double running stitch, Line stitch, Two-sided line stitch, Two-sided Stroke stitch, Square stitch, Chiara stitch [EN], Punto Holbein [ES], Point Holbein [FR], Holbeinstich [DE], Punto di Holbein [IT], Ponto de Medici / Ponto de Holbein [PT].
About the Holbein Stitch
This stitch follows a pattern where a running stitch is done and the gaps between this running stitch are filled during a return journey of the needle and thread. This causes the stitches to bring out identical patterns on either side of the cloth.
History of the Holbein Stitch
Looking at the history of it, Holbein stitch derives its name from Hans Holbein the younger, who was a German artist. He was a portrait painter of the 16th century, who is more known to have painted Henry VIII and his children wearing clothing with ‘blackwork embroidery’.
Holbein stitch is widely used in Blackwork Embroidery and Assissi Embroidery as well. We can widely see it in cross stitch patterns too. This is because Holbein Stitch is a form of counted thread stitch.
Blackwork is again commonly known as Spanish work. Catherine of Aragon was the wife of Henry VIII. She is believed to have brought garments into England from Spain and they had Blackwork on them. Blackwork is done using only black thread.
Assissi embroidery originated from Italy at around the 13th and 14th centuries. It is a combination of Blackwork, or Holbein stitch, and cross-stitch. Traditionally Assisi embroidery employed only Holbein stitch, but later, it incorporated varieties of cross stitches as well. Assisi embroidery is not confined to a single thread color but uses different threads.
How to do the Holbein Stitch
I have done two variations of the Holbein stitch. This will help understand the technique.
| Variation 1: The straight line | |
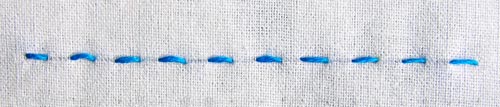 | |
| Fig 1: Lay a base of Running Stitch. | |
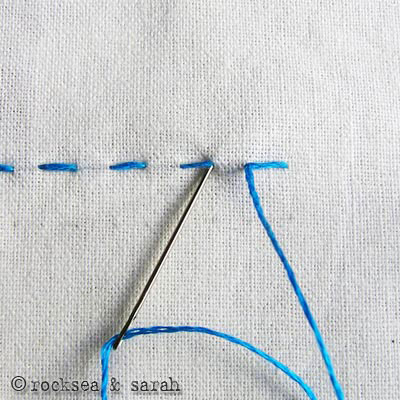 | |
| Fig 2: Now, start a return journey with the same working thread. As shown in this illustration, the return journey of running stitch will fill the gaps made during the first onward journey. You can use a different colored thread for creative effects. | |
 | |
| Fig 3: A finished line of Holbein Stitch would look like this. | |
| Variation 2: The temple pattern | |
 |  |
| Fig 1: Follow the alphabets to make a step of Running Stitches along the four stitch lines. Note that all the stitches would be horizontal. | Fig 2: Do a return journey by filling up the gaps left by the first onward journey of the running stitch. This time all the stitches would be vertical. You can use a different colored thread for the return journey for a more creative Holbein Stitch. |
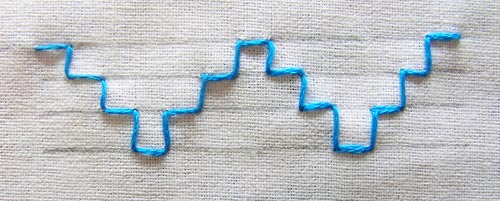 | |
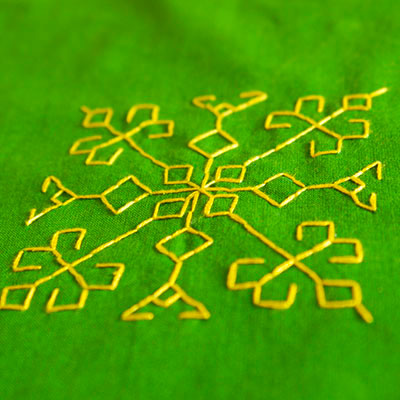
| Fig 3: A finished ‘temple’ design using Holbein Stitch would look like this. | |
Related Projects
Do you want to know where and how to use this stitch? Check out the projects below and learn more. Let’s make something beautiful today❤️