
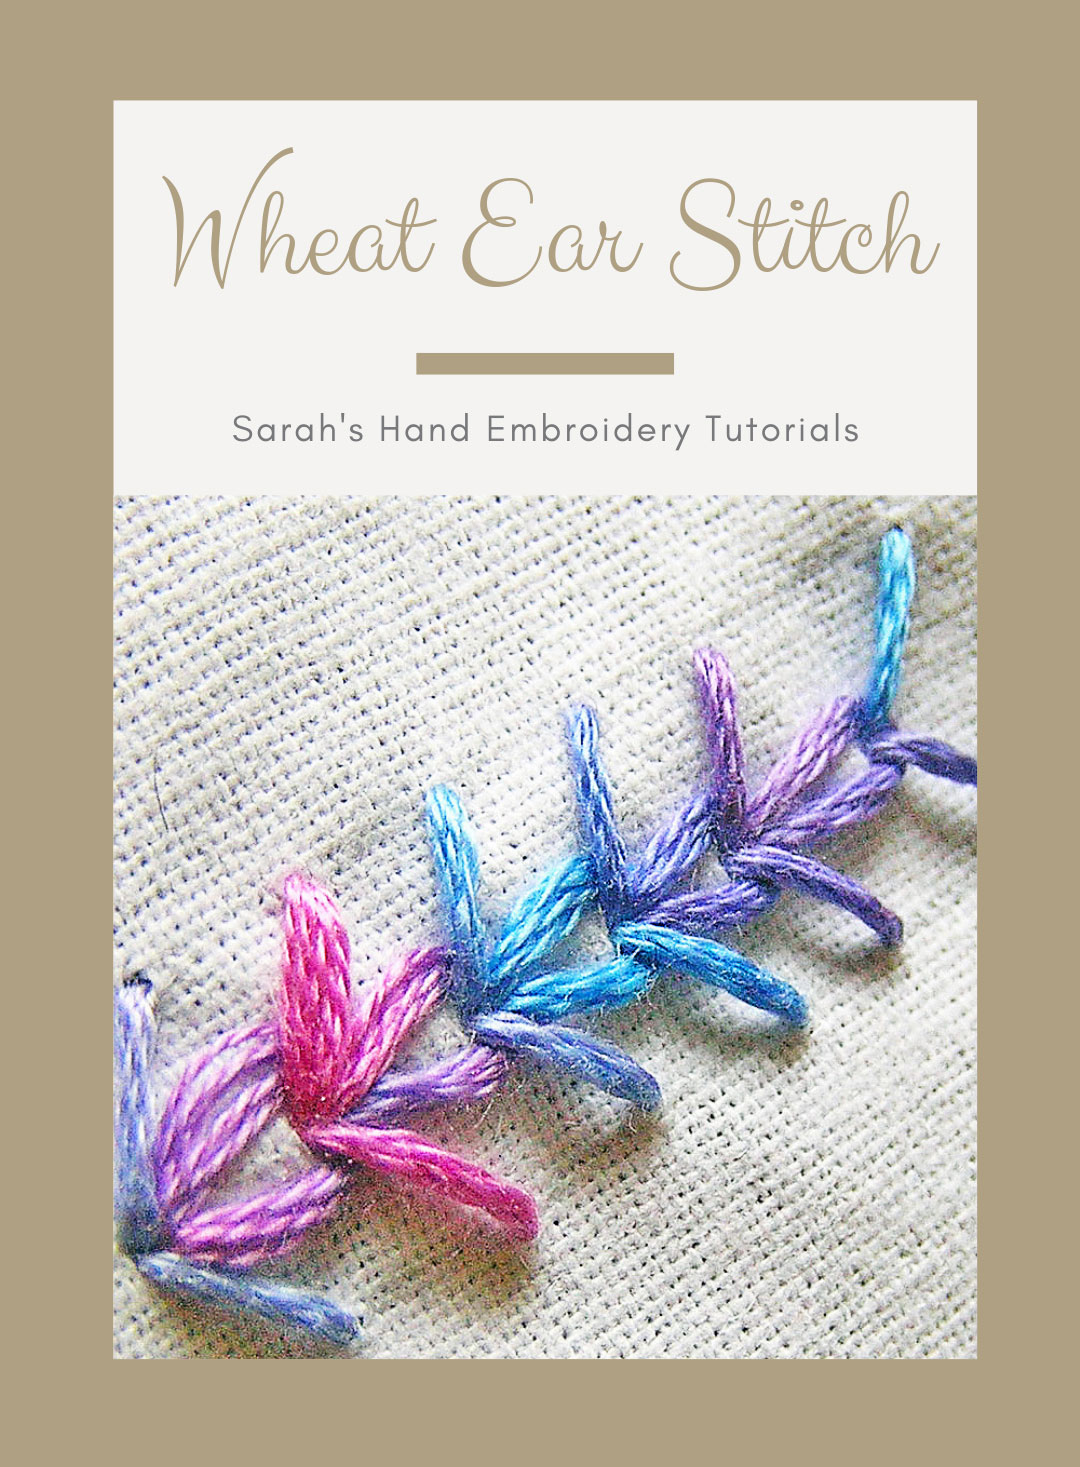
Wheatear Stitch is also known as
Wheat stitch [EN], Punto de collalba [ES], Point épi [FR], Ährenstich [DE], Punto spiga [IT], Ponto espiga [PT].
This stitch, as the name suggests, resembles wheat or sheaf of wheat when done in multiples. This is a decorative stitch and can be used as per our imagination.
You need to know the Detached Wheatear stitch. I will be following three parallel stitch lines to demonstrate this stitch.
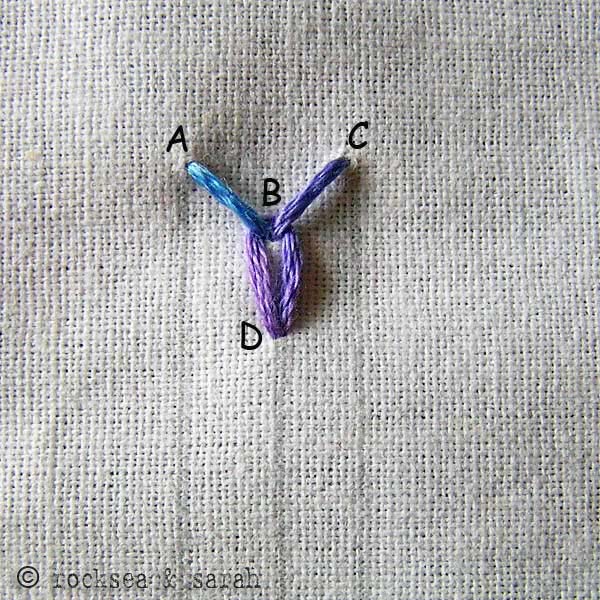 | 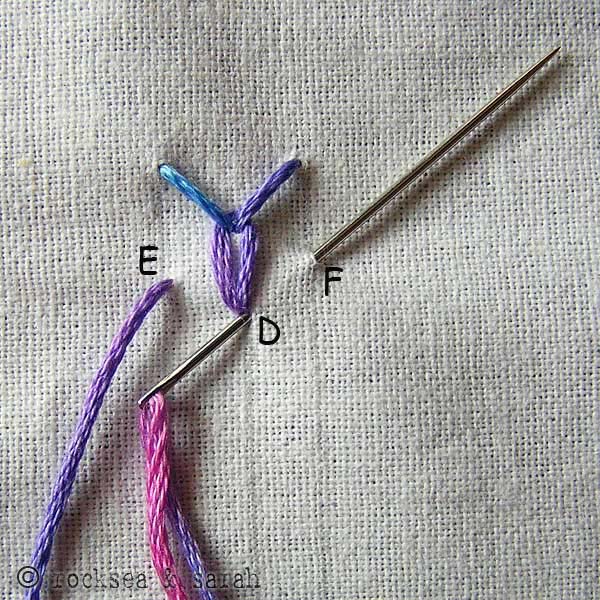 |
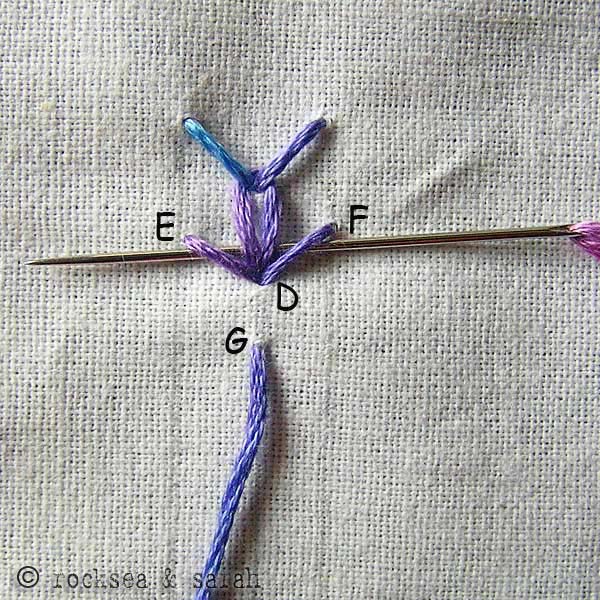
| Fig 1: Start the base by doing a detached wheatear stitch as shown above. Note that A and C lie on the left and right stitch lines. B and D lie on the centre stitch line. | Fig 2: We now proceed to make more detached wheatear stitches one after the other. After putting in the needle through D, bring it out through E, then in through D and out through F. |
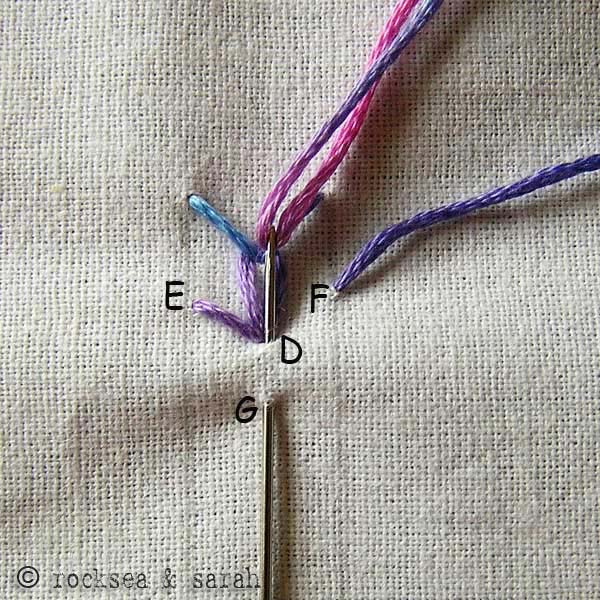 |  |
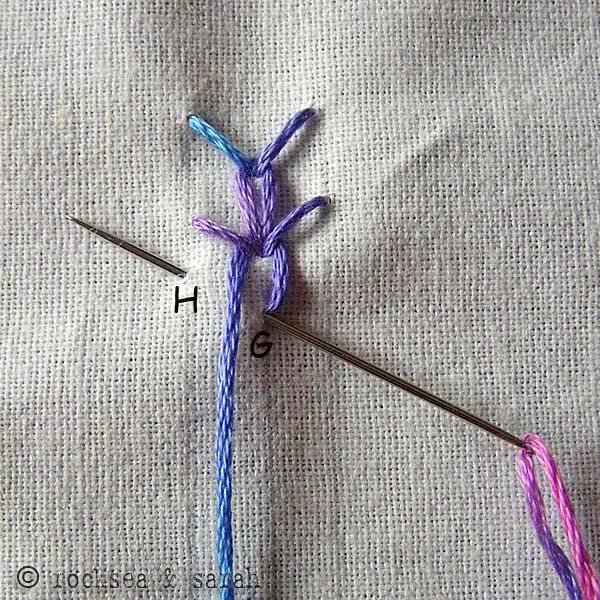
| Fig 3: Put the needle in through D again. This completes the second pair of ‘ears’. Bring the needle out through G. | Fig 4: Take the needle beneath the second pair of ‘ears’ and the previous loop to form the second loop of the sequence. |
 | 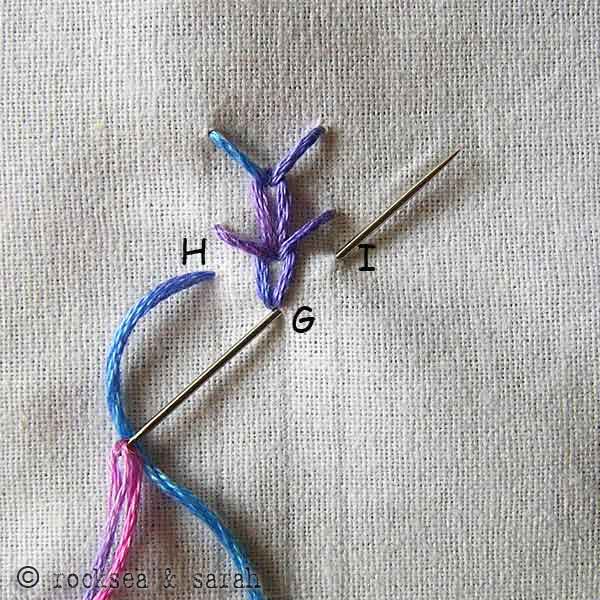 |
| Fig 5: Put the needle in through G to complete the second loop. | Fig 6: Keep up with this procedure to finish the entire stitch line. |
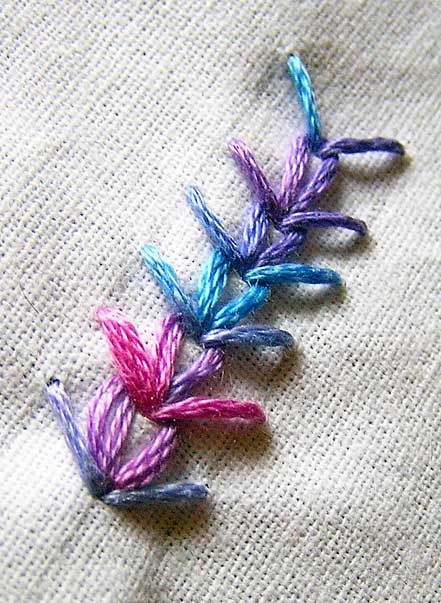 | |
| Fig 7: A finished line of wheatear stitch would look like this. I have ended the sequence with the ‘ears’ or a ‘V’ to give it a more wheat sheaf look. Try this stitch on curves as well. |


