

Rosette Stitch is also known as
Wrapped Coral Stitch [EN], Punto de cadeneta en roseta [ES], Point de chaînette en rosette [FR], Rosettestich [DE], Ponto roseta [PT].
How to do the Rosette Stitch
This is a beautiful looking stitch. Each loop drops vertically from the stitch line, instead of lying on it. The way the loop is twisted gives it a knotted effect with a sophistication. Let us follow a curved and spiral stitch line to try this stitch. Ideally, it follows a right to left direction. You need to be aware of the Twisted Chain Stitch to be able to do the Rosette Chain Stitch. I will follow a curved and spiral stitch line to demonstrate this stitch.
 |  |
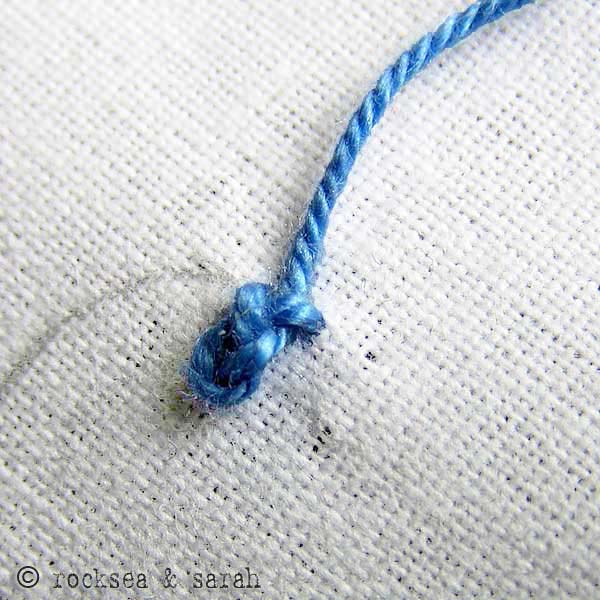
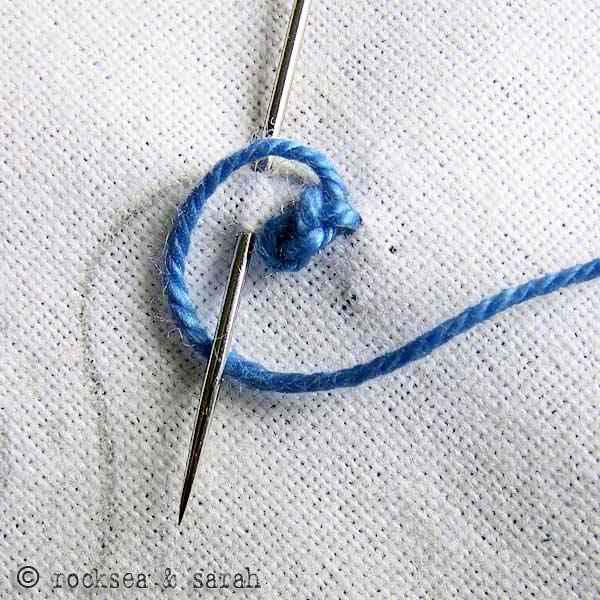
| Fig 1: Bring the needle out through point A which lies on the stitch line. Put the needle in through B which lies on the left of A.Note that B lies on the stitch line too. Bring the needle out through C and loop the thread around the needle as shown. | Fig 2: Pull out the needle to get the twisted chain. Now take in the needle through the right ‘leg’ of the twisted chain as shown. Do not pluck the fabric underneath. |
 |  |
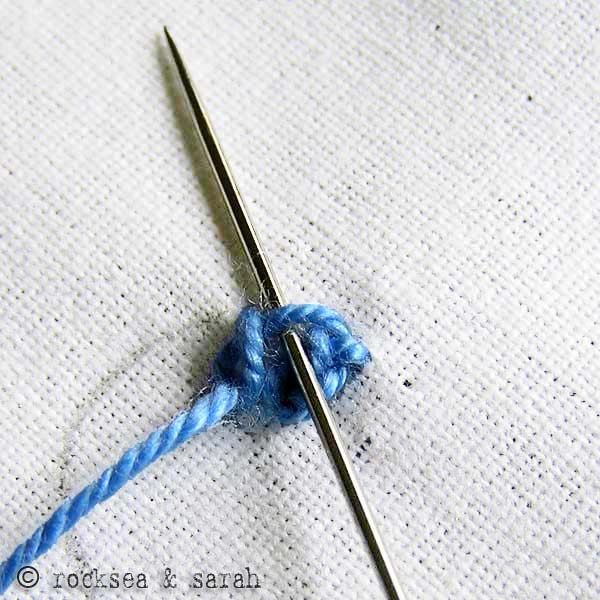
| Fig 3: Once the thread is pulled out, we get a knotted looking loop like this. | Fig 4: For the next loop, put in the needle on the stitch line towards the left of the existing loop and wrap the thread around. |
 | 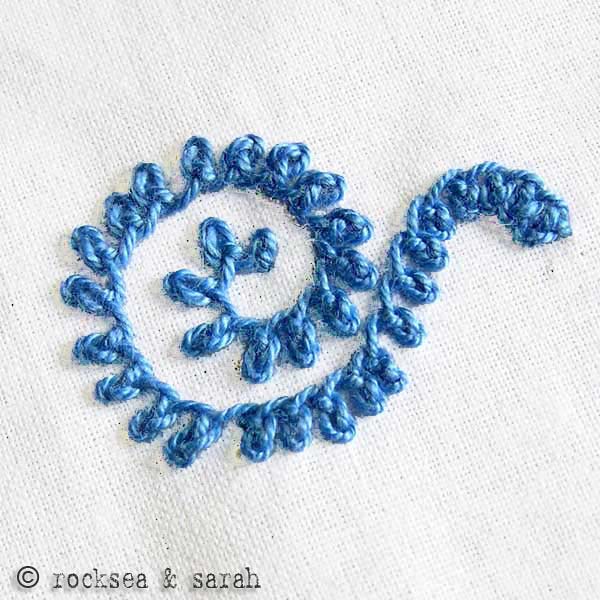 |
| Fig 5: To give the knotted effect, take the needle in under the right ‘leg’ of this newly made loop. | Fig 6: Continue this procedure to finish the entire pattern. Observe how the chains or loops close in and open up at various curves. |
Related Stitches from the Chain Stitch Family
Chain Stitch |
Whipped Chain Stitch |
Double Chain Stitch |
Magic Chain Stitch |
Lazy Daisy |
Russian Chain Stitch |
Long Tailed Daisy |
Feathered Chain |
Basque Stitch |
Petal Chain Stitch |
Reverse Chain Stitch |
Heavy Chain Stitch |


There are plenty more of these Chain Stitch Variations! Please click The Chain Stitch Family to find the entire list!
Learn the stitches from our Hand Embroidery Book
Learn the Rosette Stitch and 200 other stitches through our 450-page Hand Embroidery book.


