
Detached Buttonhole Stitch is also known as
Detached Buttonhole Filling Stitch [EN], Point de festoon détaché [FR], Nadelspitze / Abgenommener knopflochstich [DE], Punto festone angolare [IT], Ponto recorte (variante) [PT].
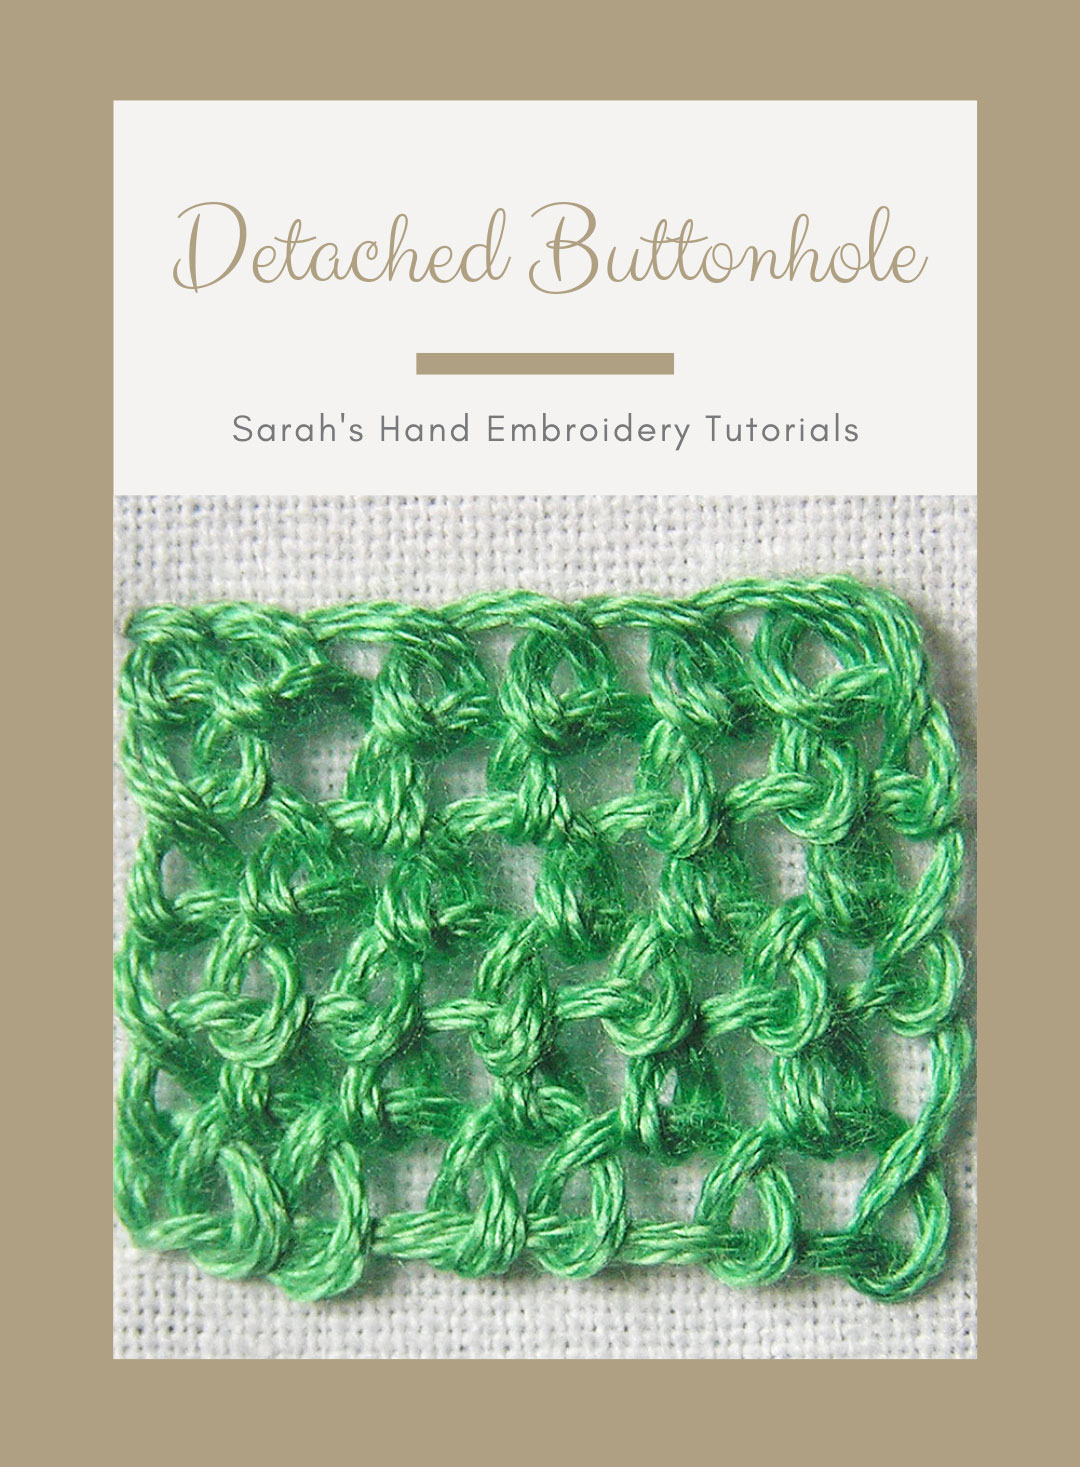
This stitch is one of those kinds that you don’t work over fabric, except for the first foundation row. The stitch is worked on itself. You would mark or trace the shape you might desire and use it to stitch a shape out of it, but you would not secure it down and attach it to the fabric. Therefore, after finishing the stitch, it gives a dimensional effect. That explains the name. So, this is an excellent stitch to use for dimensional embroidery works like the Stumpwork.
You can compare this stitch to the buttonhole filling stitch. The difference between both is that buttonhole filling stitch is secured down at the ends of each row, thus ‘attaching’ it to the fabric, though essentially it follows the detached buttonhole technique for the filling. So, you can use a combination of both the stitches to give a sophisticated dimensional look to your embroidery motifs. It works especially well with leaves and petals.
You need to know the blanket stitch to continue with this tutorial. I will be illustrating a square-shaped area. This stitch is best worked from bottom to top, or from a broader end to the tapering end of the motif.
 |  |
| Fig 1: Make a straight stitch A-B as a base to begin the detached buttonhole stitch. Now, start by coming out from A, and make blanket stitches by passing the needle under A-B. Do not pluck the fabric underneath. | Fig 2: You can place the blanket stitches as close or as open as you want. Once you finish doing one row of the blanket stitches, turn around and continue with the stitches from right to left. The recently done blanket stitch would form the base for the new row. |
 |  |
| Fig 3: When we reach the end of the end of the second row, we again turn around and make the third row from left to right. You will see, that in no place we are securing down the stitch. | Fig 4: Continue making as many rows as you want. |
 |  |
| Fig 5: When you reach the end of the filling, you can pass the needle through the last loop of the blanket stitch to secure the thread and cut it out neatly. This piece of detached blanket stitch would give a dimensional effect. | Fig 6: For the sake of showing, I have secured the end of this filling to the fabric on the top left corner. You can see that the shape created is a square. |


How to do twisted detached blanket stitch in hsnd embroidery?
From the name, I can only figure out that instead of making the Blanket Stitch loops normally, you would cross the thread over the needle as you would do for the Twisted Chain Stitch to make the loops.
Check this: https://www.embroidery.rocksea.org/stitch/chain-stitch/twisted-chain-stitch/
I hope this gives you an idea. 🙂
Thnx. Sarah,
Actually i meant twisted cast on stitch, i got the,details from Shasha’sCreative Word
Anyway thnx. agsin for responding
The website looks good. Visiting after a long long time… Hope you are doing good, Sarah.
Thanks, Deepa. We recently upgraded the website to make it better for the readers. 🙂 I am doing great. Busy with finishing off the Ebook!
Hi Emei, thanks! The picture dictionary will be back soon. 🙂
Congratulations on this update. I love the additional stitches. I don’t see the picture dictionary anywhere, will it be coming back?
Emei, the picture dictionary is back. Thanks for inquiring!