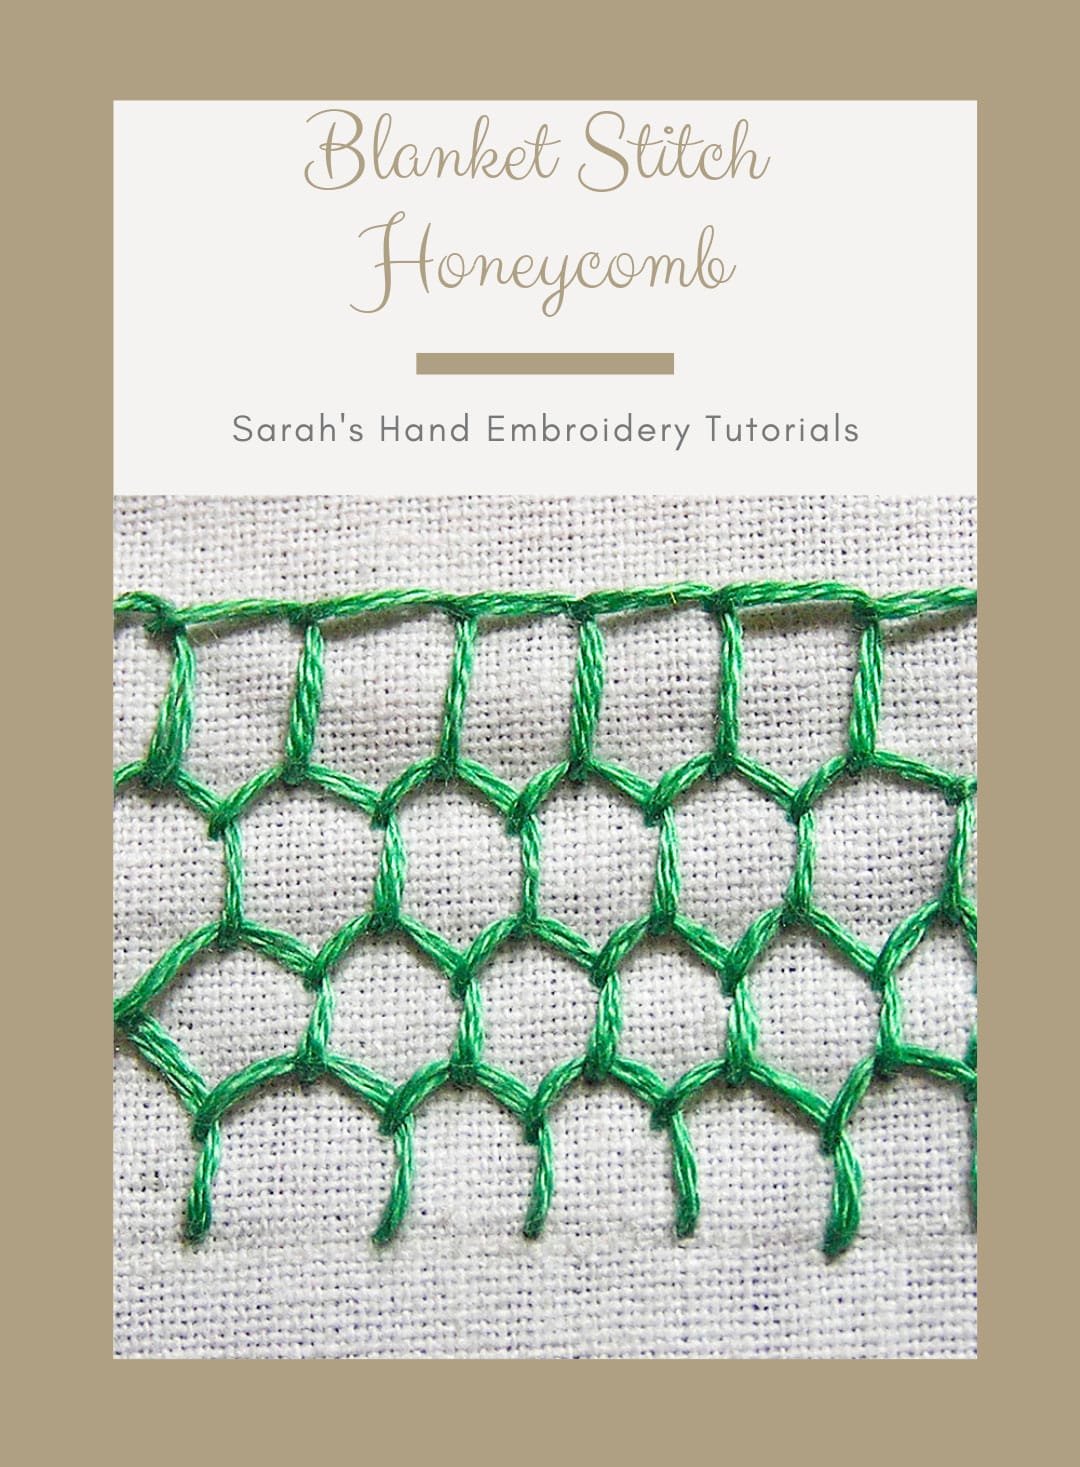
This is a very decorative variation of blanket stitch that takes the form of a honeycomb. It can be used as a filling stitch.
You need to know the blanket stitch to be able to continue with this tutorial.
I will work between a series of horizontally parallel stitch lines A, B, C, D, E to illustrate the honeycomb properly.
 |  |
| Fig 1: Make a row of blanket stitch between the stitch lines A and B. The subsequnet rows of blanket stitches will fall between the stitch lines. So, next, bring out the needle between the stitch lines B and C, as shown. | Fig 2: Now, for the next row of blanket stitch, take the needle under the previous vertical stitch, as shown. Do not pluck the fabric. |
 |  |
| Fig 3: Now continue with the blanket stitch process. Make sure to alternate the vertical stitches between the vertical stitches of the previous row. | Fig 4: The third row will begin like the first row. Three rows later, the pattern will start looking like this. |
 |  |
| Fig 5: A finished section of the blanket stitch honeycomb will look like this. |


