
Stitch leaves using the Laced Edging Stitch.
|
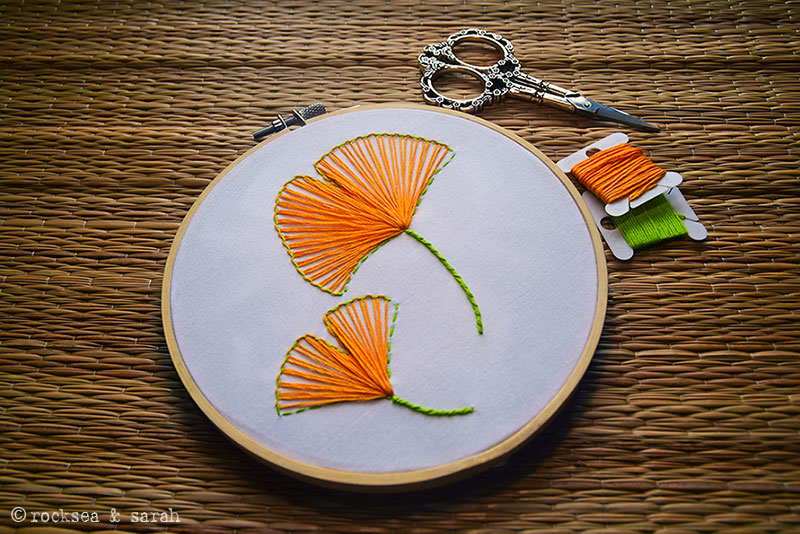
The Laced Edging Stitch is not really a popular stitch to fill in leaves. When I looked at the beautiful ginkgo leaf and its veins radiating from the bottom to the top, I just got an idea with this stitch! This stitch will not fill the leaves completely but partially do the job with more prominence given to the pattern of the veins on the leaf.
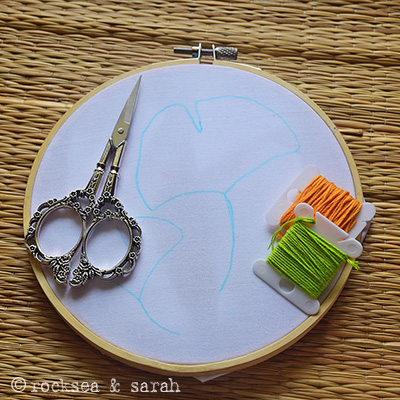 |  |
| Fig 1: Get your fabric, hoop, and threads ready. | Fig 2: Now, start the Laced Edging Stitch over the leaf. First, outline the leaves with the Running Stitch. |
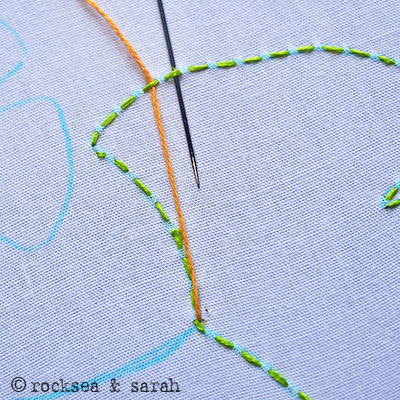 | 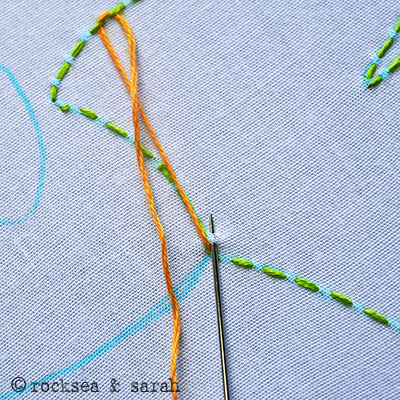 |
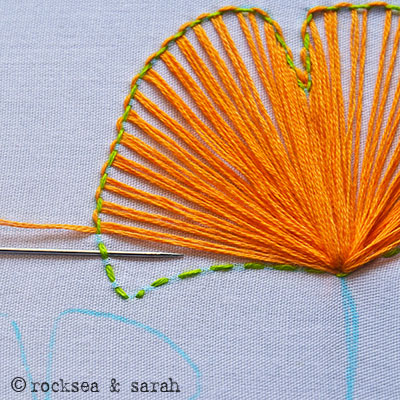
| Fig 3: Start your threading by coming up from the bottom of the leaf. Now pass the needle under a stitch on the top of the leaf in such a way that the thread drawn from it lays inside the leaf. It means, you might have to miss a few stitches towards the left, as I had to. | Fig 4: Turn the needle around and come back to the bottom of the leaf and go back inside the point from where you started. Bring out the needle a little above the stitch point, as shown. |
 | 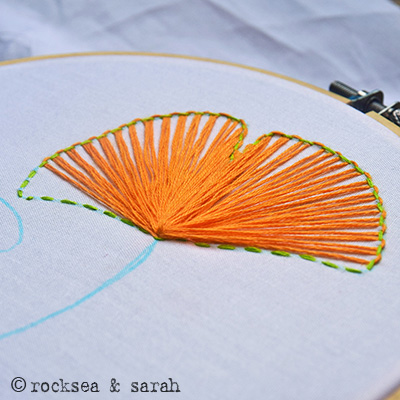 |
| Fig 5: Continue with the Laced Edging Technique for the entire leaf. Make sure you go under each stitch and not miss any. At times, especially in the center of the leaf, you will see the stitch start to concentrate – that is ok. | Fig 6: Once the entire leaf is finished, it will look this. Now let us look at how to fill the gap. |
 |  |
| Fig 7: Since you are dealing with a curved leaf, you will move your stitch closer to the outer edge of the leaf. This helps in keeping the distance shorter and take on the curved area easily. | Fig 8: This time, you are working the stitch from the right towards the left side of the leaf. |
 |  |
| Fig 9: Finish up with the stitch. Notice how the stitches used to cover the gap start getting shorter and closer to the outer edge. | Fig 10: This is how a finished ginkgo leaf looks like. All the stitches concentrate on one stitch point at the bottom of the leaf. |
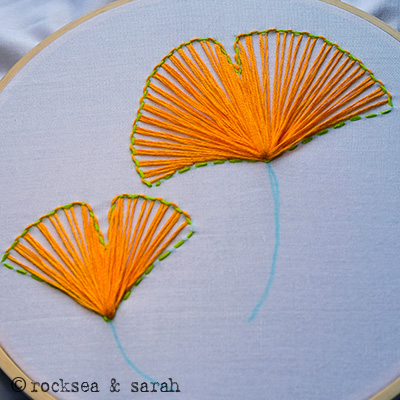 |  |
| Fig 11: I finished both the leaves in the pattern. | Fig 12: Add the stem to the leaf to finish up. I have used the Whipped Chain Stitch to do it. |
TIPS to make your leaf beautiful:
- Do not make the leaves too big to be able to apply this stitch effectively. The bigger leaf shown here is about the size of my palm.
- Keeping the Running Stitch closer to each other will mean denser threads pulled across, and more area covered, but the stitch point on the bottom will get thicker with more stitches going through it.


Thanks, but have you tried this stich with other leaves?
Not yet, but I suppose it will be worth a try! I can already see the textured leaf in this stitch. :))
Nice
Nice designs
Thank you, Neelam! 🙂
Precioso, lo practicaré!
Thank you, Lilia! 🙂
BEAUTIFUL BEAUTIFUL
Thank you, Dixie! 😊