In this tutorial, the step by step process on how I went about finishing this design is mentioned. You may click on the stitch name to go to the lessons of those stitches. I have used Anchor thread number 47.
 | 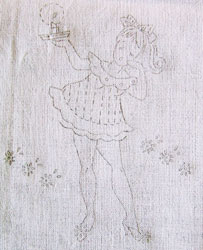 |
I have traced the design to a white cotton fabric using carbon paper.
 | Back Stitch: I began to start the embroidery with back stitch. Personally, I felt it will be good to make the girl’s legs, hands and face using this stitch. |
 | Outline Stitch: The outline stitch was used for the frock as it would give a thicker straight looking flow stitch. |
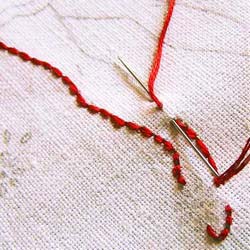
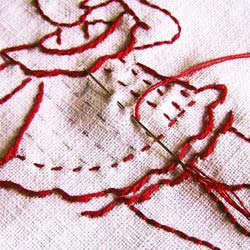 | Running Stitch: The design on the girl’s frock was apt for a running stitch. Usually, running stitch is good for making strawberry seeds. I used this stitch to even do the glow around the candle light. |
 | Lazy Daisy: All the flower pattern in this design is done in lazy daisy. The girl’s yawning mouth is also done using a single lazy daisy. |
 | Stem Stitch: Just to demonstrate the stitch, I decided to incorporate this into the candle stand. |
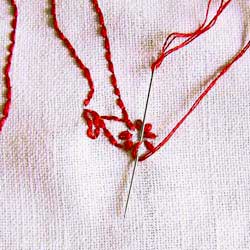
 | Split Stitch: I felt the split stitch was apt for the hair as it would give a thicker fuller stitch. I took two strands of the red floss and doubled it, so that the ‘splitting’ is easy. |
 | French Knot: The best way to fill in dots or small circles is using French Knots, which I did on the frock and at the center of each flower pattern. |
 | Straight stitch: Finally, I gave the finishing touch to the girl by making single straight stitches (single running stitch). I made its eyebrows, eyes, knees, and inside of ribbon using single straight stitches. |
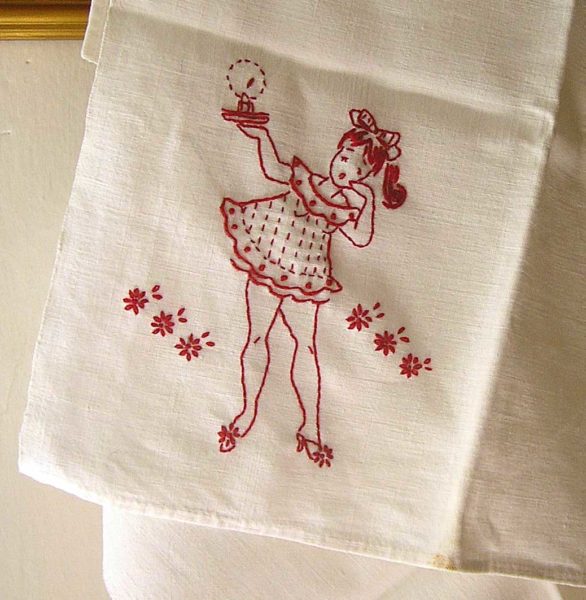
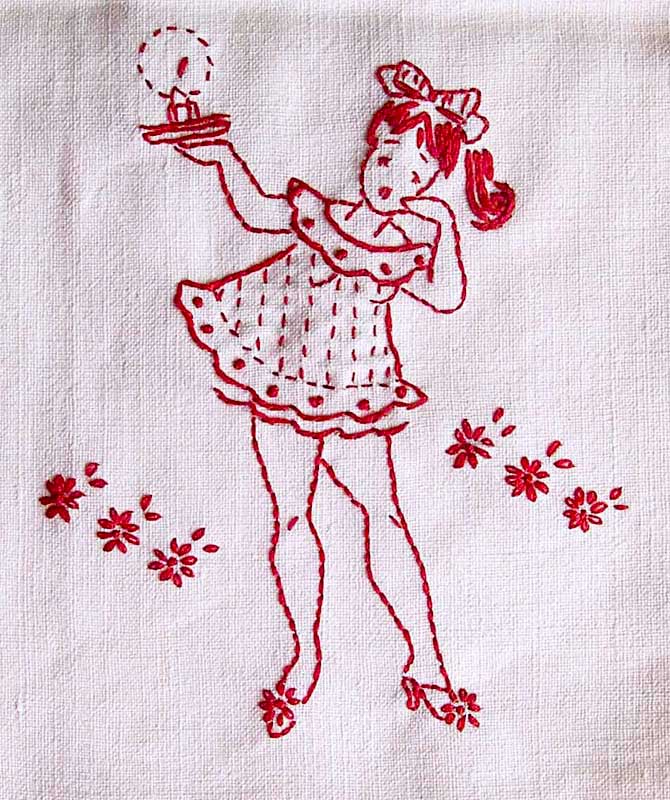 | Our finished ‘sleepytime girl’ looks like this. :)Click on the image for a bigger version. |
Note: This design helped me to incorporate all the stitches traditionally used in Redwork and Bluework helping me to explain this lesson to you. Contemporarily, different kinds of straight stitches can be used to work these embroideries. This free design called ‘sleepy-time girls’ has been borrowed from needlecrafter.com.
Learn about Redwork or go to Bluework lessons: